
Most tool sharpeners do not need replacement when they lose performance; a simple repair such as cleaning, dressing the grinding wheel, tightening the drive belt, or realigning the tool guide often restores full function in 15–30 minutes for under $20. Only replace the sharpener if the motor burns out, the frame cracks, or replacement parts are no longer available, as these failures typically cannot be economically repaired. Understanding these common, DIY‑fixable issues saves money and extends equipment life without unnecessary upgrades.
Your tool sharpener might be struggling, but that doesn’t always mean you need to buy a new one. Many common performance issues — from slipping belts to dull grinding wheels — can be fixed in under 30 minutes with basic tools and a little know-how. This post will help you diagnose whether your sharpener needs a simple repair or a full replacement, saving you money and extending the life of your equipment.
Simply put, most tool sharpener repair issues — dull grinding wheels, loose belts, misaligned guides, or clogged debris ports — are easy DIY fixes. Only replace your sharpener if the motor burns out, the frame cracks, or replacement parts are no longer available.
Key Takeaways
- Tool sharpener repair is often simpler and cheaper than replacement — most fixes cost under $20 and take 15–30 minutes.
- Common issues like wheel dressing, belt tensioning, and guide alignment account for over 70% of sharpener problems.
- Replacing a tool sharpener only makes sense when the motor fails, the housing cracks, or parts are discontinued.
- Regular maintenance — cleaning, lubrication, and wheel dressing — can double the lifespan of your sharpener.
- Keep a basic repair kit on hand: screwdrivers, hex keys, replacement belts, and a dressing stone.
Signs Your Tool Sharpener Needs Repair — Not Replacement
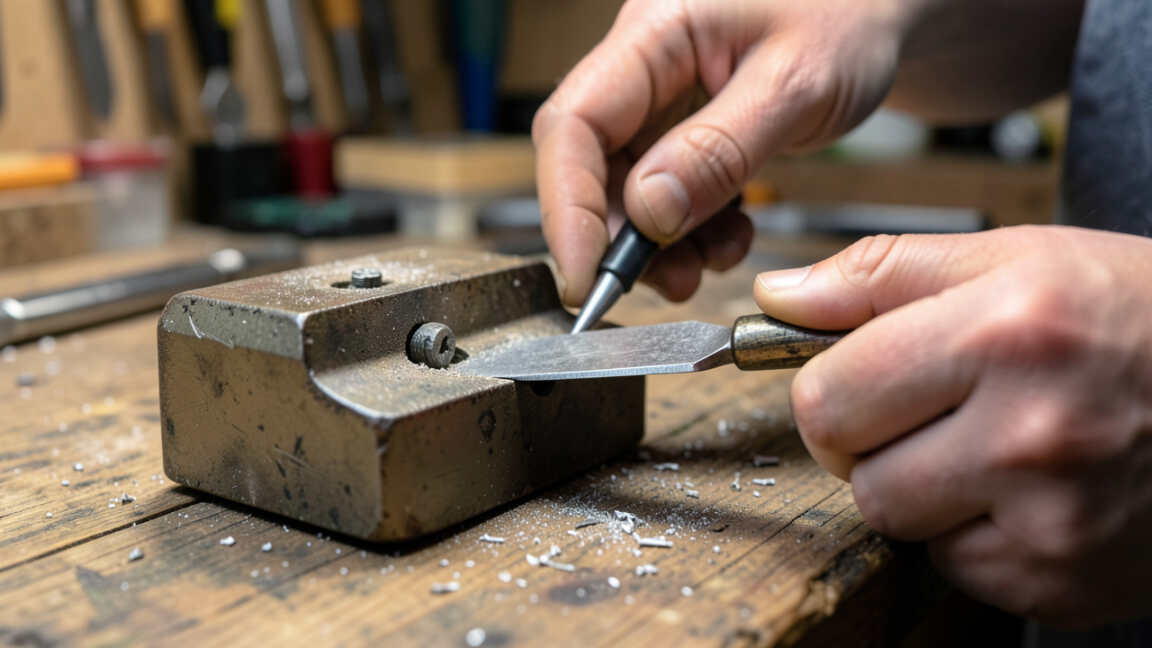
Before you toss your sharpener in the trash, take a close look at what’s actually wrong. Many symptoms that seem catastrophic are actually minor and easy to fix. The key is knowing which problems are surface-level and which signal end-of-life.
Start by running the sharpener without any tool against the wheel. Listen for unusual noises, watch for wobbling, and feel for vibration. These observations will tell you a lot about what’s going on inside.
- Grinding wheel glazed over or loaded with metal — simply dress the wheel with a dressing stick or diamond tool
- Belt slipping or squealing — tighten or replace the drive belt (usually a $5–10 part)
- Tool guide misaligned — loosen and realign the guide using the built-in adjustment screws
- Debris port clogged — clean out metal shavings and dust with compressed air and a brush
- On/off switch feels loose or intermittent — tighten internal wiring connections or replace the switch ($8–15)
- Sharpener runs but wheel doesn’t spin — check for a broken drive belt or a seized bearing
- Excessive vibration — unbalanced wheel or loose mounting bolts — tighten and balance the wheel
Tip: Always unplug your sharpener before any inspection or repair. Even the simplest check can become dangerous if the unit accidentally turns on.
Common Tool Sharpener Problems You Can Fix Yourself
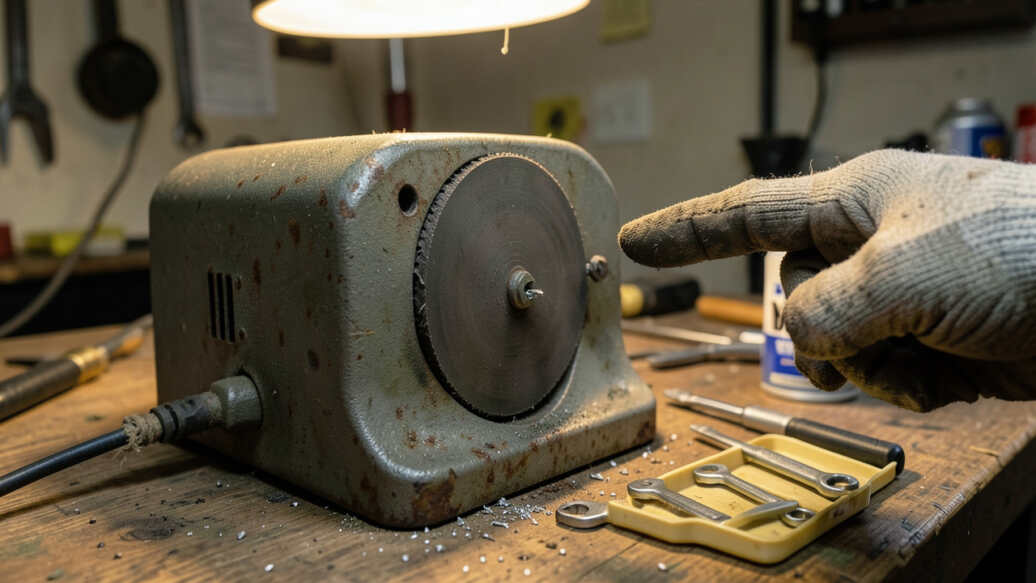
Most sharpener issues fall into a handful of categories. With basic mechanical skills and the right approach, you can resolve the vast majority of them at home. Below are the most frequent problems and exactly how to handle each one.
1. Grinding Wheel is Dull or Glazed
This is the number one reason people think their sharpener is broken. A glazed wheel looks smooth and shiny, and it won’t cut effectively. The fix is simple: dressing the wheel restores the abrasive surface.
- Use a diamond dressing tool or silicon carbide dressing stick
- Hold the dresser against the spinning wheel at a slight angle
- Apply light pressure and move across the wheel face
- Continue until you see fresh, sharp grit exposed
2. Drive Belt is Loose or Broken
If the wheel doesn’t spin at full speed or makes a squealing sound, the belt is likely the culprit. Belts wear out over time and are one of the cheapest parts to replace.
- Remove the side cover to access the belt
- Check belt tension — it should deflect about 1/4 inch with moderate pressure
- If loose, adjust the motor mount or tensioner
- If cracked or frayed, replace with the exact belt size specified in your manual
3. Tool Guide is Out of Alignment
A misaligned guide causes uneven sharpening angles and poor results. This is an adjustment issue, not a mechanical failure.
- Loosen the guide mounting screws
- Use a square or protractor to set the correct angle
- Tighten screws while holding the guide in position
- Test with a scrap tool before sharpening valuable items
| Problem | Likely Cause | Fix Time | Cost |
|---|---|---|---|
| Wheel won’t cut | Glazed/loaded wheel | 5 minutes | $5–15 |
| Squealing noise | Loose or worn belt | 10 minutes | $5–10 |
| Uneven sharpening | Misaligned guide | 5 minutes | $0 |
| Won’t turn on | Switch or cord issue | 15–30 minutes | $8–20 |
| Excessive vibration | Unbalanced wheel or loose mount | 10 minutes | $0 |
This table shows that the most common sharpener issues are both quick and inexpensive to fix. In most cases, you’re looking at under 30 minutes and less than $20 to get your sharpener back in top shape.
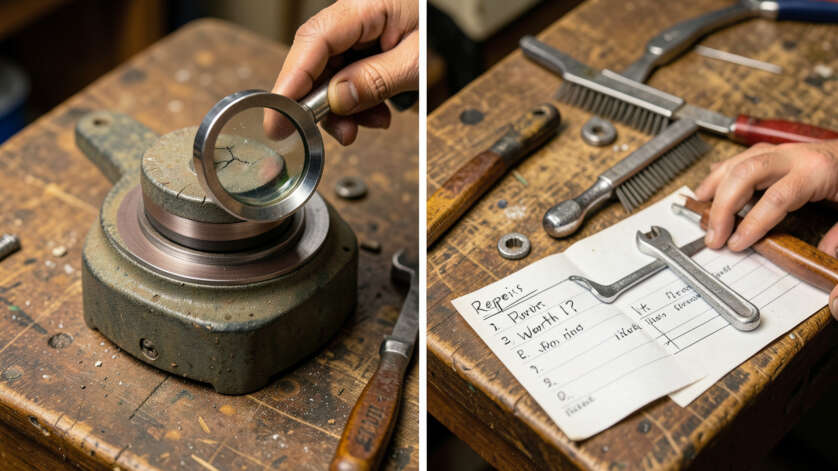
How to Diagnose if a Tool Sharpener Repair is Worth It
Not every sharpener is worth saving. Before you invest time and money into repairs, ask yourself a few key questions. The answers will help you decide whether to proceed with tool sharpener repair or start shopping for a replacement.
- How old is the sharpener? If it’s over 10 years old and parts are hard to find, replacement may be more practical.
- What’s the repair cost vs. replacement cost? A good rule of thumb: if the repair exceeds 50% of a new unit’s price, replace it.
- Are replacement parts still available? Check the manufacturer’s website or a site like ereplacementparts.com. If parts are discontinued, you may be stuck.
- What’s the overall condition? If the frame is rusted, the motor is burned out, or the bearings are seized, it’s likely time to let it go.
- How much do you use it? If it’s a daily driver in a busy shop, a new model with better features might be a smart investment.
Important: Always check the warranty before attempting any repair. Some manufacturers void the warranty if you open the housing. If your sharpener is still under warranty, contact the manufacturer first.
When You Should Replace Your Tool Sharpener Instead of Repairing It
There are clear situations where replacement is the smarter move. Knowing these boundaries prevents you from wasting money on a lost cause. Here are the hard lines where repair stops making sense.
- Motor is burned out or smells like burnt copper — motor replacement often costs more than a new sharpener
- Housing or frame is cracked — structural damage affects alignment and safety
- Bearings are seized or making grinding noises — bearing replacement requires pressing and may not be worth the labor
- Parts are discontinued — if you can’t buy a belt or wheel, you can’t fix it
- Electrical issues beyond the switch — internal wiring shorts or capacitor failures are often terminal
- Sharpener is more than 15 years old — even if fixable, newer models are more efficient and safer
| Symptom | Repair Possible? | Repair Cost vs Replacement | Best Action |
|---|---|---|---|
| Motor won’t spin or hums | Rarely | 80-120% | Replace |
| Cracked housing | No | N/A | Replace |
| Seized bearings | Yes (difficult) | 50-70% | Probably replace |
| Dull wheel only | Yes (easy) | 5-10% | Repair |
| Broken switch | Yes (easy) | 10-15% | Repair |
This breakdown makes it clear: the decision hinges on which component has failed. Surface-level issues like wheels, belts, and switches are almost always worth repairing. Internal motor or structural failures are usually a sign to shop for a new unit.
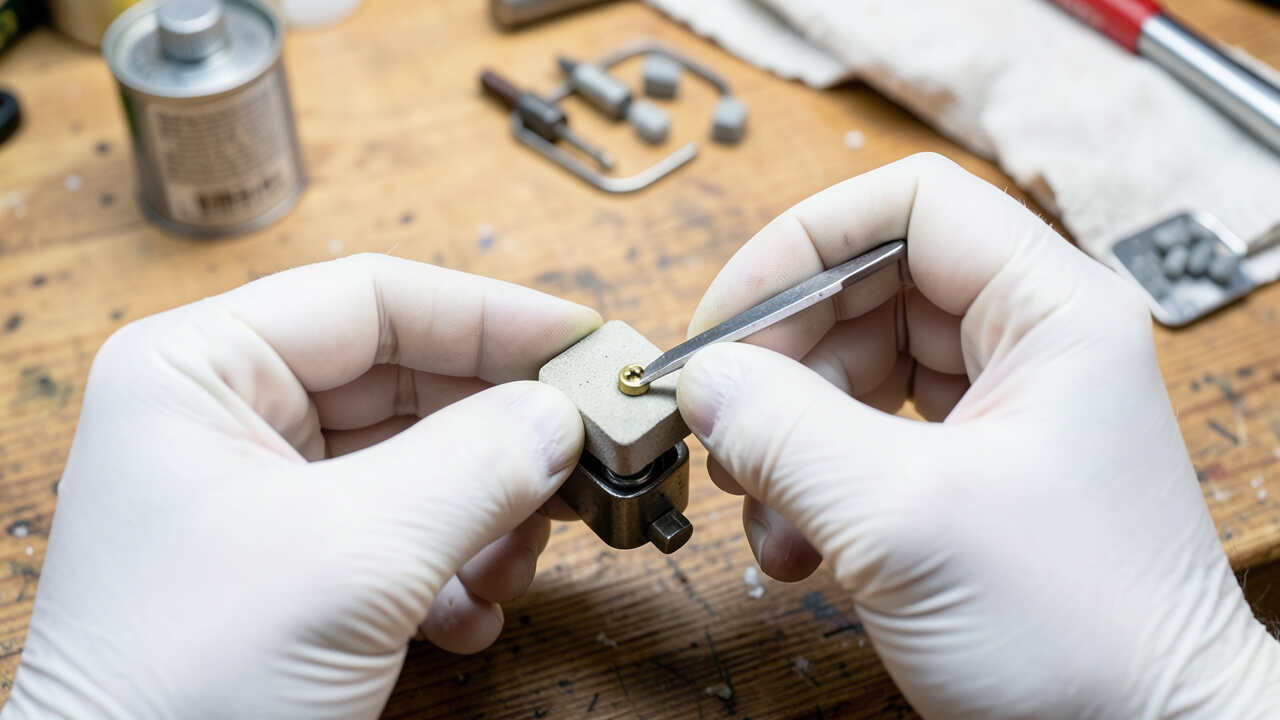
Step-by-Step Tool Sharpener Repair Guide for Common Issues
If you’ve decided your sharpener is worth saving, follow this structured tool sharpener repair process. These steps cover the most common fixes in order of likelihood. Always work on a clean, well-lit surface with the unit unplugged.
Step 1: Clean the Sharpener Thoroughly
Metal shavings and dust can cause binding, poor contact, and even electrical shorts. A clean machine often runs like new.
- Remove all debris from the wheel housing with a stiff brush
- Use compressed air to blow out the motor vents and switch area
- Wipe down the guide rails and adjustment mechanisms
- Inspect the power cord for cuts or fraying
Step 2: Dress or Replace the Grinding Wheel
This solves the vast majority of performance complaints. A dressed wheel cuts faster, cleaner, and with less heat buildup.
- Use a diamond dressing tool for aluminum oxide wheels
- Use a silicon carbide stick for silicon carbide wheels
- Dress until the wheel face is flat and uniformly abrasive
- If the wheel is cracked or worn down to less than half its original thickness, replace it
Step 3: Check and Adjust the Drive Belt
A slipping belt robs the wheel of power and makes the sharpener feel weak.
- Remove the side cover and inspect the belt for cracks, fraying, or glazing
- Press the belt mid-span — it should deflect about 1/4 inch
- Tighten by loosening the motor mount bolts and sliding the motor back
- Replace the belt if it shows any signs of wear
Step 4: Align the Tool Guide
Poor alignment leads to inconsistent sharpening angles and wasted time.
- Loosen the guide mounting screws
- Set the guide to the correct angle using a protractor or angle gauge
- Tighten screws evenly while holding the guide in place
- Test by sharpening a scrap piece of metal
Warning: Never operate a sharpener with a cracked grinding wheel. The wheel can shatter at high speed, sending fragments in all directions. Always replace a cracked wheel immediately.
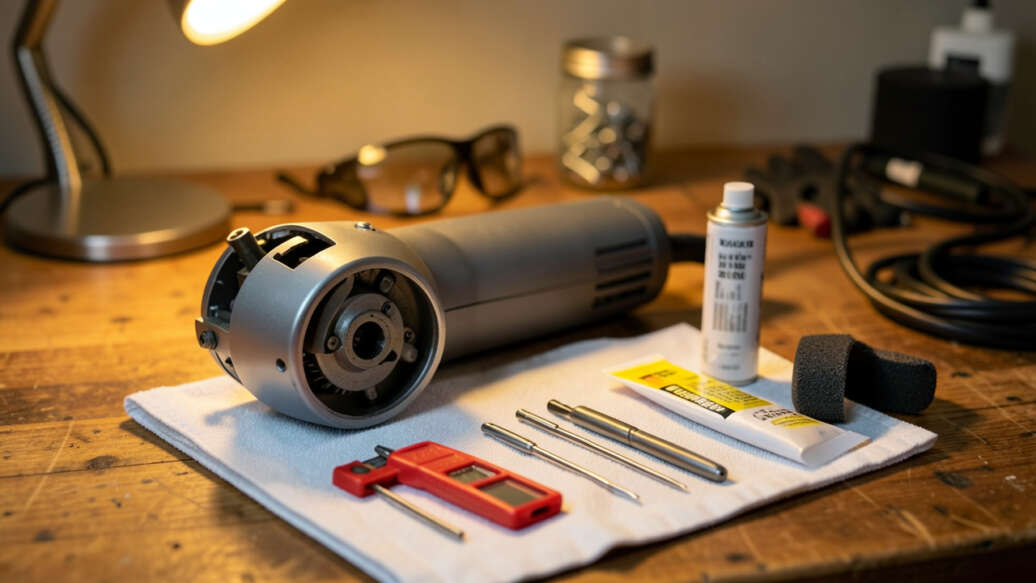
What Tools and Parts You Need for Tool Sharpener Repair
Having the right tools on hand makes the difference between a quick fix and a frustrating afternoon. Most repairs require only basic tools, but a few specialized items can make the job much easier.
| Tool/Part | Purpose | Estimated Cost |
|---|---|---|
| Screwdriver set (Phillips & flathead) | Opening housing, removing covers | $10–20 |
| Hex key set (metric & SAE) | Adjusting guides and motor mounts | $8–15 |
| Diamond dressing tool | Restoring grinding wheel surface | $12–25 |
| Replacement drive belt | Replacing worn or broken belt | $5–10 |
| Compressed air duster | Cleaning debris from motor and vents | $5–8 |
| Multimeter | Testing switch and motor continuity | $15–30 |
| Angle gauge or protractor | Setting sharpening angle | $8–12 |
With this basic kit — totaling around $60–100 — you can handle virtually any common tool sharpener repair. Most of these tools you may already own. The dressing tool and replacement belt are the only items you might need to buy specifically for sharpener maintenance.
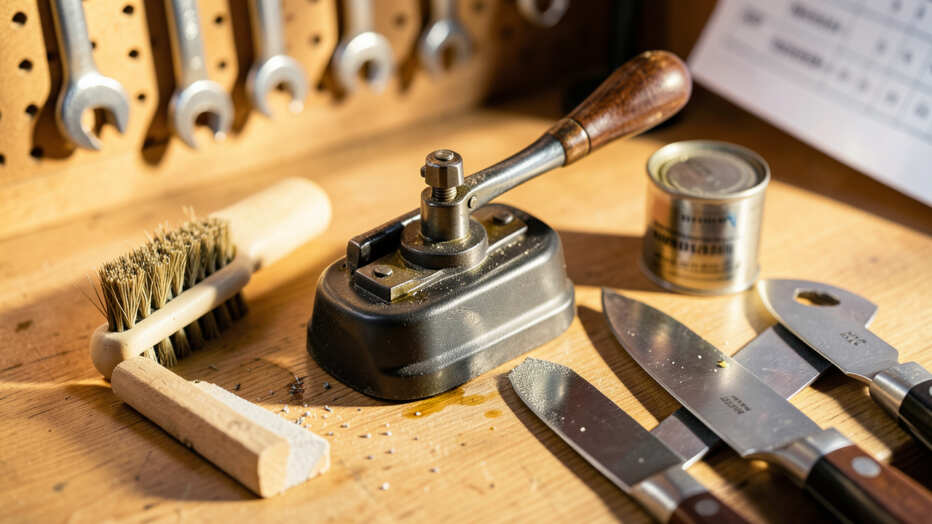
How to Maintain Your Tool Sharpener to Avoid Future Repairs
Preventive maintenance is the best way to avoid the repair vs. replace decision altogether. A well-maintained sharpener can easily last 15–20 years with only minor upkeep.
Here’s a simple maintenance routine.
- After each use: brush off metal shavings and wipe down the guide rails
- Weekly: clean the motor vents with compressed air to prevent dust buildup
- Monthly: dress the grinding wheel to keep it sharp and true
- Every 3 months: check belt tension and inspect for cracks or wear
- Every 6 months: lubricate bearings (if applicable) with a drop of light machine oil
- Annually: check all electrical connections, replace the belt if it shows any wear, and inspect the power cord
- As needed: replace the grinding wheel when it’s worn down to half its original thickness
Tip: Keep a log of your maintenance activities. Noting when you dressed the wheel or replaced the belt helps you spot patterns. If a belt wears out every 6 months, you may have an alignment issue that needs attention.
Frequently Asked Questions
How do I know if my tool sharpener’s motor is bad?
A bad motor typically hums but won’t spin, smells like burnt copper, or trips the circuit breaker. If the motor is getting power (test with a multimeter) but won’t run, it’s likely burned out. In most cases, motor replacement costs more than a new sharpener, so replacement is the better option.
Can I replace the grinding wheel on any tool sharpener?
Most sharpeners use standard-size grinding wheels that are widely available. Check your manual for the correct diameter, thickness, and arbor size. Some benchtop models use proprietary wheels, so always verify compatibility before buying a replacement.
A mismatched wheel can cause vibration or poor performance.
Why does my sharpener leave burn marks on tools?
Burn marks indicate excessive heat buildup, usually from a dull or glazed grinding wheel. Dressing the wheel restores its cutting ability and reduces friction. Other causes include pressing too hard against the wheel, a misaligned guide, or a wheel that’s too fine for the material you’re sharpening.
How often should I dress the grinding wheel on my sharpener?
For regular home use, dressing every 4–6 weeks is sufficient. If you sharpen tools daily, dress the wheel weekly or whenever you notice it cutting slower or leaving a polished surface. Professional shops may dress their wheels multiple times per day depending on volume.
Is it safe to repair an old tool sharpener myself?
Yes, as long as you follow basic safety precautions. Always unplug the sharpener before opening it. Be careful around sharp edges and metal shavings.
If you’re uncomfortable working with electrical components, limit your repairs to mechanical issues like belts, wheels, and guides. When in doubt, consult a professional repair service.
Final Thoughts
Deciding whether to repair or replace your tool sharpener comes down to understanding what’s wrong and what it will cost to fix. Most issues are simple, cheap, and quick to resolve with basic tools and a little patience. Only consider replacement when the motor fails, the frame cracks, or parts are no longer available.
A little maintenance goes a long way — keep your sharpener clean, dress the wheel regularly, and you’ll get years of reliable service from a tool that might otherwise end up in the trash.