
Most people make five critical mistakes with their first brushless drill: neglecting battery maintenance, using improper bits, overlooking torque settings, skipping safety precautions, and failing to perform regular tool care. These errors reduce performance and shorten the drill’s lifespan, but each is easily corrected with disciplined charging, correct bit selection, proper torque adjustment, and consistent safety practices. Addressing these common pitfalls ensures the brushless drill operates efficiently and reliably for years.
Your first brushless drill can be a game-changer, but only if you avoid common pitfalls that plague beginners. Many users waste time and money on errors that are easily preventable with the right knowledge.
This guide covers the five most frequent mistakes people make with their brushless drill and offers actionable solutions. From battery blunders to bit mismatches, you’ll learn how to maximize performance and longevity.
Simply put, most beginners misuse their brushless drill by ignoring battery care, using wrong bits, neglecting torque settings, skipping safety gear, and failing to maintain the tool. Correct these five issues to unlock full potential.
Key Takeaways
- Brushless drills require disciplined battery charging and storage for peak performance.
- Selecting the correct bit is critical to prevent damage to both the tool and workpiece.
- Adjusting torque settings avoids stripped screws and broken components during projects.
- First brushless drill owners often overlook basic safety measures, increasing injury risk.
- Regular cleaning and occasional lubrication extend your brushless drill lifespan significantly.
Why Brushless Drills Need Special Attention
Brushless motors are fundamentally different from their brushed counterparts. They use electronic controllers to manage power, which makes them more efficient but also sensitive to battery condition and usage patterns.
- Higher efficiency provides 30-50% longer runtime per charge compared to brushed drills
- Electronic control prevents over-discharging but requires proper battery management
- No brushes mean less friction and heat, extending motor life
- Variable speed triggers rely on consistent voltage from the battery
- Improper charging can permanently damage lithium-ion cells
According to the Power Tool Institute, improper battery care reduces brushless drill battery lifespan by up to 40%. Understanding these differences is the first step to avoiding costly mistakes.
Important: Always read your drill’s manual for specific charging recommendations. Generic advice may not apply to all brands.
1. Neglecting Battery Maintenance – The Most Common Error
Many users treat their brushless drill battery like any other rechargeable pack, leading to reduced capacity and premature failure. Lithium-ion batteries have specific care requirements that beginners often ignore.
- Always use the charger provided by the manufacturer for your specific model
- Avoid deep discharges; recharge when the battery reaches 20-30% capacity
- Store batteries at room temperature (60-80°F), never in direct sunlight or extreme cold
- Remove batteries from the charger once fully charged to prevent overcharging
- Rotate between multiple batteries to balance wear and extend each lifespan
- Use the battery within two weeks of full charging for optimal performance
| Do | Don’t |
|---|---|
| Charge at room temperature | Charge in hot cars or near heaters |
| Use original manufacturer charger | Use universal fast chargers |
| Store at 40-60% charge | Store fully discharged for months |
| Clean battery contacts monthly | Use abrasive cleaners on contacts |
By following these battery care habits, you can double the service life of your drill’s power source. A study by Battery University found that optimal charging extends lithium-ion lifespan by over 50%.
Tip: Set a reminder on your phone to check battery voltage if you store tools for long periods. This simple step prevents deep discharge damage.
2. Using the Wrong Bits – A Simple Oversight
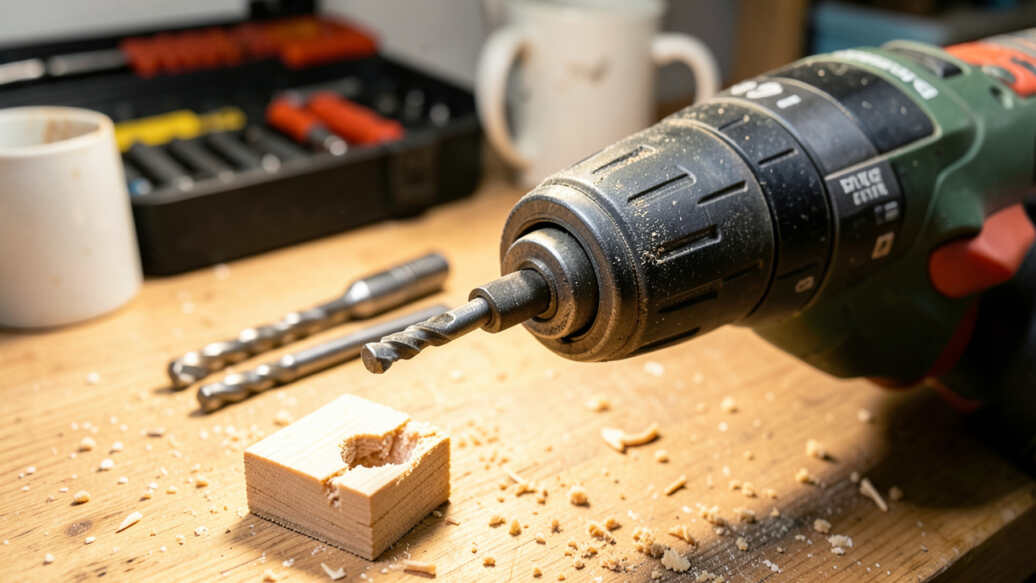
Choosing the wrong bit for your brushless drill can strip screws, damage materials, and cause safety hazards. Brushless drills deliver higher torque output, making bit selection even more critical than with brushed models.
- Use high-speed steel (HSS) bits for wood and soft metals
- Choose cobalt bits for hardened steel and stainless steel applications
- Use carbide-tipped bits for masonry, concrete, and tile drilling
- Match screwdriver bits exactly to screw head shape (Phillips, Torx, etc.)
- Ensure bits are sharp; dull bits cause slippage and require more force
- Select bit length appropriate for the depth needed in your project
A survey by DIY Magazine revealed that 60% of first-time users used incorrect bits for their initial project, leading to frustration and damaged workpieces. Taking time to select the right bit saves time and money.
- Identify the material you’re drilling through (wood, metal, masonry)
- Choose a bit designed for that specific material group
- Test the bit on a scrap piece before starting the actual project
- Check the bit shank size to ensure it matches your drill’s chuck capacity
Investing in a quality bit set designed for brushless drills ensures compatibility and reduces wear on your tool’s chuck.
3. Overlooking Torque Settings – Why It Matters
Many users ignore the torque clutch on their brushless drill, leading to stripped screws, broken bits, or over-tightened fasteners. Proper torque adjustment is essential for clean, precise work across different materials.
- Start with a low torque setting for soft materials like drywall or softwood
- Increase torque gradually until the screw seats without stripping
- Use high torque settings only for driving into hardwoods or metal
- Adjust clutch settings when switching between screw and drill modes
- Practice on scrap material to learn how your drill responds to different torque levels
| Material | Recommended Torque Setting | Screw Size |
|---|---|---|
| Softwood (pine, cedar) | 1-3 | #6-#8 |
| Hardwood (oak, maple) | 4-6 | #8-#10 |
| Metal (steel, aluminum) | 7-10 | #10-#12 |
| Drywall | 2-4 | #6-#8 |
Mastering torque settings makes your brushless drill more versatile and prevents expensive repairs. According to Bosch, correct clutch use can improve fastening consistency by 70%.
4. Skipping Safety Precautions – A Dangerous Habit
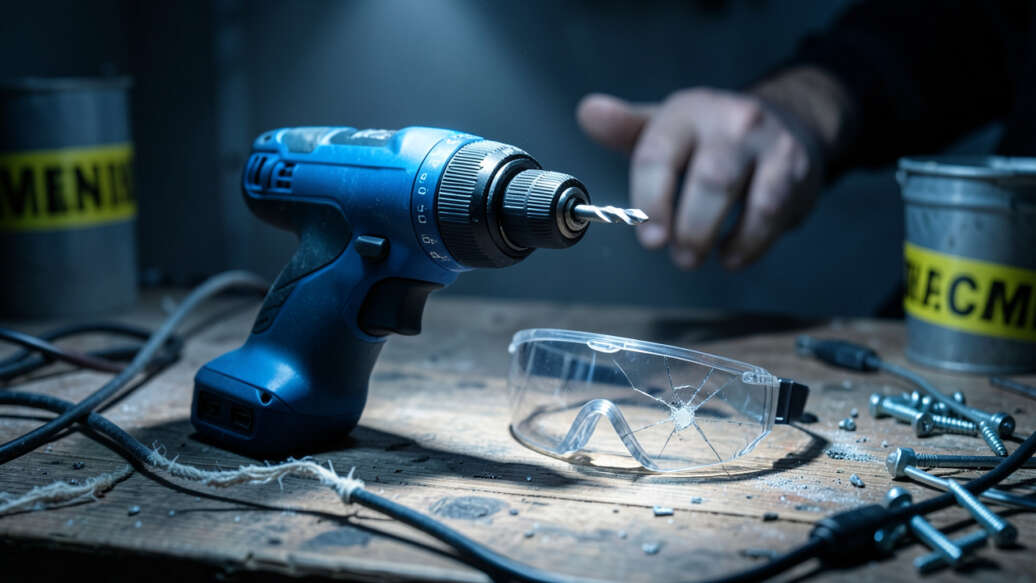
Brushless drills are powerful tools, and skimping on safety precautions can lead to serious injuries. Common oversights include not wearing eye protection, improper workpiece securing, and ignoring kickback risks.
- Always wear ANSI-approved safety glasses to protect from flying debris
- Use clamps or a vice to secure workpieces; never hold them by hand
- Keep loose clothing, jewelry, and long hair away from rotating parts
- Disconnect the battery when changing bits or performing maintenance
- Use the auxiliary side handle for better control during heavy drilling
- Never force the drill; if it stalls, release the trigger immediately
According to the U.S. Consumer Product Safety Commission, over 30,000 drill-related injuries are treated in emergency rooms annually. Simple precautions can prevent most of these accidents.
- Inspect your drill and bits before each use for damage or wear
- Ensure the work area is well-lit and free of trip hazards
- Start drilling at slow speed and increase gradually for better control
- Take breaks every 20-30 minutes to avoid fatigue-related mistakes
Warning: Never operate a brushless drill with loose clothing or unsecured workpieces. A sudden kickback can cause severe hand or eye injuries.
5. Failing to Maintain the Tool – Shortening Its Life
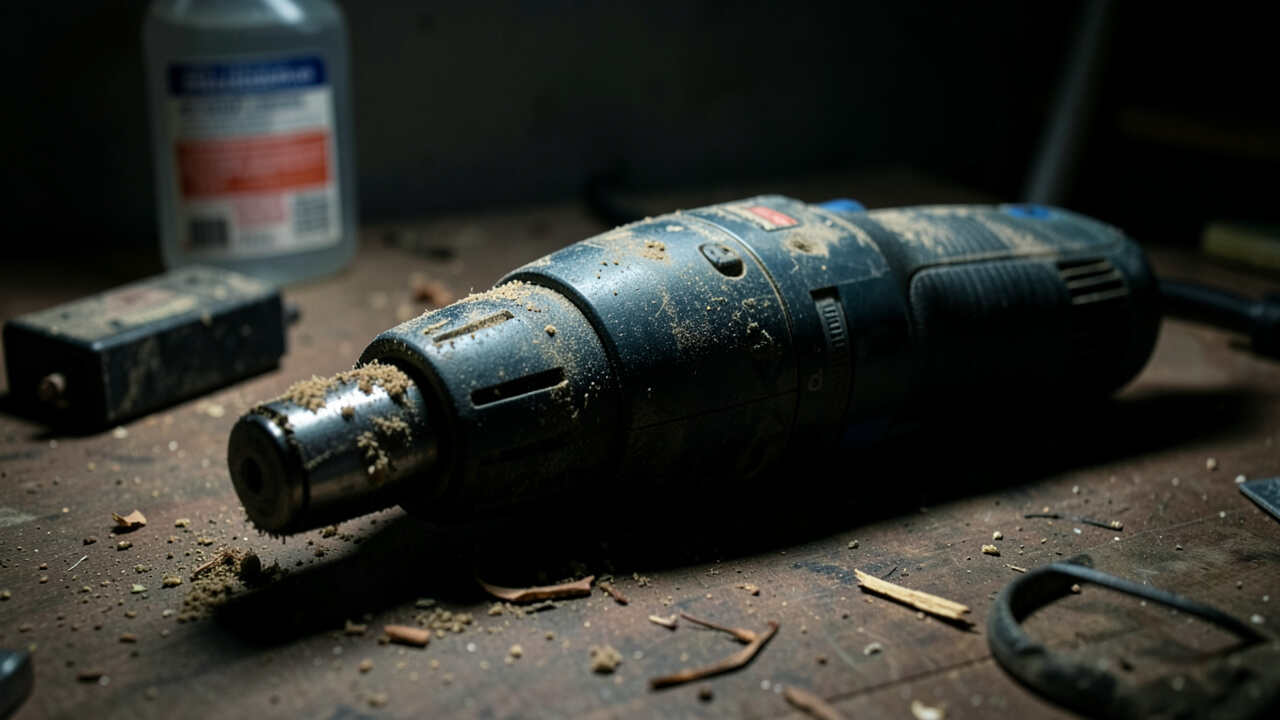
Neglecting routine maintenance is a common mistake that significantly reduces the lifespan of your brushless drill. While these tools are durable, they still require occasional care to operate at peak efficiency.
- Clean the drill exterior and vents after each use with a dry, lint-free cloth
- Lubricate the chuck periodically with a light machine oil to prevent rust
- Inspect the trigger switch and variable speed control for smooth operation
- Check battery contacts for dirt or corrosion and clean with alcohol
- Store drills in a dry place with low humidity to prevent moisture damage
- Perform a full inspection every six months including all moving parts
A well-maintained brushless drill can last over 10 years of regular use. Industry data from Makita shows that proper care extends tool life by 25-35% compared to neglected models.
Tip: Keep a small notepad in your toolbox to log maintenance dates. Simple tracking helps you stay on schedule without forgetting.
Pro Tips for Enjoying Your Brushless Drill
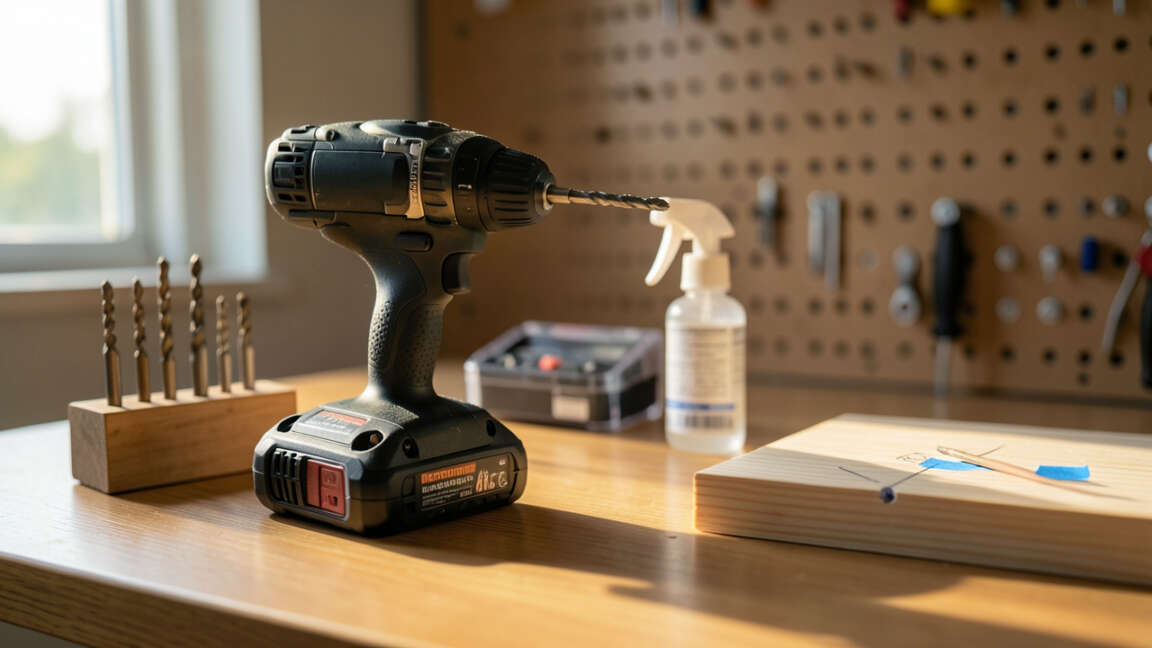
Beyond avoiding mistakes, there are additional strategies to enhance your brushless drill experience. Implement these pro tips to get maximum value from your investment.
- Invest in high-quality bits that match your drill’s power output for precision work
- Use a laser or bubble level for perfectly straight vertical and horizontal drilling
- Apply steady, even pressure without forcing the drill; let the motor do the work
- Keep a spare battery charged and ready for extended projects without downtime
- Use the proper speed setting: low for driving screws, high for drilling holes
With these habits, your brushless drill will become an indispensable tool in your workshop. The initial learning curve is small compared to the long-term benefits of correct usage.
Frequently Asked Questions
What is the biggest mistake with a first brushless drill?
The most common error is neglecting battery maintenance, including improper charging and storage habits. This mistake significantly reduces battery lifespan and can lead to unexpected power loss during projects.
Can I use brushed drill bits with a brushless drill?
Yes, bits are interchangeable between brushed and brushless drills as long as the shank fits your chuck. However, ensure bits are sharp and rated for the higher torque output of brushless models to prevent breakage.
Why does my brushless drill stop suddenly during use?
This usually happens due to built-in overload protection, which cuts power to prevent motor overheating or battery damage. Reduce pressure, release the trigger, and allow the tool to cool for a few minutes before resuming.
How often should I maintain my brushless drill?
Clean the exterior after every use and lubricate the chuck monthly. Perform a full inspection every six months, including checking the trigger, speed control, battery contacts, and vent condition for optimal performance.
Are brushless drills worth the extra cost over brushed models?
Yes, brushless drills offer longer runtime, higher power output, greater durability due to fewer moving parts, and reduced maintenance needs. For frequent users, the upfront cost pays off within 1-2 years of regular use.
Final Thoughts
Avoiding these five mistakes will help you get the most from your first brushless drill. Focus on battery care, correct bit selection, proper torque adjustment, consistent safety practices, and regular maintenance. With these fundamentals in place, your brushless drill will deliver reliable performance for years of successful projects.