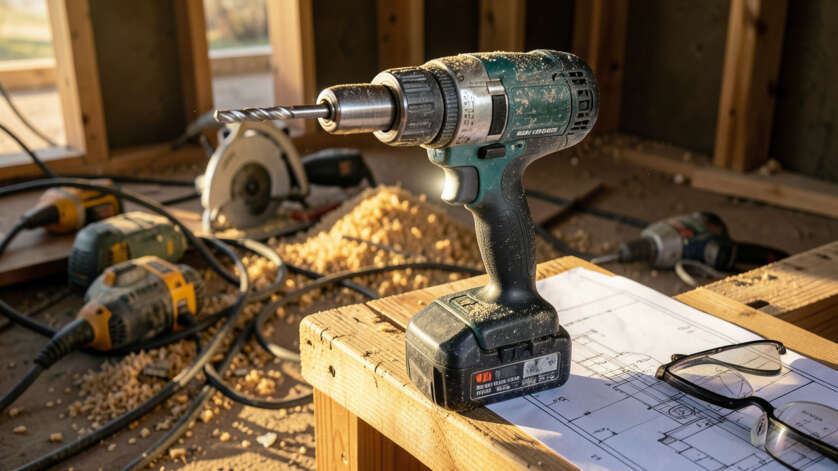
Using a hammer drill in a home DIY workshop on wood or metal without disabling the hammer function causes splintering, bit dulling, and poor hole quality because the rapid hammering action is designed for masonry. The tool’s combination of rotation and forward percussion is ideal for brick, concrete, and stone but risks damaging softer materials and bits in non-masonry tasks. Modern hammer drills allow users to toggle off the hammer mode, making them safe for standard drilling when the hammer function is correctly switched off.
Using a hammer drill in a home DIY workshop can lead to unexpected results if you choose the wrong tool for your material. This post explains exactly what happens when you use a hammer drill on wood, metal, and other common workshop materials—and when you actually need one.
Simply put, a hammer drill delivers rapid hammering action along with rotation, making it ideal for masonry but risky for softer materials. In a home DIY workshop, using one on wood or metal can cause tear-out, bit damage, and poor hole quality unless you disable the hammer function.
Key Takeaways
- Hammer drills combine rotation with rapid forward hammering, making them perfect for brick, concrete, and stone.
- Using a hammer drill on wood without switching off the hammer mode can splinter the surface and over-drill your hole.
- On metal, the hammer action dulls bits quickly and leaves rough, oversized holes.
- Most modern hammer drills let you toggle the hammer function off for standard drilling tasks.
- For occasional masonry work at home, a hammer drill is worth having—just know when to use each mode.
What Is a Hammer Drill and How Does It Work?
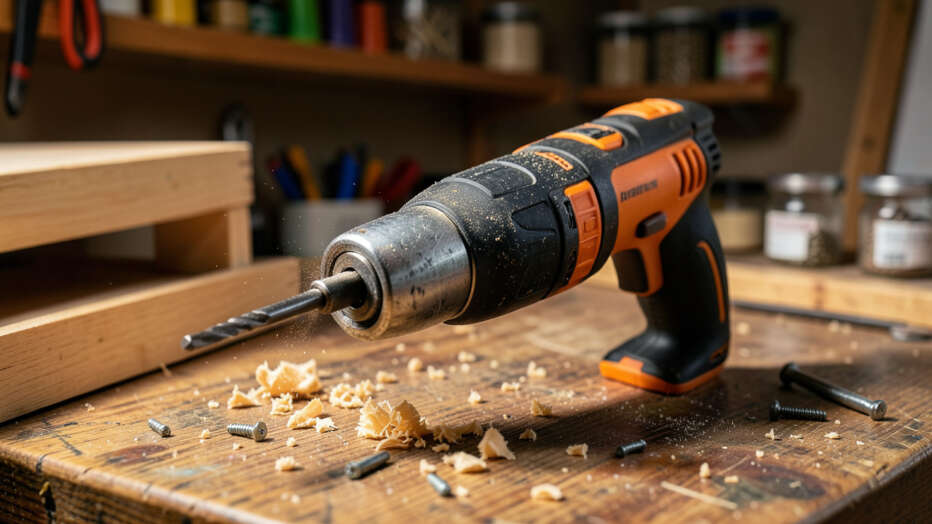
A hammer drill is a power tool that adds a percussive, forward-pounding action to the standard rotary motion of a drill. Inside the tool, two grooved discs or a mechanical clutch create rapid, short bursts of force as the chuck spins. This hammering action can reach speeds of 20,000 to 50,000 blows per minute depending on the model.
The main job of a hammer drill is to bore into hard, brittle materials like concrete, brick, and stone. The rotation cuts the material while the hammering fractures it, allowing the bit to advance quickly. Standard drills lack this percussive force, so they struggle in masonry unless you have a very sharp bit and a lot of patience.
Most hammer drills today have a selector switch or collar that lets you toggle between three modes: drill only, hammer drill, and sometimes screwdriving. This makes them versatile for a home workshop. When the hammer mode is off, the tool behaves like a regular power drill, which gives you flexibility without needing a second machine.
- Rotation speed: Typically 0–3,000 RPM for most cordless models
- Impact rate: 20,000–50,000 BPM (blows per minute)
- Impact energy: Low for standard hammer drills, higher for rotary hammers (SDS)
- Chuck type: Usually keyless, 3/8-inch or 1/2-inch
- Motor type: Brushed or brushless; brushless is more efficient and lasts longer
- Power source: Corded (120V) or cordless (12V–20V lithium-ion)
- Weight range: 3.5 to 8 pounds depending on size and battery
The key difference between a hammer drill and a rotary hammer (often called an SDS drill) is the mechanism. A hammer drill uses a cam-action or clutch system that gives a milder, faster vibration. A rotary hammer uses a piston-driven air system that delivers much more impact force, making it necessary for heavy-duty concrete drilling.
For home DIY workshop tasks, a standard hammer drill is usually sufficient.
Important: If your project involves drilling into reinforced concrete or thick stone slabs, a rotary hammer is the correct tool. A standard hammer drill will struggle and overheat in those conditions.
What Happens When You Use a Hammer Drill on Wood?
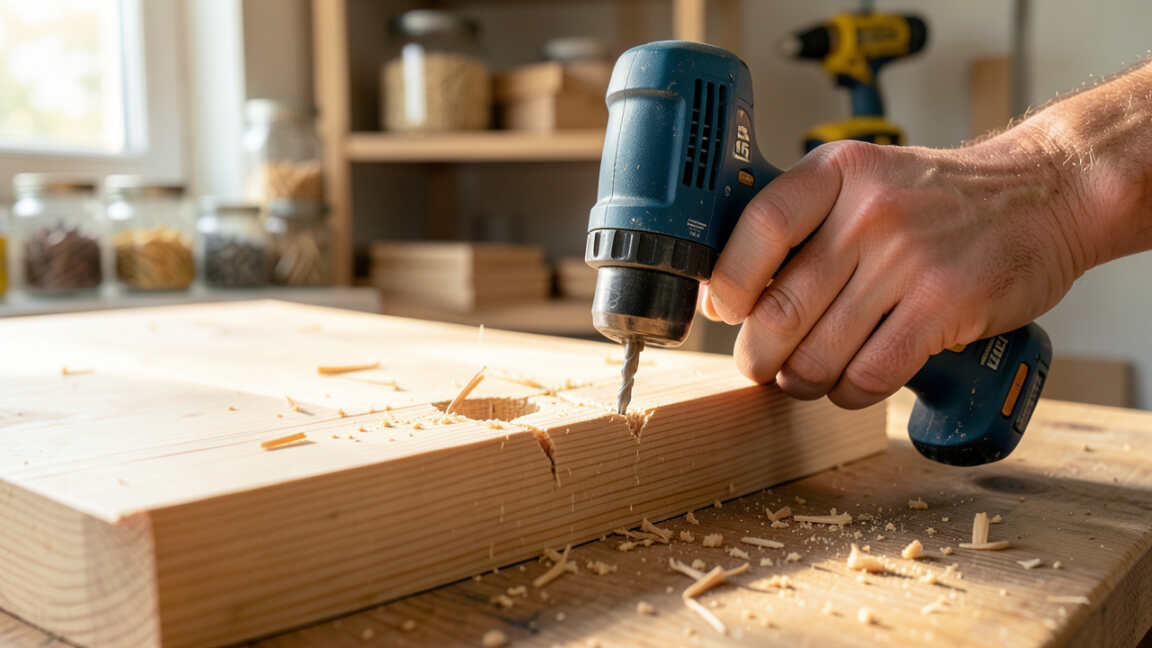
Using a hammer drill on wood with the hammer mode activated causes several problems. The rapid forward-pounding action pushes the bit deeper than you intend, often in an uneven way. Instead of a clean cylindrical hole, you get a rough, oversized opening with torn fibers around the rim.
This is especially visible on plywood, MDF, and hardwood surfaces.
The hammering also makes it very difficult to control the depth of your hole. Even with a depth stop, the percussive force can cause the bit to lunge forward. For precision woodworking tasks like doweling, joinery, or installing hinges, this lack of control ruins your workpiece.
You may also experience significant splintering on the exit side of the board.
Another issue is bit damage. Standard wood drill bits are not designed to withstand repeated hammering. The cutting edges can chip or dull quickly, and the bit may bind in the hole.
Twist bits, spade bits, and Forstner bits all suffer when subjected to percussive force. Only masonry bits are built to handle the impact.
| Wood Type | Hammer Drill Result (Hammer On) | Standard Drill Result |
|---|---|---|
| Softwood (pine, cedar) | Torn grain, splintered edges, oversize hole | Clean hole, minimal tear-out |
| Hardwood (oak, maple) | Rough walls, burned edges, bit dulling | Smooth hole, good bit life |
| Plywood | Delamination, splintering on both sides | Clean cut with backer board |
| MDF / particleboard | Chipped edges, rough surface, dust blowout | Smooth hole, little chip-out |
The bottom line for woodworking: switch the hammer drill to drill-only mode. That gives you the power and speed you need without the damaging percussive action. If your hammer drill lacks a mode selector, use a standard drill or impact driver for wood projects instead.
Tip: To avoid splintering on the back side of wood, place a scrap board behind your workpiece before drilling. This works whether you use a hammer drill or a standard drill.
What Happens When You Use a Hammer Drill on Metal?
Using a hammer drill on metal with the hammer mode active is almost always a bad idea. Metal is not brittle like concrete—it is ductile and tough. The hammering action does not help the bit cut faster.
Instead, it causes the bit to bounce and chatter across the surface, making it very difficult to start a hole accurately. You end up with a scratched, gouged surface and a wandering pilot point.
The chattering also generates excessive heat. Metal drilling already produces significant friction heat, and the added percussion pushes temperatures even higher. This heat rapidly dulls high-speed steel (HSS) bits and can even soften the metal around the hole.
For stainless steel or hardened steel, the results are even worse—the bit may break or the workpiece may work-harden, becoming nearly impossible to drill through.
Another problem is hole quality. A hammer drill on metal creates an uneven, oversized hole with rough edges. The percussion can cause the bit to wobble, producing a hole that is not perfectly round.
For precision work like drilling for bolts, screws, or dowel pins, this is unacceptable. You also risk damaging the material’s surface finish if you are working with painted, coated, or polished metal.
| Metal Type | Hammer Drill Result | Recommended Tool |
|---|---|---|
| Steel (mild) | Chatter, wandering start, rough hole | Standard drill, lower speed |
| Stainless steel | Bit dulling, work hardening, possible breakage | Cobalt bit, standard drill, slow speed |
| Aluminum | Galling, rough edges, bit clogging | Standard drill, sharp bit, lubricant |
| Sheet metal (thin) | Tearing, distortion, hole deformation | Step drill, standard drill, low speed |
If you need to drill metal in your home DIY workshop, always disable the hammer function. Use a sharp HSS or cobalt bit, apply cutting oil or lubricant, and run the drill at a slower speed. A center punch mark helps keep the bit from wandering.
For thin sheet metal, clamp the piece between two wooden blocks to prevent distortion and tear-out.
Warning: Never use a hammer drill with the hammer mode on while holding metal with your bare hand or with light clamping. The vibration and chatter can cause the workpiece to shift violently, leading to injury.
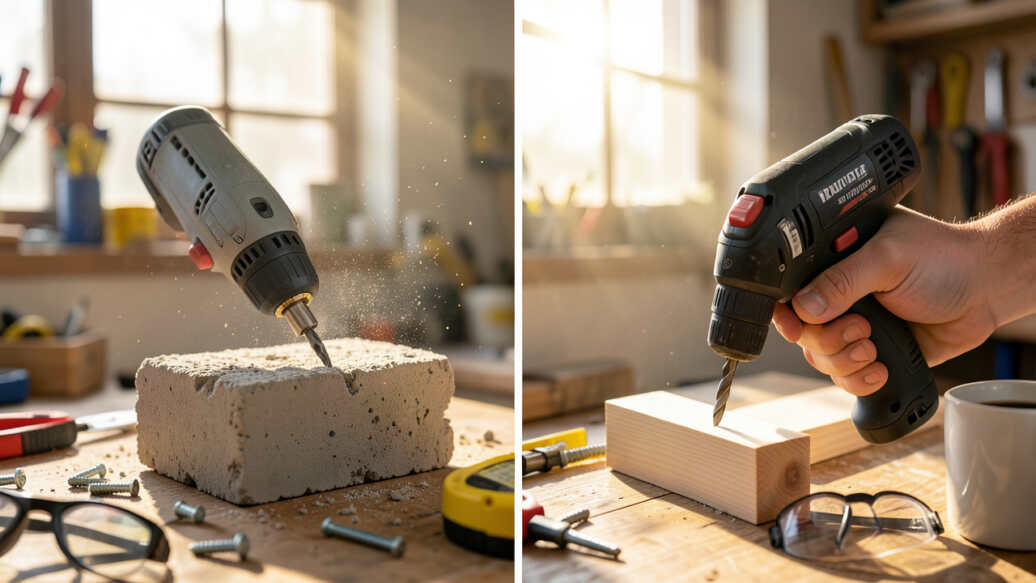
How Does a Hammer Drill Compare to a Regular Drill?
A standard drill (also called a drill/driver) spins the chuck without any forward percussion. It is designed for wood, metal, plastic, and drywall—materials that cut cleanly with rotation alone. A hammer drill adds the impact mechanism, which makes it heavier, louder, and more expensive.
According to the Power Tool Institute, a hammer drill can produce up to 30 times more axial force than a standard drill of the same size.
The main trade-off is versatility versus specialization. A standard drill is lighter, quieter, and better for precise work. It starts holes accurately, runs more smoothly, and is easier to control at low speeds.
A hammer drill gives you masonry capability but adds bulk and complexity. Many DIYers choose a hammer drill as their only drill because the mode selector lets them turn off the hammer action when needed.
Here is a quick breakdown of the differences:
- Weight: Hammer drills are typically 1–3 pounds heavier than comparable standard drills
- Noise: Hammer drills produce 85–100 dB in hammer mode vs. 70–80 dB for standard drills
- Cost: A quality cordless hammer drill costs $100–$250; a standard drill costs $60–$150
- Chuck size: Hammer drills often have 1/2-inch chucks; standard drills may have 3/8-inch
- Speed control: Hammer drills offer variable speed but can be jumpy at low RPM
- Battery life: Hammer mode drains batteries 20–40% faster than standard drilling
- Bit compatibility: Hammer drills accept all standard bits but require masonry bits for hammer mode
According to a 2023 report from the Home Improvement Research Institute, about 65% of DIYers who own a hammer drill use it almost exclusively in drill-only mode. Only about 20% of home workshop drilling tasks actually require the hammer function. This suggests that many homeowners buy a hammer drill for its masonry capability but end up using it as a standard drill most of the time.
For a home DIY workshop, a hammer drill with a reliable mode selector offers the best of both worlds. You get masonry power when you need it and standard drilling precision the rest of the time. If you never drill into concrete or brick, a standard drill is lighter, cheaper, and more pleasant to use every day.
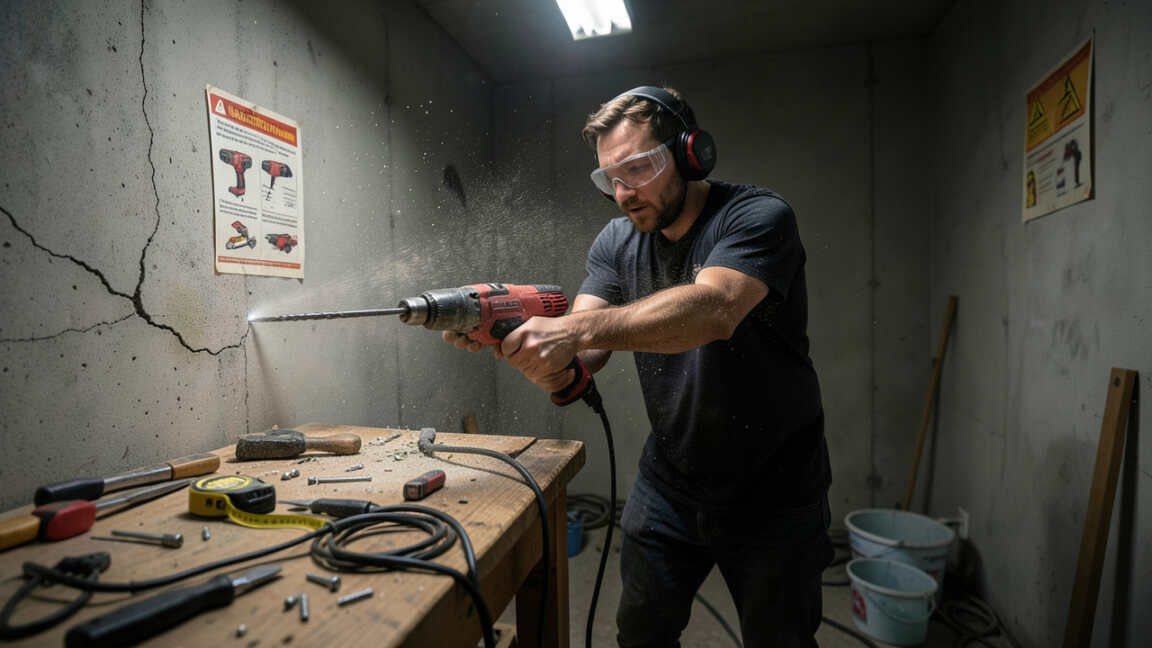
What Are the Risks of Using a Hammer Drill in a Home Workshop?
Using a hammer drill in a home DIY workshop carries several risks, especially if you use the wrong mode or bit for the job. The most common issue is material damage—splintering wood, rough metal holes, cracking tile, or breaking thin stone. These mistakes cost you time and materials and can ruin a project that took hours to prepare.
There are also safety risks to consider. The hammering action creates strong vibration that travels through the tool and into your hands and arms. Prolonged use without proper grip or anti-vibration gloves can lead to hand-arm vibration syndrome (HAVS), a condition that causes numbness, tingling, and reduced grip strength.
The National Institute for Occupational Safety and Health (NIOSH) recommends limiting daily exposure to vibration based on the tool’s vibration level.
Kickback is another concern. When the bit binds in a material, the hammer action can cause the drill to twist violently in your hands. This is more likely with hammer drills than standard drills because the percussive force keeps the bit moving forward even when it is stuck.
Always use the auxiliary handle that comes with most hammer drills to maintain control.
- Material damage: Splintering, cracking, oversizing, and surface marring on wood, metal, and tile
- Bit breakage: Standard bits snapping or chipping due to percussion stress
- Kickback injury: Sudden drill twist when the bit binds in hammer mode
- Vibration exposure: Hand fatigue and potential long-term nerve damage with heavy use
- Hearing damage: Noise levels above 85 dB require ear protection in hammer mode
- Dust inhalation: Masonry drilling creates silica dust—use a mask and vacuum attachment
- Overheating tool: Extended hammer drilling can overheat the motor, especially in corded models
To minimize these risks, always wear safety glasses, hearing protection, and a dust mask when using a hammer drill. Use the correct bit type for your material. Keep a firm two-handed grip.
And most importantly, switch to drill-only mode whenever you work on wood, metal, plastic, or drywall in your home workshop.
Tip: Anti-vibration gloves with gel padding can reduce hand fatigue significantly when using a hammer drill for masonry work. They cost $20–$40 and are worth the investment for regular use.
When Should You Actually Use a Hammer Drill in a Home DIY Workshop?
You should use a hammer drill in your home workshop when you need to drill into masonry materials. This includes brick walls, concrete blocks, mortar joints, stone veneer, and ceramic or porcelain tile. These materials are too hard for a standard drill to penetrate efficiently, and the hammer action is what makes the job possible without spending all day on a single hole.
Common home workshop tasks that justify using a hammer drill include:
- Mounting shelves or cabinets to a concrete or brick wall
- Installing anchors for heavy workshop equipment (workbench, vice, dust collector)
- Drilling holes in concrete blocks for wiring or conduit
- Setting fence posts or mailbox posts into concrete footings
- Attaching a TV mount or heavy mirror to a masonry wall
- Drilling into tile for bathroom or kitchen fixtures
- Making holes in stone or brick for outdoor lighting
For these tasks, always use a masonry bit with a carbide tip. Run the drill at medium to high speed with steady, moderate pressure—do not push hard. Let the hammer action do the work.
Pull the bit out periodically to clear dust and prevent binding. For deep holes, start with a smaller bit and step up in size.
The key is knowing when NOT to use hammer mode. If you work with wood, metal, plastic, drywall, or laminate in your workshop, keep the hammer function off. Many newer hammer drills have a visible icon or color indicator showing which mode is active.
Check this before you start drilling to avoid accidental damage.
Important: When drilling into tile, start in drill-only mode to create a small pilot mark. Then switch to hammer mode once the bit has bitten into the tile surface. This prevents the bit from skidding across the glossy finish.
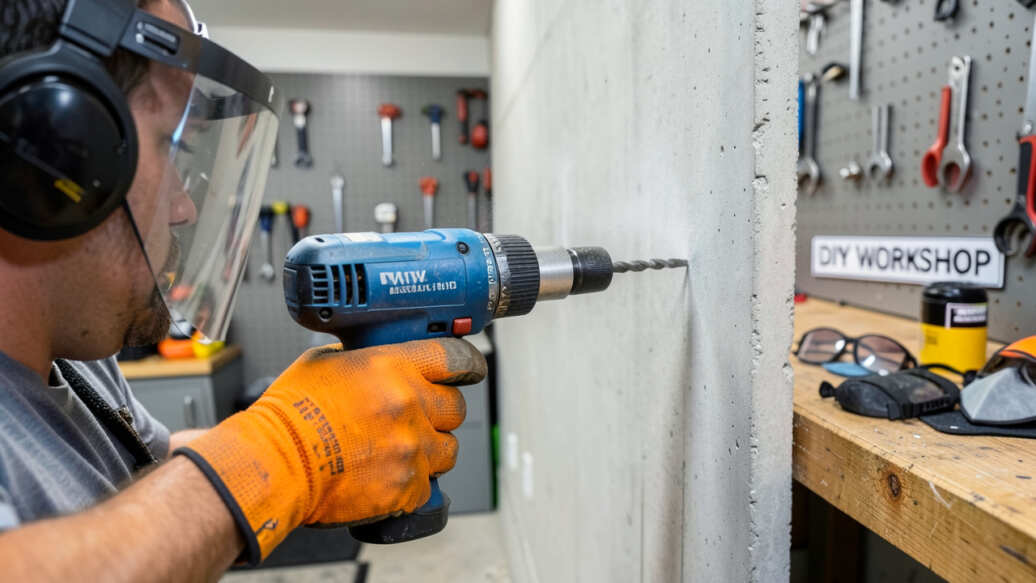
How to Use a Hammer Drill Safely in a Home Workshop
Safe operation of a hammer drill starts with understanding your tool. Read the manual to know where the mode selector is and how to switch between drilling and hammer-drill settings. Check that your bit is sharp and appropriate for the material.
A dull masonry bit forces you to push harder, which increases vibration and reduces control.
Here is a step-by-step process for safe hammer drill use in a home workshop:
- Select the correct mode: Set the collar to drill-only for wood and metal, hammer drill for masonry and tile
- Install the right bit: Use a carbide-tipped masonry bit for hammer mode; HSS or wood bits for standard mode
- Secure your workpiece: Clamp wood and metal pieces firmly to the workbench to prevent spinning
- Mark your spot: Use a center punch on metal, a nail set on wood, or masking tape on tile to prevent wandering
- Set depth: Attach a depth stop or mark the bit with tape so you do not drill too deep
- Start slow: Begin at low speed to create a dimple, then increase to full speed
- Apply steady pressure: Let the tool do the work—do not lean into it with your body weight
- Clear dust frequently: Pull the bit out every few seconds to remove debris from the hole
- Use two hands: Always grip the main handle and the auxiliary side handle for control
- Wear PPE: Safety glasses, ear plugs or muffs, a dust mask (N95 for masonry), and work gloves
After you finish drilling, switch the tool back to drill-only mode before storing it. This prevents accidental hammer action the next time you grab the drill. Clean the bit and the chuck to remove dust and debris.
Store your hammer drill in a dry place, and charge batteries if you use a cordless model.
For cordless hammer drills, battery selection matters. A 20V or 18V battery with 4Ah capacity or higher gives you enough runtime for most home workshop jobs without frequent swaps. The U.S.
Consumer Product Safety Commission notes that overheated lithium-ion batteries are a fire risk, so allow the battery to cool before recharging if it feels hot after heavy use.
Warning: Never use a hammer drill in wet conditions or with a damaged cord or battery. Water and electricity create a serious shock hazard. If you drop the drill in water, unplug it immediately and let it dry completely before using it again.
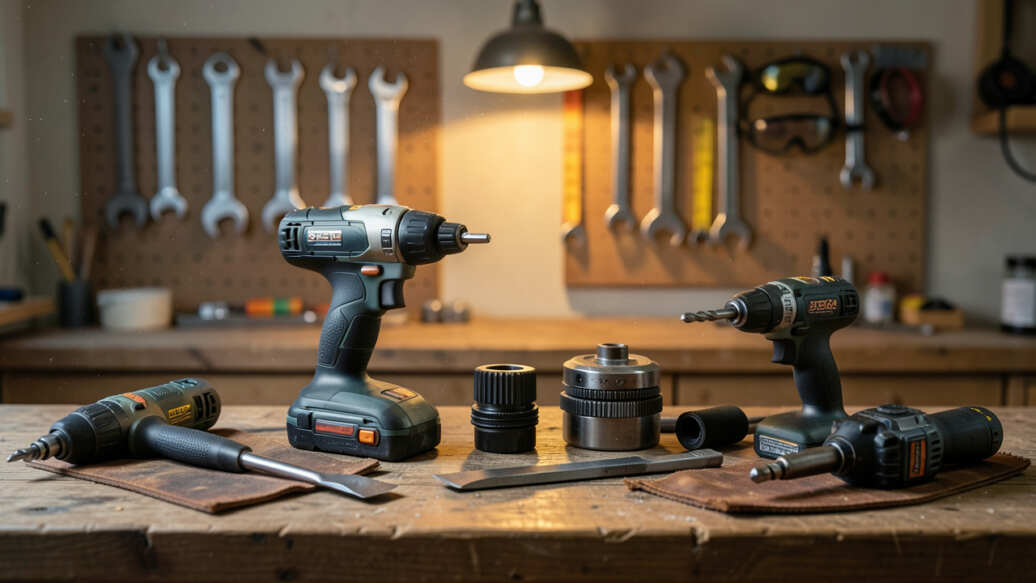
What Tools Can Replace a Hammer Drill for Home DIY?
If you do not want to buy a hammer drill or find one too heavy for daily use, several alternatives handle specific tasks in a home workshop. Each tool has strengths and weaknesses, so matching the tool to the job is essential.
For standard drilling in wood, metal, and plastic, a standard cordless drill/driver is the best replacement. It is lighter, quieter, and cheaper than a hammer drill. Most DIYers already own one.
For driving screws, an impact driver works even better because it delivers rotational impacts without forward hammering, making it ideal for long screws and dense wood.
For masonry work, you have two main alternatives:
- Rotary hammer (SDS drill): More powerful than a hammer drill, uses SDS bits, ideal for large holes in concrete. Heavier and more expensive ($150–$400) but much faster.
- Masonry bit in a standard drill: Works for small holes in soft brick or mortar. Slow and requires patience. Not effective for hard concrete or large diameters.
| Tool | Best For | Not Good For | Price Range |
|---|---|---|---|
| Standard drill | Wood, metal, plastic, drywall | Concrete, thick stone, large holes | $50–$150 |
| Impact driver | Driving screws, small holes in wood | Masonry, metal precision, large holes | $80–$200 |
| Rotary hammer (SDS) | Heavy concrete, large anchor holes | Precision woodwork, small bits | $150–$400 |
| Hammer drill | Masonry, tile, occasional general drilling | Precision woodworking, delicate materials | $100–$250 |
For most home DIY workshops, the best setup is a standard drill or impact driver for everyday tasks and a hammer drill (or rotary hammer) for masonry jobs. You do not need to replace your hammer drill—just learn when to use it and when to reach for a different tool.
Frequently Asked Questions
Can I use a hammer drill as a regular drill?
Yes, most modern hammer drills have a mode selector that disables the hammer action. When set to drill-only mode, the tool spins without percussion, making it suitable for wood, metal, plastic, and drywall. Always check the mode before starting to avoid accidental damage.
Will a hammer drill damage wood?
Yes, if the hammer mode is active. The percussive action can splinter the wood surface, create oversized holes, and exit the back side with significant tear-out. For wood drilling, switch to drill-only mode or use a standard drill instead.
What is the difference between a hammer drill and an impact driver?
A hammer drill produces forward percussion combined with rotation, designed for masonry. An impact driver delivers rotational impacts for driving screws—no forward hammering. They serve different purposes: hammer drills for drilling, impact drivers for fastening.
Do I need a hammer drill for home DIY projects?
You need a hammer drill if your workshop projects involve drilling into concrete, brick, stone, or tile. If you only work with wood, metal, and drywall, a standard drill or impact driver is sufficient. Many DIYers buy a hammer drill for occasional masonry work and use it in drill-only mode most of the time.
Can a hammer drill break concrete?
A standard hammer drill can handle small to medium holes in concrete, brick, and block. For large holes, thick reinforced concrete, or continuous use, a rotary hammer (SDS drill) is required. Using a hammer drill on very hard concrete for extended periods can overheat the tool and damage the motor.
Final Thoughts
Using a hammer drill in a home DIY workshop works well when you match the tool to the material. Use hammer mode for masonry and tile only, and switch to drill-only for wood, metal, and other soft materials. The risks—splintering, bit damage, kickback, and vibration—are easy to avoid with proper technique and mode selection.
A quality hammer drill with a reliable selector switch gives you the flexibility to handle both everyday drilling and occasional masonry work without owning three separate tools. Learn your drill’s settings, use the right bit for each job, and your home workshop will produce clean, professional results every time.