
Cordless drills lose torque primarily due to battery degradation, worn motor brushes, a slipping clutch, or a failing gearbox. Battery health is critical because old or damaged cells cannot supply enough current to maintain rotational force. Diagnosing the exact cause through battery testing, clutch adjustment, and listening for mechanical noise can often lead to a repairable fix rather than requiring a new drill.
When your cordless drill loses torque, even simple screwdriving tasks become frustrating struggles that drain your battery and your patience. Torque is the rotational force that powers through tough materials, and without it, your drill becomes nearly useless for demanding jobs. This post explains the most common causes of torque loss, how to diagnose them, and what you can do to restore full power to your tool.
Simply put, a cordless drill loses torque primarily due to battery degradation, worn motor brushes, a slipping clutch, or a failing gearbox. Most issues are repairable, and knowing the root cause can save you the cost of a new drill.
Key Takeaways
- Battery health directly impacts torque output – old or damaged batteries cannot deliver sufficient current.
- Motor brush wear is the most common internal cause of cordless drill torque loss in brushed motors.
- Clutch and gearbox problems often mimic torque loss but are actually mechanical slip or gear damage.
- Regular maintenance like cleaning, lubrication, and proper charging prevents most torque-related failures.
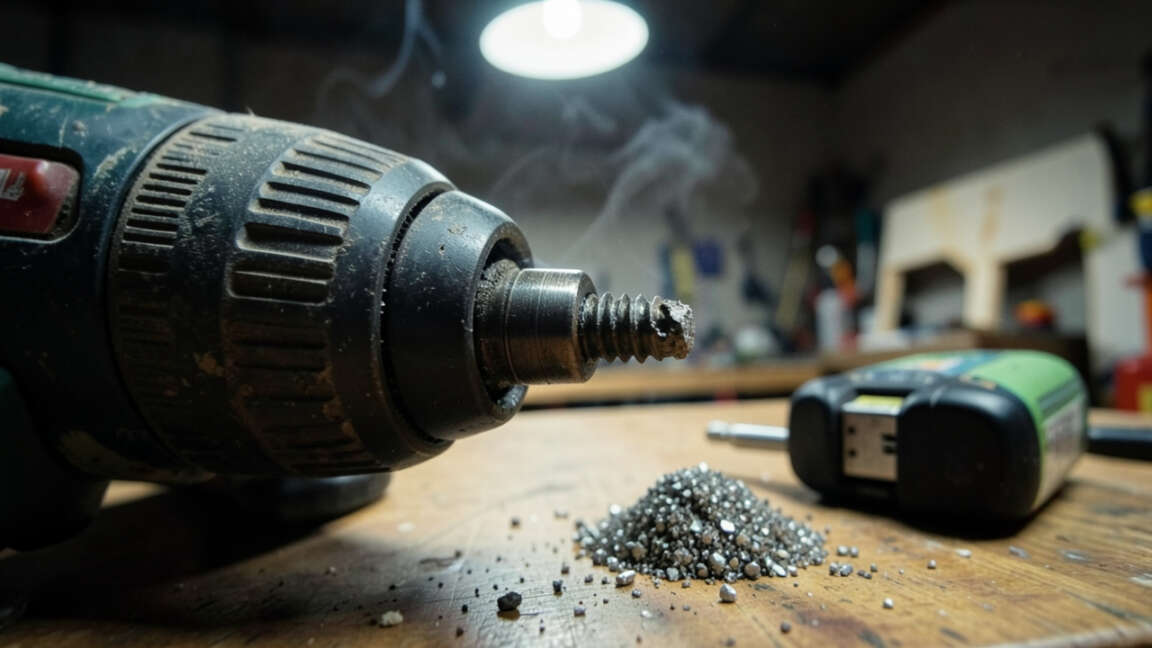
What Causes a Cordless Drill to Lose Torque?
Torque loss in a cordless drill does not happen overnight. It builds gradually as components wear, batteries age, and debris accumulates. Understanding the root causes helps you pinpoint exactly what is wrong with your tool.
The most common culprits fall into three categories: electrical issues (battery, motor), mechanical issues (gearbox, clutch), and user errors (bit selection, technique). Each category has specific symptoms you can learn to recognize.
- Battery degradation: Lithium-ion cells lose capacity and voltage after 300-500 charge cycles. When voltage drops, the motor cannot produce its rated torque.
- Worn motor brushes: In brushed drills, carbon brushes wear down and lose contact with the commutator, reducing power delivery to the motor windings.
- Clutch slipping: The adjustable torque ring controls a spring-loaded mechanism. If worn or misadjusted, the clutch disengages prematurely, making the drill feel weak.
- Gearbox damage: Stripped gears, broken planetary gears, or dried-out grease increase friction and reduce torque transfer to the chuck.
- Chuck slippage: A worn or dirty chuck can grip the bit poorly, causing it to spin inside the jaws rather than turning the screw.
- Overheating: Prolonged heavy use causes thermal shutdown or permanent magnet degradation in the motor.
- Environmental factors: Extreme cold reduces battery chemical reaction rates, lowering available current.
According to the Power Tool Institute, over 60% of cordless drill repair cases involve battery-related issues, while only about 15% involve actual motor failure. This means many users replace drills that could have been fixed with a new battery or simple brush replacement.
Warning: Never force a drill that is slipping or losing power. Continued use under load can overheat the motor and permanently damage the windings or magnets.
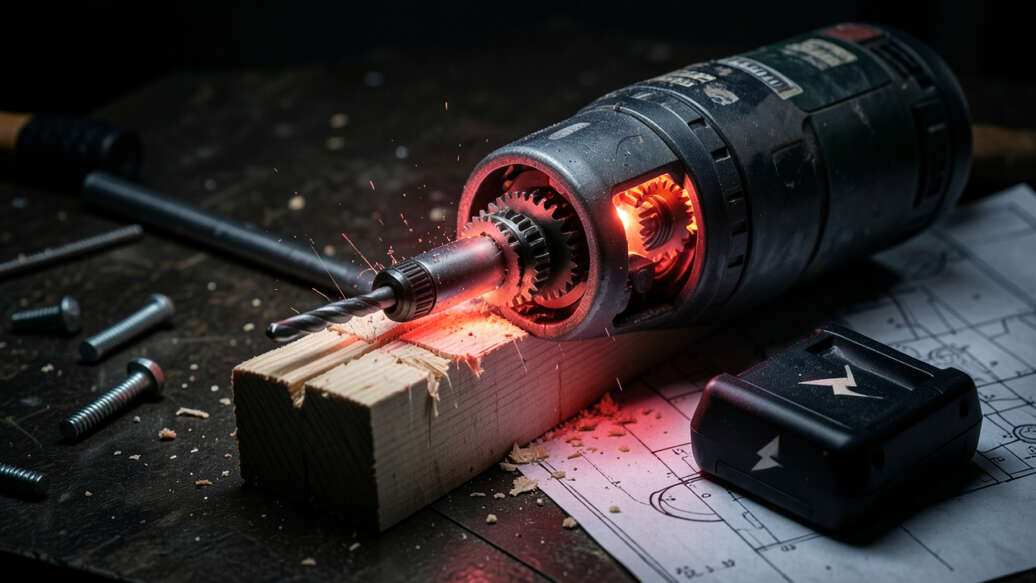
How to Diagnose Torque Loss in Your Cordless Drill
Before you order replacement parts or buy a new drill, you need to systematically isolate the problem. Follow this step-by-step diagnostic process to find exactly where your drill is losing torque.
Step 1: Test with a Known Good Battery
Borrow a fully charged battery from another compatible tool or a friend. If the drill performs normally, your original battery is the problem. If not, move to step two.
Step 2: Check the Chuck and Bit Interface
Clean the chuck jaws with a wire brush and compressed air. Insert a new, high-quality bit and tighten securely. If the bit still slips, the chuck may need replacement.
Step 3: Listen and Feel for Mechanical Noise
Run the drill in both forward and reverse at various speeds. Grinding, clicking, or rough vibrations indicate gearbox or bearing wear. A smooth hum with no load suggests electrical or clutch issues.
Step 4: Adjust the Clutch Setting
Turn the torque ring to the highest setting (usually a drill bit icon). If torque improves, you had the clutch set too low for the task. If no change, the clutch mechanism may be worn.
Step 5: Monitor Thermal Behavior
Use an infrared thermometer to check motor housing temperature after 30 seconds of heavy load. Normal range is 120-150°F. Above 180°F indicates excessive resistance or internal shorting.
- Test with a known good battery first (quickest and cheapest diagnosis).
- Inspect the chuck and bit for wear or contamination.
- Listen for unusual gearbox sounds during operation.
- Verify the clutch ring is set to the appropriate position.
- Measure operating temperature to rule out thermal issues.
The U.S. Consumer Product Safety Commission reports that improperly maintained power tools cause over 30,000 emergency room visits annually. A drill that loses torque under load may be signaling a safety hazard that requires immediate attention.
Important: Always unplug or remove the battery before inspecting or cleaning any internal components. Even with the switch off, residual charge in the capacitor can cause a shock.
Battery Problems That Cause Cordless Drill Torque Loss
Batteries are the number one cause of torque loss in cordless drills. A battery that looks fine externally may have internal cell imbalance, elevated internal resistance, or a failing protection circuit.
Modern lithium-ion batteries deliver 18V or 20V nominal under load. As cells age, voltage sag increases dramatically. Under heavy load, a degraded battery may drop to 12V or below, at which point the motor produces almost no usable torque.
- Voltage sag: Old batteries cannot maintain voltage when current draw peaks. This makes the drill feel like it is “dying” under load.
- Cell imbalance: When one cell in a multi-cell pack degrades faster than others, the battery management system (BMS) limits output to protect the weak cell.
- Swollen cells: Physical swelling indicates internal gas buildup from overcharging or thermal abuse. Swollen batteries must be recycled immediately.
- Cold temperature: At 32°F, lithium-ion batteries deliver about 50% of their rated capacity. At 0°F, output drops to around 20%.
- End of cycle life: Most lithium-ion drill batteries last 300-500 full charge cycles before capacity drops below 70% of original.
| Battery Condition | Voltage Under Load | Torque Output (Relative) |
|---|---|---|
| New battery | 18-20V | 100% |
| Moderately worn (150 cycles) | 15-17V | 75-85% |
| Heavily worn (400+ cycles) | 10-13V | 40-60% |
| Cold battery (32°F) | 12-14V | 50-60% |
This table clearly shows that battery condition directly correlates with torque output. A simple swap test with a known good battery is often all you need to confirm the root cause of your cordless drill torque loss.
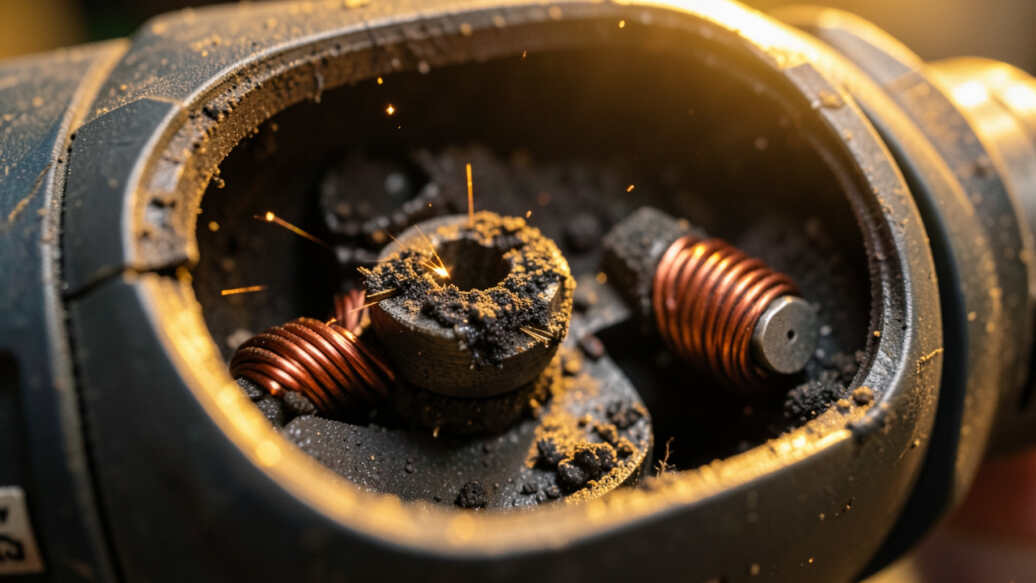
Motor and Brush Wear That Affects Torque
Brushed motors rely on carbon brushes to carry electrical current from the stationary housing to the spinning rotor. Over time, these brushes wear down. When brush length falls below 3-4mm, contact pressure decreases, and torque suffers dramatically.
Brushless motors, found in newer drills, eliminate this wear point. However, they can still suffer from bearing failure, magnet demagnetization, or electronic driver board issues that reduce torque output.
- Carbon brush length: New brushes are about 10-12mm long. Replace them when they reach 3-4mm. Running them shorter risks damaging the commutator.
- Commutator condition: The copper segments on the rotor can develop grooves, burns, or carbon buildup that reduces electrical contact and torque.
- Bearing wear: Worn motor bearings create drag, reducing the net torque available at the chuck. Listen for a rough, grinding sound.
- Magnet degradation: Overheating or physical shock can weaken permanent magnets. A demagnetized motor runs weak even with perfect electrical connections.
- Electronic speed controller (ESC) failure: In brushless drills, the ESC modulates power to the motor windings. A failing ESC can cause intermittent torque loss or pulsing power.
Bosch Power Tools reports that brush replacement restores full torque in approximately 85% of brushed drill complaints. The repair is inexpensive and takes less than 15 minutes for most models. This makes brush inspection a critical step in diagnosing cordless drill torque loss.
Tip: Keep a spare set of carbon brushes for each brushed drill you own. They cost less than $10 per pair and can extend the life of your drill by years.
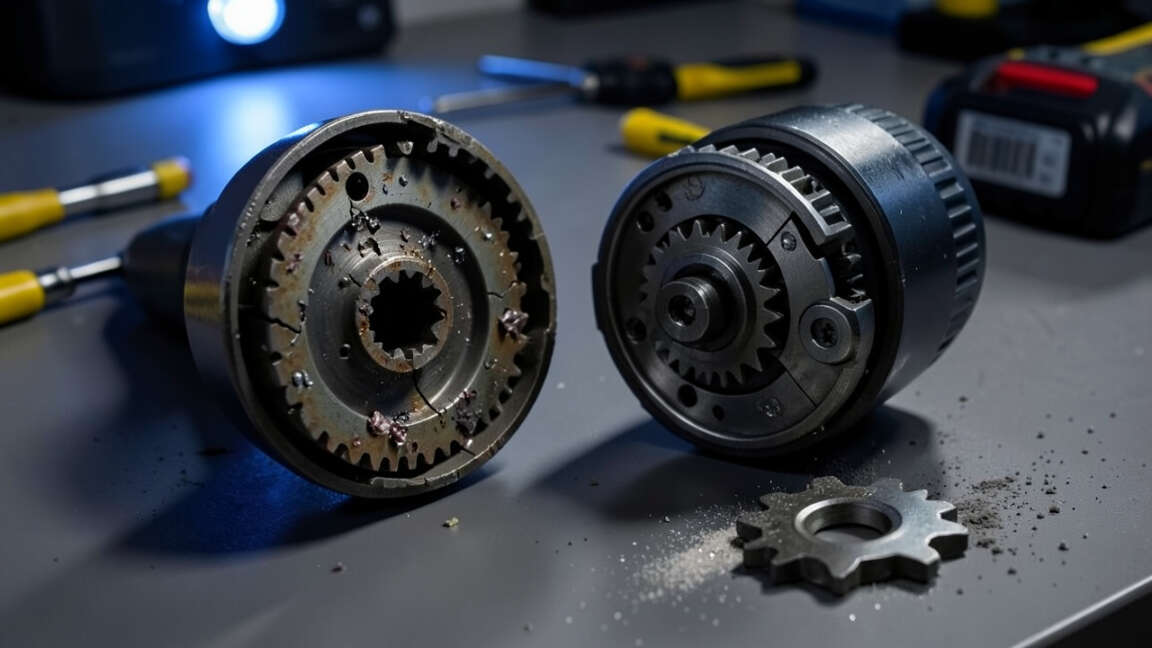
Clutch and Gearbox Issues That Mimic Torque Loss
Sometimes your drill feels weak, but the motor and battery are perfectly fine. The problem lies in the mechanical drivetrain. The clutch and gearbox are two common areas where torque can be effectively “lost” without any electrical issue.
The clutch mechanism uses a spring-loaded ball bearing or cam system. When the torque setting is too low, the clutch disengages, making the drill sound like it is slipping or losing power. If the clutch spring has weakened, it may disengage even at the highest setting.
- Worn clutch spring: Repeated use compresses and fatigues the spring. A weak spring engages at lower torque than the dial indicates.
- Contaminated clutch balls: Dust and debris can prevent the clutch balls from seating properly, causing erratic or premature disengagement.
- Stripped planetary gears: The gearbox uses planetary gears to multiply torque. Stripped teeth cause clicking, skipping, and sudden torque loss under load.
- Dried or contaminated grease: Gearbox grease thickens over time or becomes contaminated with metal particles, increasing friction and reducing efficiency.
- Broken gearbox housing: Cracks in the housing allow gears to shift out of alignment, reducing torque transfer.
| Symptom | Likely Cause | Fix |
|---|---|---|
| Motor runs but bit stops | Clutch slipping or chuck worn | Clean clutch, replace chuck |
| Clicking sound under load | Stripped gear or clutch | Replace gearbox or clutch |
| Rough operation at all speeds | Worn bearings or dried grease | Rebuild gearbox with fresh grease |
| Inconsistent torque, works then fails | Contaminated clutch mechanism | Disassemble and clean clutch |
Mechanical torque loss often produces distinct auditory and tactile cues. A worn clutch makes a rapid ratcheting sound. Stripped gears produce a single loud click followed by free spinning.
Learning to differentiate these sounds helps you diagnose the problem without disassembling the entire drill.
What Does a Failing Chuck Do to Torque?
The chuck is the final link between the drill and the bit. If the chuck cannot grip the bit securely, all the motor torque in the world will not translate into useful work. Chuck problems are often mistaken for torque loss.
Keyless chucks rely on a friction ring and internal jaws to clamp the bit. Over time, dirt, metal shavings, and wear degrade gripping power. A bit that spins in the chuck wastes virtually all applied torque.
- Dirty jaws: Debris prevents the jaws from closing fully. Clean with a wire brush and compressed air.
- Worn jaw teeth: The biting surfaces of the jaws become rounded. Replace the chuck when this occurs.
- Stripped chuck threads: The threaded collar that tightens the jaws can strip, preventing proper clamping force.
- Loose chuck retention screw: If the screw holding the chuck to the spindle is loose, the entire chuck can spin on the shaft.
- Improper bit seating: Hex shank bits can be inserted at an angle, causing them to slip under load.
Replacing a chuck is a straightforward repair that typically costs between $15 and $30 for most consumer-grade drills. Many users buy a new drill when a $20 chuck replacement would have solved the problem. Always test with a freshly tightened, clean bit before blaming the motor or battery for cordless drill torque loss.
Tip: Use a hex shank bit whenever possible. Hex shanks resist twisting better than round shanks and stay seated more securely in the chuck.
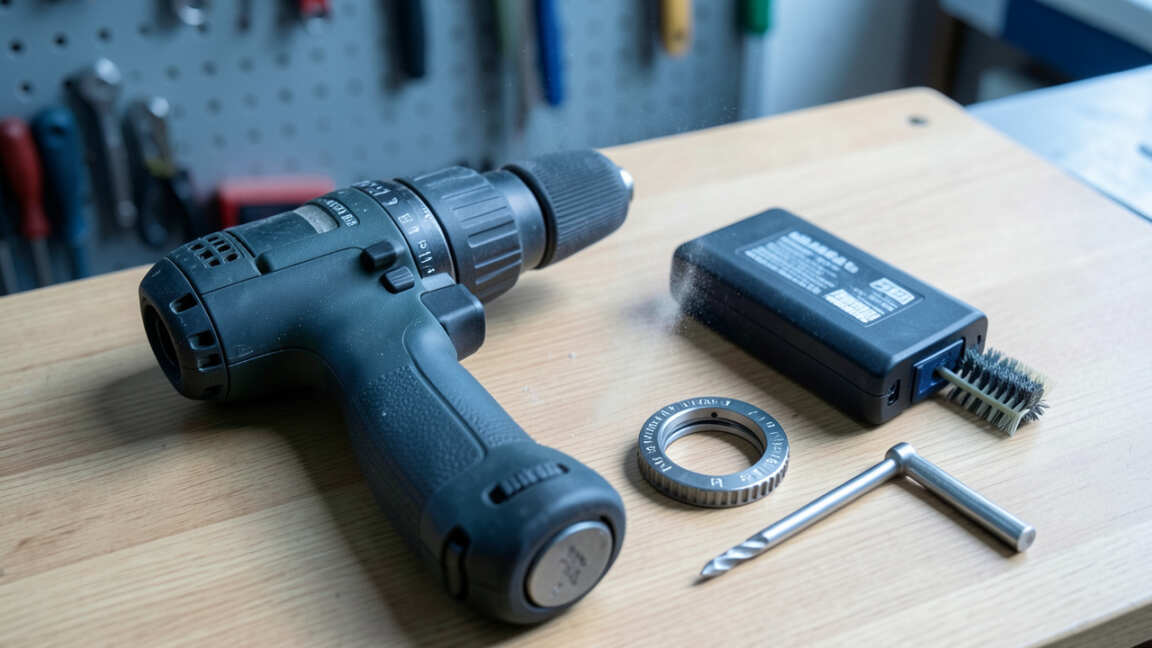
How to Prevent Torque Loss in Your Cordless Drill
Prevention is always cheaper and easier than repair. With a few simple habits, you can keep your cordless drill operating at peak torque for years longer than average. These practices address the most common failure points we have discussed.
The National Association of Home Builders reports that cordless drills are the most frequently used power tool on job sites, averaging over 5,000 cycles per year. Proper maintenance can extend a drill’s useful life from 3 years to 8 years or more.
- Store batteries at partial charge: Lithium-ion cells last longest when stored at 40-60% charge. Avoid storing them fully charged or fully depleted for extended periods.
- Clean the chuck after every job: Use compressed air to blow out dust and debris from the chuck jaws. Metal shavings are especially abrasive to the gripping surfaces.
- Lubricate the gearbox annually: If your drill is serviceable, open the gearbox and replace the grease every year for heavy use, or every two years for occasional use.
- Replace brushes proactively: Check brush length every 6 months. Replace them at 4mm length rather than waiting until they fail.
- Avoid overloading: If the drill stalls, release the trigger immediately. Continuing to apply power during a stall heats the motor and degrades magnets.
- Use the right bit for the material: Driving a 3-inch screw into hardwood with a dull bit puts extreme stress on the drill’s drivetrain.
Warning: Never use a hammer drill function for standard screwdriving. The hammer mechanism creates axial shock loads that damage the gearbox and clutch.
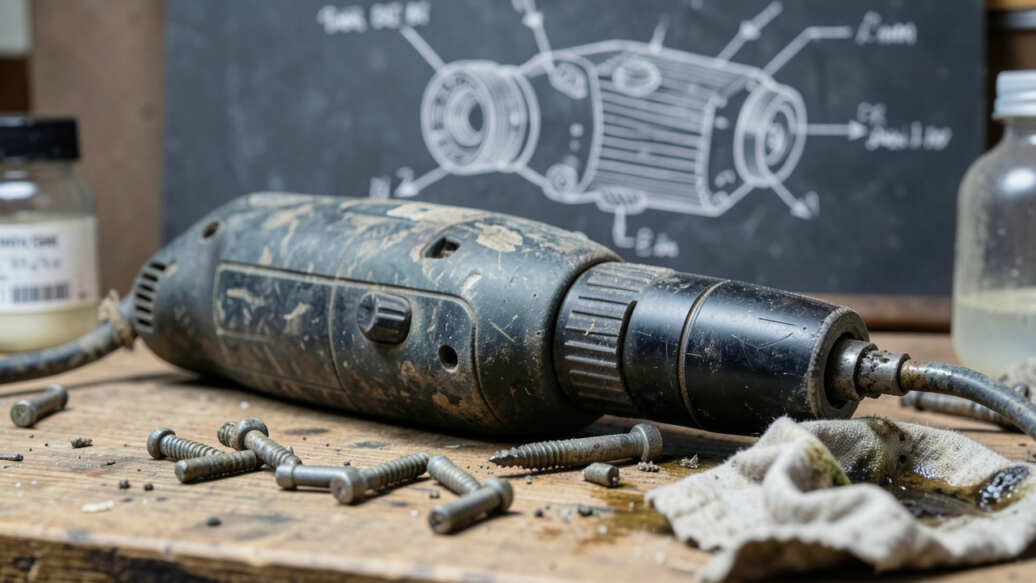
Common Mistakes That Cause Torque Loss
Many users inadvertently accelerate torque loss through simple errors in operation and maintenance. Recognizing these mistakes can save you hundreds of dollars in premature tool replacement.
Professional tool repair shops consistently cite the same user behaviors as primary contributors to premature drill failure. Avoiding these five mistakes will dramatically extend your drill’s torque life.
- Using the wrong clutch setting: Running at “drill” mode (max torque) for every task wears the clutch spring faster and stresses the gearbox. Set the clutch appropriately for each screw size and material.
- Ignoring battery temperature: Charging a hot battery (above 100°F) damages cells and reduces future power delivery. Let batteries cool for 30 minutes after heavy use before charging.
- Forcing a dull bit: A dull bit requires far more torque to cut. This overloads the motor and battery. Replace or sharpen bits regularly.
- Storing drills in dirty environments: Construction dust, drywall dust, and metal filings enter the chuck and clutch mechanism. Store your drill in a clean, sealed case.
- Skipping gearbox maintenance: The gearbox grease collects metal particles over time. Without replacement, this abrasive paste accelerates gear and bearing wear.
According to a 2023 survey by Tools in Action magazine, 72% of professional contractors reported that regular maintenance reduced drill downtime by at least 40%. Simple habits like cleaning the chuck and checking brushes pay significant dividends in tool longevity.
Frequently Asked Questions
Can a dead battery make my drill lose torque?
Yes. A battery that is nearing the end of its charge or has degraded internal cells cannot deliver the current required for peak torque. Always test with a freshly charged, known-good battery before diagnosing other issues.
How do I know if my drill clutch is slipping vs.
the motor is weak?
A slipping clutch produces a rapid ratcheting or clicking sound, while the motor continues to spin normally. A weak motor sounds like it is struggling or bogging down under load without the clicking sound. Set the clutch to the highest setting to eliminate clutch slip from your diagnosis.
Is it worth replacing the motor brushes in my cordless drill?
Absolutely.
Brush replacement costs $5 to $15 and takes about 10 minutes on most brushed drills. If the commutator is not damaged, new brushes typically restore 100% of the original torque. This is the most cost-effective repair for torque loss.
Why does my drill lose torque when it gets hot?
Heat increases electrical resistance in motor windings and reduces magnet strength.
Additionally, many drill electronics include thermal protection that reduces power to prevent damage. Let the drill cool for 15 minutes before resuming heavy work.
Can I fix stripped gearbox gears myself?
Yes, but it requires patience and the right tools. You need to disassemble the gearbox, identify the damaged gear (usually planetary gears), order the correct replacement part, and reassemble with fresh grease.
Video tutorials for specific drill models are widely available.
Final Thoughts
Cordless drill torque loss is almost always caused by one of a few common issues: battery degradation, worn brushes, a slipping clutch, or a dirty chuck. Diagnosing the problem systematically saves you time, money, and frustration. With basic maintenance and occasional part replacement, you can keep your drill performing at full power for years.
Do not give up on a good drill that simply needs a little attention.