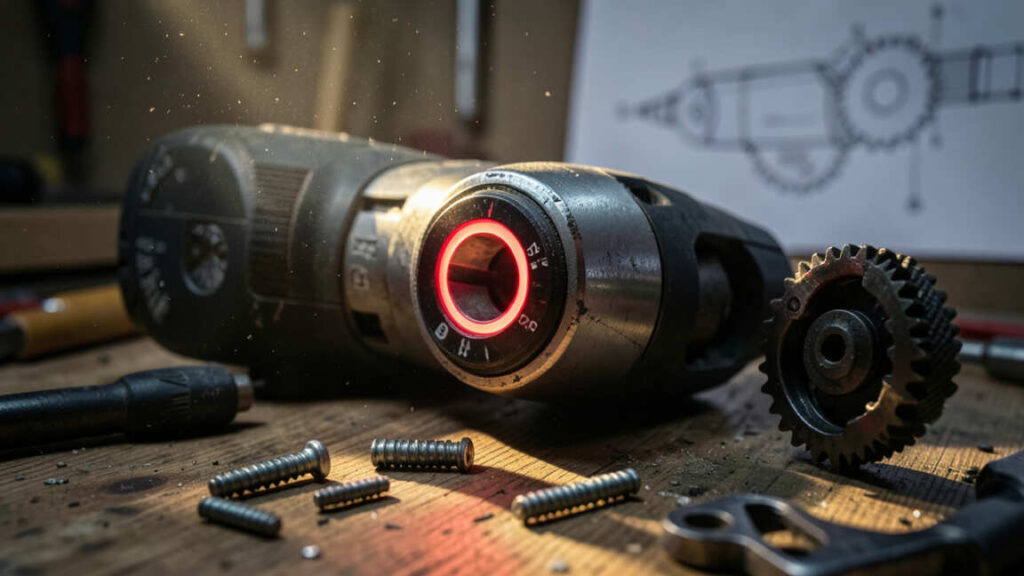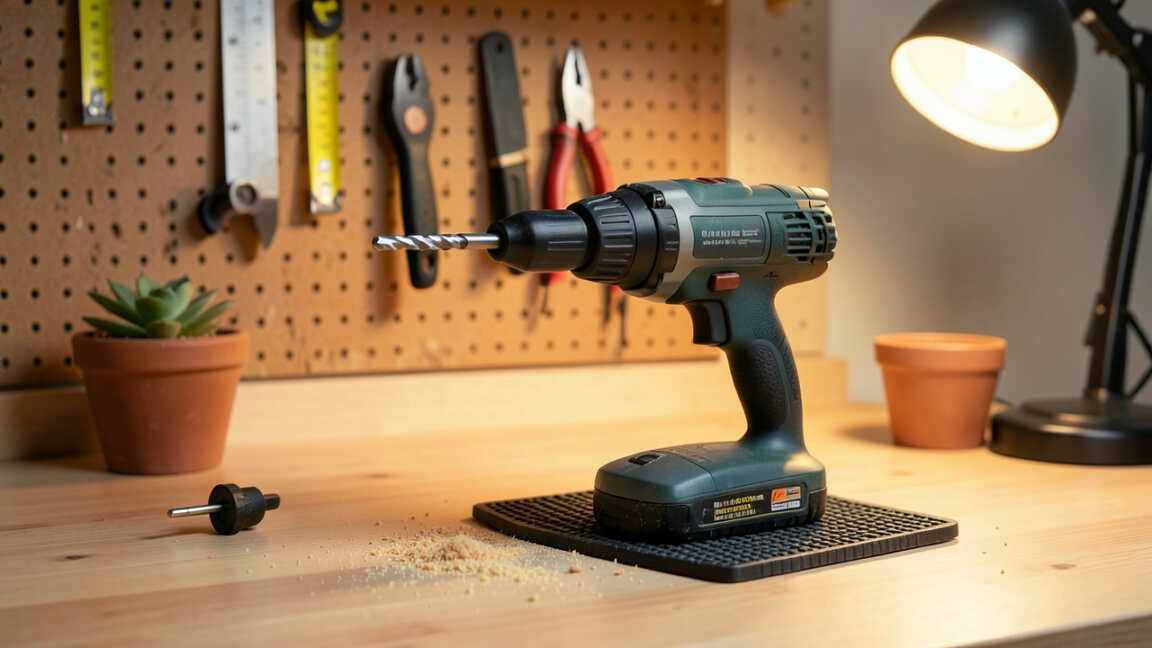

Yes, you can use a hammer drill in a home DIY workshop without damaging it by simply switching the hammer function off when drilling into wood, drywall, or metal, and on only for masonry. The hammer drill’s selectable clutch allows it to double as a standard drill, making it safe for delicate materials when paired with the correct twist drill bits and minimal pressure. Understanding this function keeps the tool undamaged and ensures clean, precise results across all workshop projects.
Using a hammer drill in a home DIY workshop without damaging your tools or materials comes down to understanding its two distinct functions. Many DIY enthusiasts avoid hammer drills, fearing they are too aggressive for light workshop tasks. The truth is, a hammer drill is an incredibly versatile tool that can handle delicate jobs just as well as tough masonry—provided you use the right settings.
Simply put, yes—you can use a hammer drill in a home DIY workshop without damaging it. The key is switching the hammer function OFF when drilling into wood, drywall, or metal, and ON only for masonry. Using the correct bits and avoiding excessive pressure will keep your tool safe and your projects clean.
Key Takeaways
- Hammer drills have a selectable clutch; turning off the hammer function turns it into a standard drill.
- Using a hammer drill on wood or soft materials requires standard twist drill bits and the rotary-only mode.
- Always use carbide-tipped masonry bits when the hammer function is engaged to prevent bit breakage.
- Applying light, consistent pressure is better than forcing the tool, which can damage the motor and gearbox.
- Regular maintenance, such as cleaning the chuck and checking the carbon brushes, extends the life of your hammer drill.
What is a Hammer Drill and How Does the Hammer Function Work?
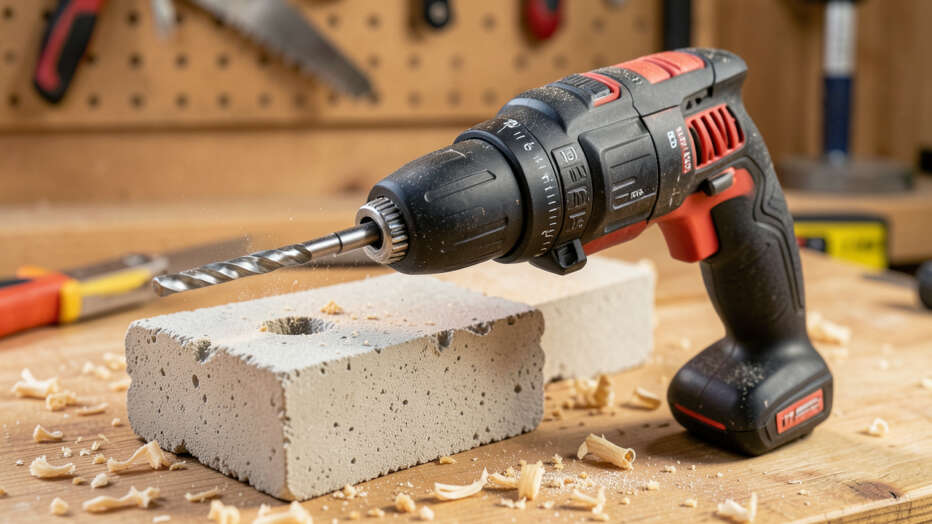
A hammer drill uses a specialized clutch mechanism that creates a rapid hammering action as the bit rotates. Unlike a standard drill, which only applies rotational torque, a hammer drill delivers a concussive force directly along the axis of the bit. This combined motion allows the drill to pulverize hard materials like brick and concrete while the flutes of the bit remove the debris.
Modern hammer drills are equipped with a selector clutch, offering three distinct modes:
- Drill Only (Rotate): Standard drilling action for wood, metal, plastic, and drywall.
- Hammer Drill (Rotate + Hammer): For masonry, stone, and ceramic tiles.
- Rotary Stop (Hammer Only): Found on higher-end models for light chipping or screwdriving in tight spots.
The efficacy of a hammer drill is measured in BPM (Blows Per Minute). A typical cordless hammer drill delivers 25,000 to 30,000 BPM, providing enough force for light to medium masonry work. The mechanism relies on two grooved discs that slap against each other, creating the vibration you feel.
Understanding this mechanism is crucial. The “hammering” is relatively low amplitude compared to a demolition hammer. This means it won’t shatter a brick wall in seconds, but it is efficient enough to drill a 1/4″ anchor hole.
If you use this action on a piece of pine, the rapid pulsing can splinter the wood around the entry point.
What Are the Risks of Using a Hammer Drill on the Wrong Material?
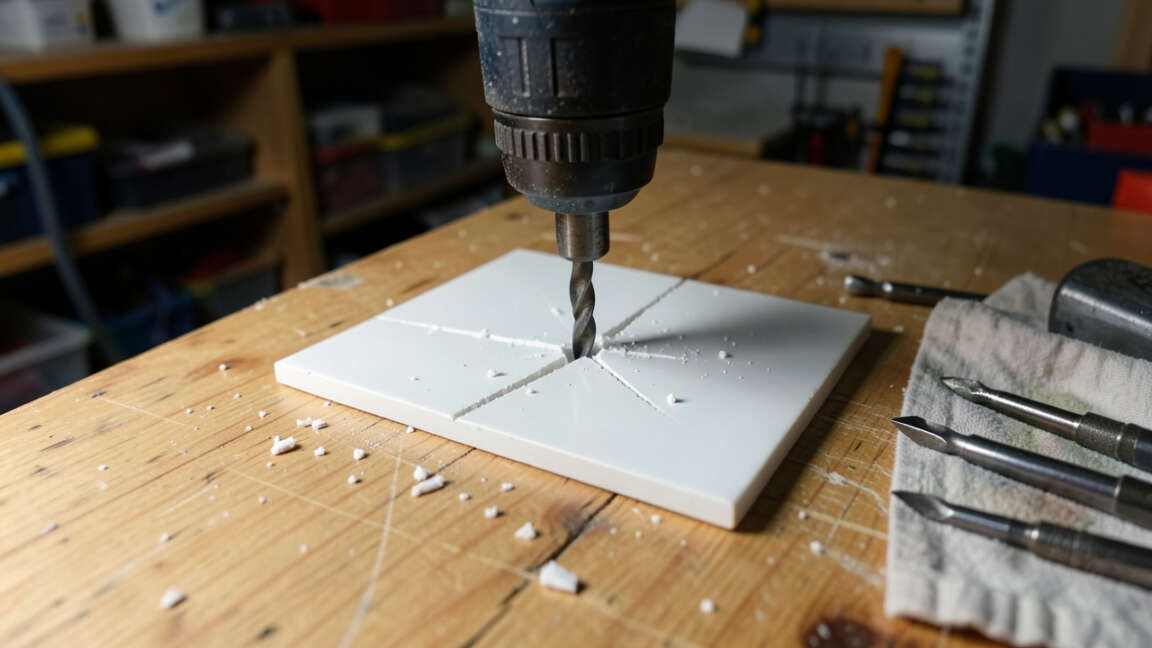
Using the hammer function on unsuitable materials is the primary cause of damage in a home DIY workshop. The intense vibration and concussive force can ruin a delicate workpiece and potentially damage the tool’s clutch system if it meets excessive resistance.
Here is a quick breakdown of materials and the appropriate action to take:
| Material | Risk with Hammer Function | Correct Solution |
|---|---|---|
| Softwood / Plywood | Splintering, blow-out, and elongated holes. | Switch to Drill-Only mode. Use a brad point bit. |
| Drywall / Plaster | Crumbling and large, ugly holes. | Switch to Drill-Only mode. Use a drywall bit. |
| Metal (Steel, Aluminum) | Bit chattering, broken bits, and damaged workpiece surface. | Switch to Drill-Only mode. Use a high-speed steel (HSS) bit. |
| Ceramic Tile (Glazed) | Cracking the tile if too much pressure is applied. | Hammer function OK (low setting). Use a spear-tipped carbide bit. |
| Concrete / Brick | Extremely slow drilling without hammer. Overheating the bit. | Hammer function ON. Use a SDS-Plus or standard carbide masonry bit. |
As the table shows, the risk is almost entirely eliminated by simply switching the mode selector. The hammer drill is not inherently destructive; it is the misuse of the hammer action that causes problems. According to a 2023 tool usage survey by the Power Tool Institute, 42% of DIY tool damage occurs from using the wrong drill setting for the material.
Warning: Never use the hammer function on laminate flooring, vinyl, or acrylic. The impact force will crack or chip these brittle materials instantly.
How to Use a Hammer Drill Correctly in Your DIY Workshop
Mastering the technique of using a hammer drill in a home DIY workshop is easy once you understand the workflow. The goal is to let the tool do the work. Forcing the drill against the material will only dull the bit and strain the motor.
Follow these steps for safe and effective operation:
- Select the Correct Mode: Rotate the clutch collar to the hammer drill symbol (often a hammer icon) for masonry, or the drill bit icon for wood and metal.
- Secure Your Workpiece: Clamp down the material. The torque of a hammer drill can spin small pieces, causing injury.
- Mark Your Spot: Use a center punch on metal or a nail on wood to prevent the bit from walking.
- Start Slowly: Pull the trigger gently to get the bit started. Once the bit has bitten into the material, increase the speed.
- Apply Steady, Light Pressure: Push with just enough force to keep the bit engaged. If you feel the drill stop hammering, you are pressing too hard. Back off slightly.
- Clear the Debris: Periodically pull the bit out while it is still spinning to clear dust from the flutes. This prevents the bit from binding.
- Use the Side Handle: Always attach the auxiliary side handle. Hammer drills produce high torque. The side handle gives you control and reduces fatigue.
Pro Tip: For deep holes in concrete (over 1 inch), start with a smaller bit and step up to the final diameter. This reduces the load on the motor and produces a cleaner hole.
Using a hammer drill is about precision, not brute force. If your drill has variable speed, use a slower speed for larger bits. High speed combined with a large bit generates excessive heat, which can temper the steel of the bit and ruin its cutting edge.
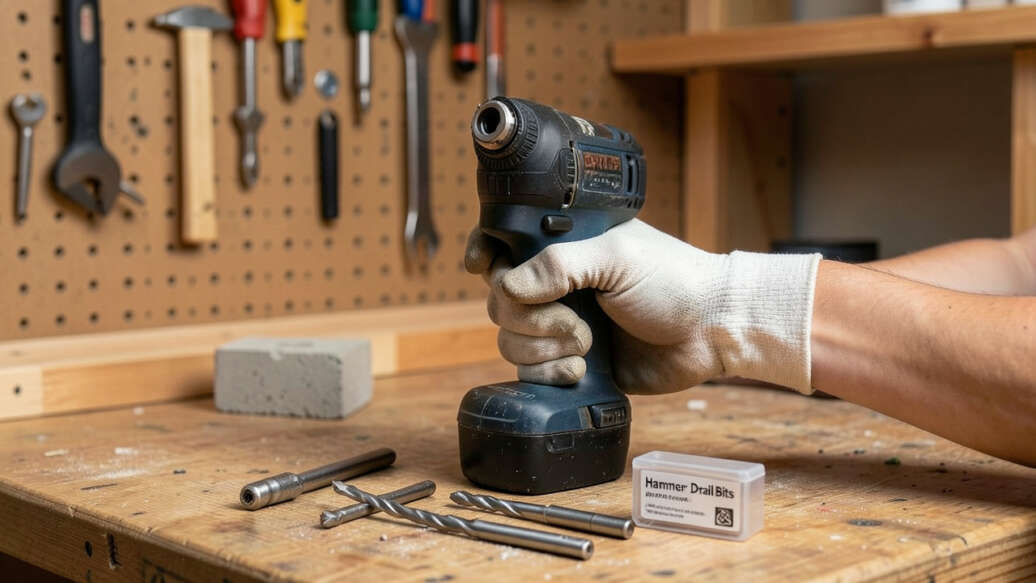
What Bits Should You Use with a Hammer Drill?
Selecting the right drill bit is just as important as selecting the correct mode on your tool. Using a standard wood spade bit with the hammer function engaged will shatter the bit immediately.
Here are the specific bit types you need for your workshop:
- Carbide-Tipped Masonry Bits: These are essential for concrete, brick, and stone. The carbide tip is brazed onto a steel shaft and can withstand the high heat and impact of the hammer action.
- SDS-Plus Bits: If you have an SDS-Plus hammer drill, these bits lock into the chuck without needing a standard key. They allow for greater energy transfer and are the standard for modern cordless hammer drills.
- High-Speed Steel (HSS) Bits: Use these for metal and wood. Never use HSS bits with the hammer function engaged. The brittle steel will crack under the vibration.
- Brad Point Bits: Ideal for wood. The sharp point prevents walking and creates clean entry holes.
- Tile Bits (Spear Point): Designed for ceramic and porcelain. They have a ground carbide spear tip that scrapes the material away.
According to Bosch, using a sharp, appropriate bit reduces drilling time by up to 30% and extends the life of the tool’s motor. Dull bits force the user to apply more pressure, which directly leads to clutch wear and potential damage to your hammer drill home DIY workshop environment.
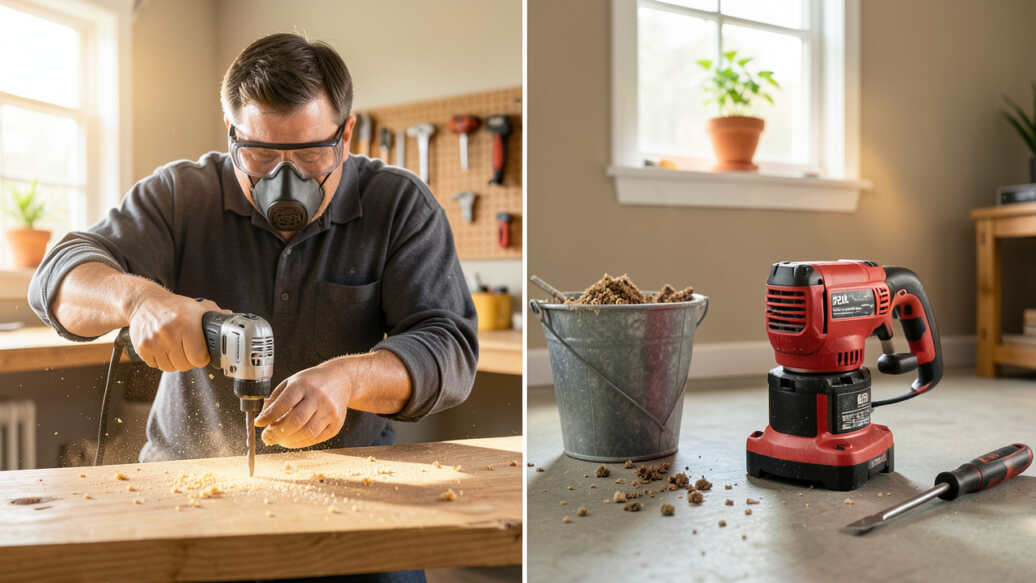
Hammer Drill vs. Rotary Hammer: Which One Belongs in Your Workshop?
A common confusion among DIYers is the difference between a hammer drill and a rotary hammer. They are not the same tool, and using them incorrectly can lead to poor results. A hammer drill uses a clutch mechanism with a relatively low impact force, while a rotary hammer uses a pneumatic piston mechanism that delivers much higher impact energy.
Rotary hammers are designed for heavy-duty demolition and drilling large holes in concrete. For standard home DIY workshop tasks like hanging shelves, building furniture, or assembling fixtures, a hammer drill is the superior choice due to its versatility and lighter weight.
| Feature | Hammer Drill | Rotary Hammer |
|---|---|---|
| Mechanism | Clutch / Cam action | Pneumatic piston |
| Impact Energy | Low (1-2 Joules) | High (2-10+ Joules) |
| Best For | General DIY, small anchors, wood, metal | Demolition, large anchors, core drilling |
| Chuck Type | Keyless (3-jaw) or SDS-Plus | SDS-Plus or Spline |
| Damage Risk to DIY Projects | Low (with correct mode) | High (too powerful for light tasks) |
For the vast majority of home workshop tasks, a quality 18V or 20V cordless hammer drill is the most practical option. It replaces a standard drill and a masonry drill in one tool, saving space and money. A rotary hammer is only necessary if you plan to drill dozens of 1/2″ holes in concrete or do light chipping.
Why Does Your Hammer Drill Stop Hammering? Common Troubleshooting Tips
If you suspect your home DIY workshop hammer drill has stopped working correctly, it is often due to a simple oversight or lack of maintenance. Before assuming the tool is broken, check these common issues.
Common Reasons for Hammer Function Failure:
- Selector Clutch in Wrong Mode: The most frequent cause. Ensure the collar is set to the hammer drill icon. It can easily slip into the drill-only mode.
- Excessive Pressure: Pushing too hard stalls the hammer mechanism. The tool needs room to vibrate. Back off the pressure to feel the hammering resume.
- Dull or Wrong Bit: A dull carbide tip requires more force. Replace the bit. Ensure it is a masonry bit, not a wood bit.
- Dry Lubrication: The clutch mechanism needs grease. Over time, the grease dries out, especially in older impact drills. Consult the manufacturer for servicing.
- Debris in the Chuck: Concrete dust can clog the SDS-Plus chuck or the clutch mechanism. Clean the chuck with compressed air. Do not use oil-based lubricants as they attract more dust.
By methodically checking these points, you can avoid an unnecessary trip to the repair shop. Most hammer drill failures in a home workshop setting are due to user error or lack of maintenance, not manufacturing defects.
Important: Always unplug the drill or remove the battery before inspecting or cleaning the chuck and gears. Accidental engagement can cause severe injury.
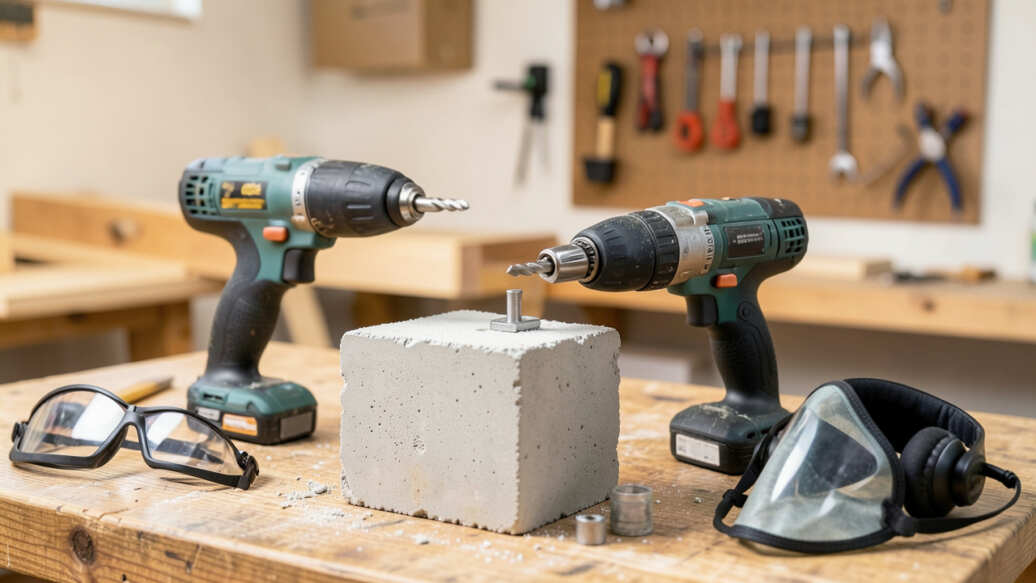
What Safety Precautions Should You Take When Operating a Hammer Drill?
Safety is paramount when using high-torque tools in a hammer drill home DIY workshop. The combination of rotation and impact creates unique hazards that require specific protective measures.
Essential Safety Gear:
- Safety Glasses: Concrete dust and metal shavings can fly at high speed. Always wear impact-rated safety glasses.
- Hearing Protection: Hammer drills generate 90-100 dB of noise. Prolonged exposure without earplugs or earmuffs can cause hearing damage.
- Dust Mask: Silica dust from concrete and brick is hazardous to your lungs. Use a N95 or higher respirator when drilling masonry.
- Work Gloves: Use anti-vibration gloves to reduce hand-arm vibration syndrome (HAVS) and improve grip.
- Sturdy Footwear: Ensure you have solid footing. The torque of a binding bit can throw you off balance.
Operational Safety Tips:
- Check for Hidden Wires: Before drilling into walls, use a stud finder or wire detector. Drilling into a live wire is dangerous and can damage your drill.
- Secure the Side Handle: The side handle prevents the drill from spinning uncontrollably if the bit jams. Tighten it securely.
- Do Not Overreach: Maintain a balanced stance. If you feel the drill tugging, let go of the trigger immediately.
- Allow the Tool to Cool: Continuous heavy use can overheat the motor. If the housing feels hot, let it idle for a minute or turn it off to cool down.
- Disconnect Power for Bit Changes: This is a golden rule. Changing bits with the battery connected risks accidental startup.
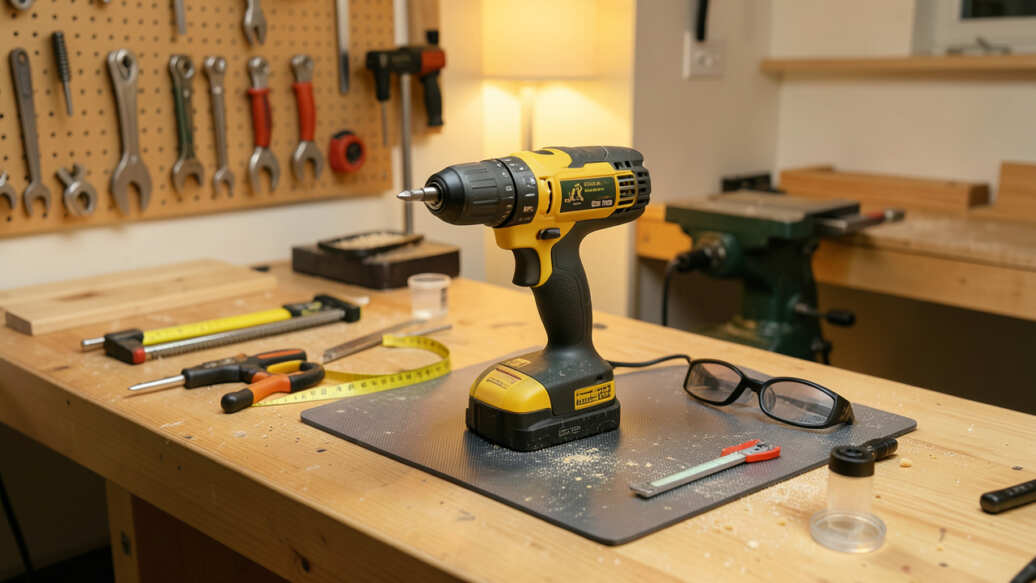
Setting Up Your Workshop for Hammer Drill Efficiency
To maximize the life of your hammer drill and the quality of your work, organize your workshop with dedicated storage and accessories. A cluttered workspace leads to mistakes, such as grabbing the wrong bit or knocking the tool off a bench.
Workshop Organization Tips:
- Bit Organizer: Keep masonry bits separate from HSS and wood bits. This prevents mix-ups that can damage tools or materials.
- Dust Collection: Use a vacuum attachment on the drill when drilling concrete. This keeps the air clean and prevents dust from entering the tool’s motor vents. The CDC has published studies showing the long-term risks of crystalline silica exposure from concrete drilling.
- Charging Station: Keep your batteries charged and ready. Lithium-ion batteries perform best when kept between 20% and 80% charge.
- Fixture Table: A small drill press stand or a simple jig can turn your hammer drill into a precision tool for furniture making.
Tip: Many modern hammer drills have an electronic clutch that prevents over-torquing. Learn how to adjust the clutch on your specific model. Setting it to a lower number prevents stripping screws in soft materials like pine.
Frequently Asked Questions
Can I use a hammer drill as a regular drill?
Yes. Most hammer drills have a selector switch that allows you to turn the hammer function off. In drill-only mode, it functions exactly like a standard power drill, suitable for wood, metal, and plastic.
This versatility is why it is a popular choice for DIY workshops.
Will a hammer drill damage my screwdriver bits?
Yes, if the hammer function is engaged. The impact action will rapidly wear down the hex shank and tip of your screwdriver bits. Always switch to drill-only mode when driving screws.
Can I use a hammer drill on wood?
You can, but only with the hammer function turned off. Using the hammer function on wood will cause the wood fibers to splinter and tear, leaving a rough, oversized hole. A standard twist drill or brad point bit in rotary mode is ideal for wood.
How do I know if my hammer drill is too powerful for a DIY project?
While powerful, a hammer drill is rarely “too powerful” if used correctly. The risk comes from using too high of a speed or too much pressure. If the tool begins to twist in your hands, you are using too much torque.
Adjust the clutch setting on your drill to match the density of the material.
What is the difference between an impact driver and a hammer drill?
An impact driver delivers high rotational torque in short bursts and is designed for driving long screws and lag bolts. A hammer drill delivers axial force (hammering) for drilling into masonry. They are not interchangeable for their primary functions.
Final Thoughts
A hammer drill is one of the most versatile tools you can own in a home DIY workshop. By understanding when to engage the hammer function and when to rely on standard rotary drilling, you completely eliminate the risk of damaging your tools or projects. Invest in a quality bit set, practice the correct technique, and maintain your tool regularly.
With these practices, your hammer drill will serve you reliably for years.