
The most common mistakes people make with their first tool sharpener include applying too much pressure, sharpening at the wrong angle, skipping lubrication, using dull abrasives, inconsistent strokes, neglecting cleaning, and rushing the process. Using excessive pressure generates heat that ruins blade temper and wears down the abrasive surface, while the correct angle and light pressure are critical for achieving sharp results. Regular cleaning and lubrication prevent premature wear and tear, and testing on cheap blades before sharpening expensive ones helps avoid costly errors.
Using a tool sharpener for the first time often leads to avoidable errors that dull blades faster. This guide covers seven common mistakes and how to fix them.
Simply put, most beginners damage their blades by applying too much pressure, using the wrong angle, or skipping lubrication. Avoid these errors and your sharpener will last longer.
Key Takeaways
- Tool sharpener misuse reduces blade life and efficiency.
- Correct angle and pressure are critical for achieving sharp results.
- Regular cleaning and lubrication prevent premature wear and tear.
- Test on cheap blades before sharpening expensive ones.
1. Using Too Much Pressure While Sharpening
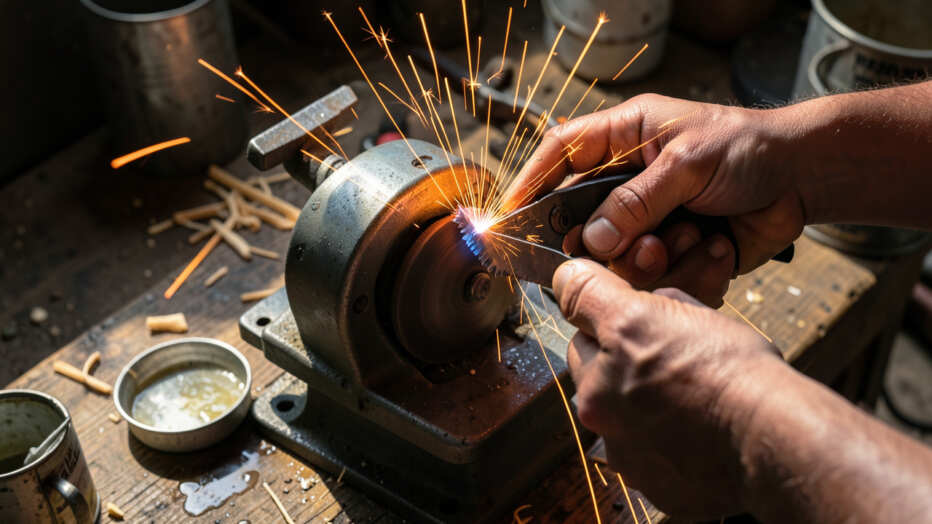
Applying excessive force when using a tool sharpener is one of the most common errors. Beginners often think more pressure speeds up the process, but it actually generates heat that ruins the blade’s temper. This mistake also wears down the sharpener’s abrasive surface faster, leading to frequent replacements.
You end up with a blade that feels dull and a sharpener that needs constant attention. The key is to let the sharpener do the work, using gentle, consistent pressure across multiple passes.
- Signs of over-pressure: visible discoloration on blade, burr formation, excessive sparks
- Risk: warped blades, damaged sharpener wheels, uneven edges
- Solution: let the sharpener do the work; use multiple light passes
Tip: Use a light touch and multiple passes rather than one heavy pass. Your blade will stay cooler and sharper longer.
| Pressure Level | Effect on Blade | Effect on Sharpener |
|---|---|---|
| Light | Even wear, smooth edge | Long lifespan |
| Medium | Good for quick touch-ups | Moderate wear |
| Heavy | Heat damage, dull edge | Rapid abrasive loss |
Best for: Maintaining blade integrity and extending sharpener life.
2. Sharpening at the Wrong Angle
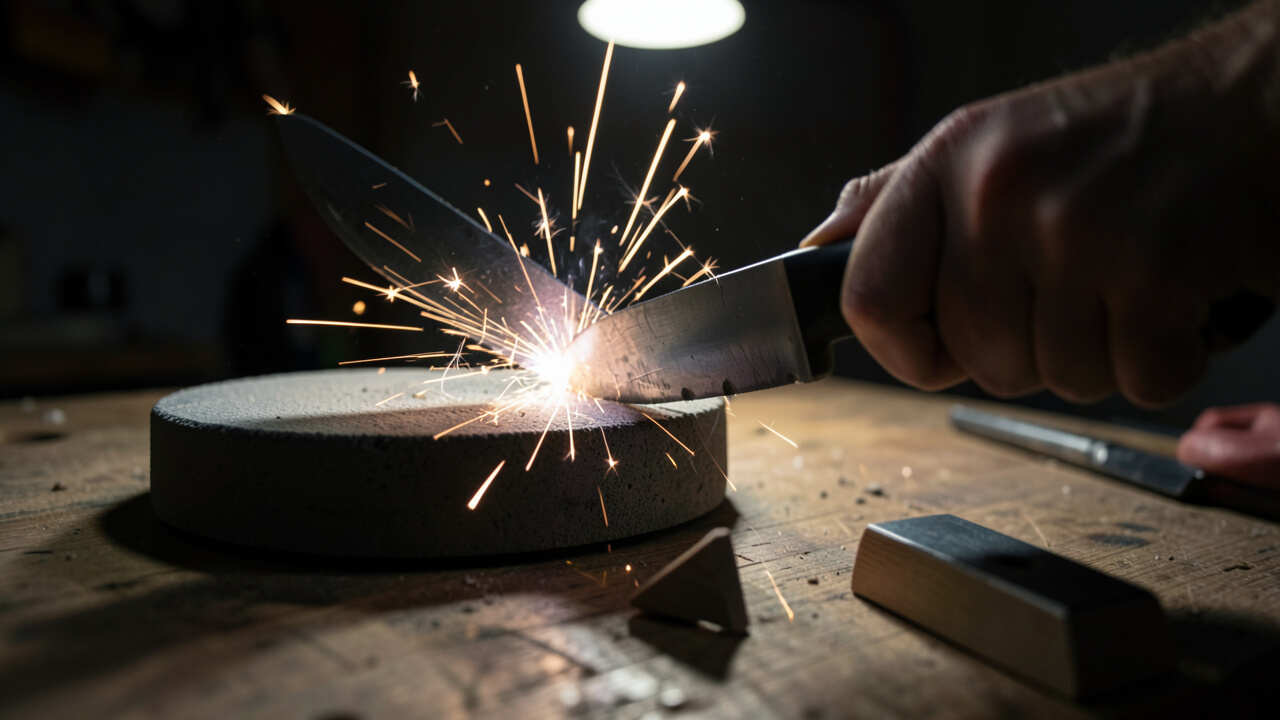
Each blade type requires a specific angle for optimal sharpening. Using the wrong angle on a tool sharpener leaves the edge uneven or too steep to cut effectively. Most knives need a 20-degree angle, while chisels may require 25 degrees.
Guessing the angle leads to frustration and wasted time. A simple angle guide or marker can save you from ruining expensive blades.
- Common angles: 15-20 degrees for kitchen knives, 25-30 for outdoor tools
- Use a angle guide or protractor for precision
- Check manufacturer recommendations for your sharpener
- Practice on old blades before sharpening valuable ones
Warning: Sharpening at too steep an angle creates a brittle edge that chips easily. Always verify before starting.
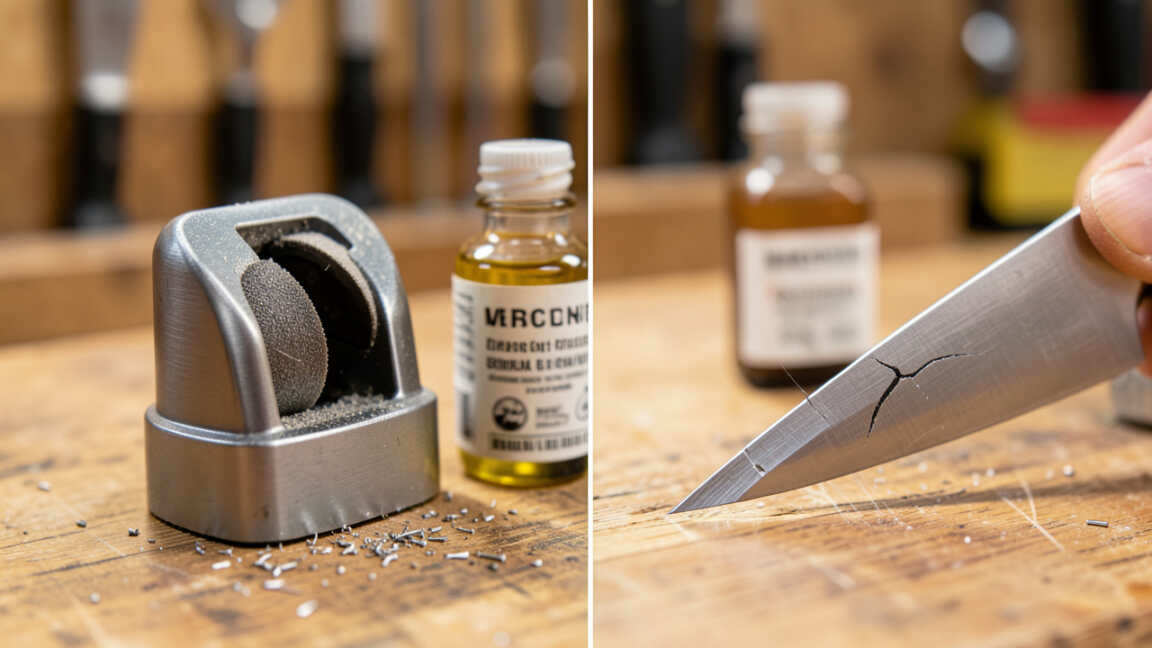
3. Skipping Lubrication on Your Sharpener
Many beginners forget to lubricate their tool sharpener, leading to friction that dulls blades and damages the sharpener. Oil or water-based lubricants reduce heat and help the abrasive work evenly.
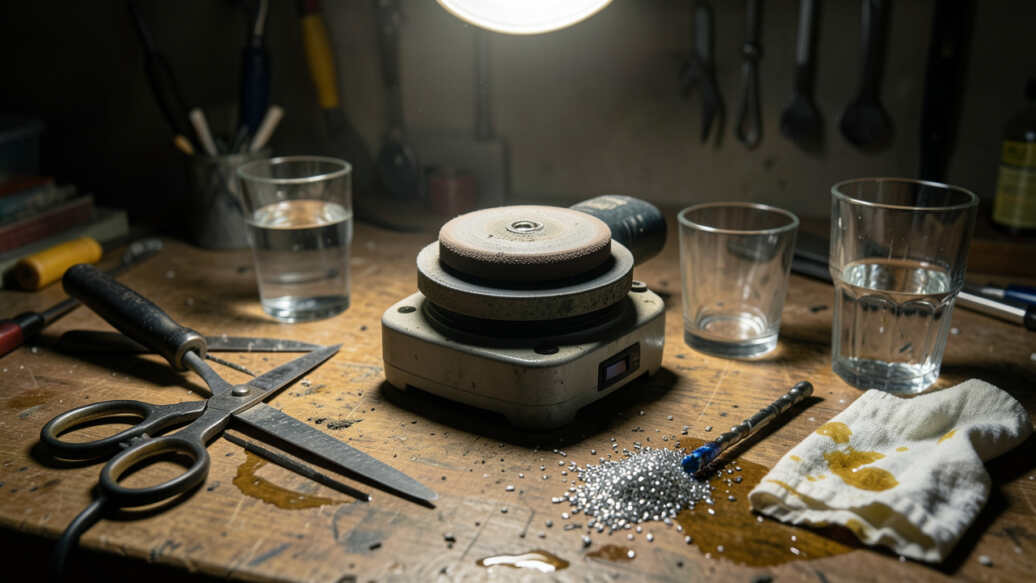
Manufacturers often recommend specific oils for electric sharpeners or water for whetstones. Skipping this step causes metal particles to clog the abrasive surface, reducing effectiveness.
- Use honing oil for most electric sharpeners
- Water stones need soaking before use
- Clean excess lubricant after sharpening
- Frequency: lubricate every 3-5 uses depending on usage
| Sharpener Type | Recommended Lubricant | Benefits |
|---|---|---|
| Electric | Honing oil | Reduces heat, improves finish |
| Whetstone | Water | Prevents clogging, smooth action |
| Manual | Light oil | Less friction, longer wear |
Best for: Extending the life of both your sharpener and blades.
4. Using Dull or Worn-Out Abrasives
Over time, the abrasive wheels or stones on your tool sharpener wear down and lose effectiveness. Using dull abrasives creates a false sense of sharpening while actually polishing the blade without removing material.
This mistake can make your blades feel sticky or rough after use. Replace abrasives according to manufacturer guidelines or when you notice decreased performance.
- Whetstones should be flattened when they become concave
- Electric sharpener belts need replacement after 10-15 uses
- Signs of worn abrasives: slow sharpening, uneven edges, excessive heat
- Cost: replacement abrasives range from $5 to $30 depending on type
Important: Mark your abrasives with a purchase date to track usage. Replace them every 6-12 months under normal use.
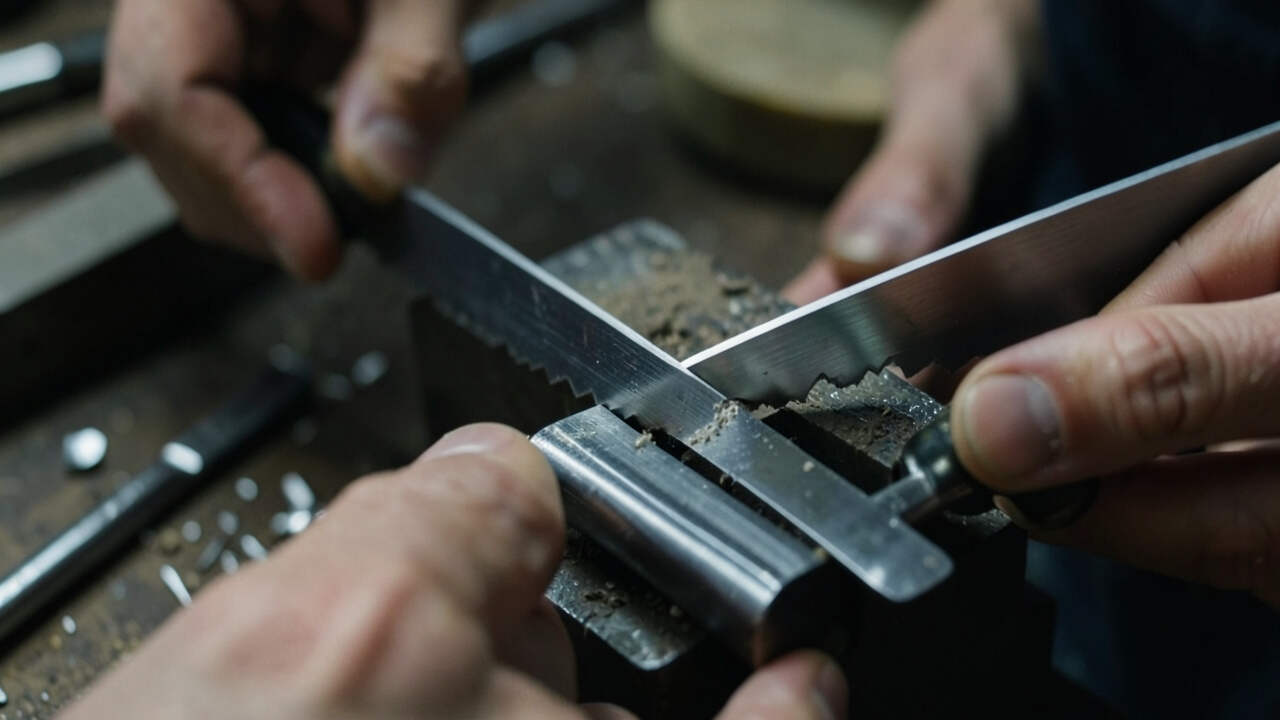
5. Moving the Blade in Inconsistent Strokes
Inconsistent motion direction or speed when using a tool sharpener creates a jagged edge that dulls quickly. Beginners often reverse the stroke direction midway or vary speed, leading to uneven wear.
Consistent, even strokes from heel to tip at a steady pace ensure a uniform edge. Practice on scrap metal to develop muscle memory.
- Always move in the same direction for each pass
- Use a count system: 10 passes on one side, then 10 on the other
- Speed: slow and steady wins the race
- Check edge after every 5 passes for progress
| Stroke Pattern | Result | Best For |
|---|---|---|
| One direction | Smooth, sharp edge | General knives |
| Back-and-forth | Polished finish | Fine tools |
| Inconsistent | Jagged, dull edge | Avoid at all costs |
Best for: Achieving a razor-sharp edge every time.
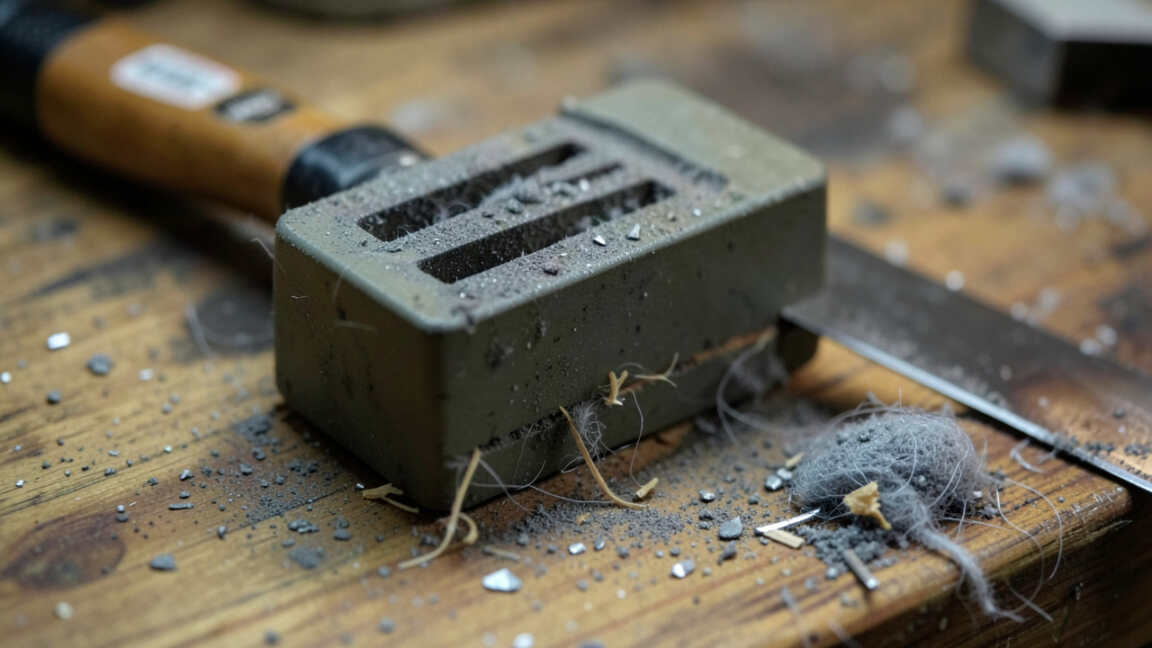
6. Not Cleaning the Sharpener After Use
Metal filings and dust accumulate on your tool sharpener after each use. Skipping cleaning clogs the abrasive surface and can scratch blades during future sharpenings.
Residue also traps moisture, leading to rust on both the sharpener and your tools. A quick wipe-down after each session extends the sharpener’s life and maintains performance.
- Use a stiff brush to remove metal particles
- Wipe with a dry cloth to remove oil residue
- Store in a dry environment to prevent rust
- Deep clean every month with a mild detergent
Tip: Keep a small brush near your sharpener for quick cleaning after each use. It takes just 30 seconds.
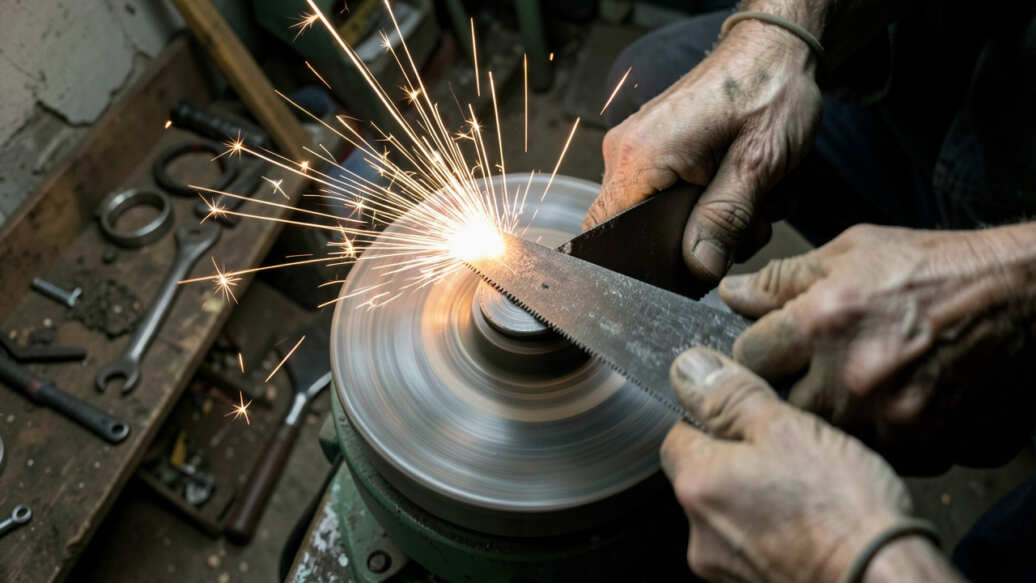
7. Rushing the Sharpening Process
Sharpening requires patience. Rushing through the process with a tool sharpener leads to shallow edges, missed angles, and increased risk of injury. Beginners often try to finish in one or two passes, expecting instant results.
Good sharpening takes time—plan for 10-15 minutes per blade. Each pass should be deliberate, and checking progress often prevents mistakes.
- Set aside dedicated time without distractions
- Use a visual marker like a felt-tip pen to track coverage
- Test sharpness on paper or wood after every 10 passes
- Stop when the edge feels consistently sharp from heel to tip
- Practice on scrap material to build skills
| Blade Type | Recommended Time | Passes Needed |
|---|---|---|
| Kitchen knife | 10-15 minutes | 20-30 per side |
| Chisel | 15-20 minutes | 30-50 per side |
| Scissors | 5-10 minutes | 10-15 per side |
Best for: Professional-quality edges and safer tool use.
Frequently Asked Questions
How often should I clean my tool sharpener?
Clean your tool sharpener after every use to remove metal debris. A deep clean with a brush and mild detergent every month helps maintain performance.
What is the best angle for sharpening a kitchen knife?
Most kitchen knives sharpen best at a 20-degree angle on a tool sharpener. Some Japanese knives use 15 degrees for a finer edge.
Can I sharpen serrated blades with a regular tool sharpener?
No, serrated blades require specialized sharpeners or a rod file. Regular sharpener wheels can damage the serration pattern.
How do I know if my sharpener is worn out?
Signs include slow sharpening, uneven finishes, and excessive noise or heat. If your tool sharpener no longer produces a sharp edge after clean and adjustment, it is time for replacement.
Why does my blade feel sticky after sharpening?
Sticky blades often result from using too much lubricant or not cleaning metal filings off the sharpener. Ensure your tool sharpener is dry and the blade is wiped clean before use.
Final Thoughts
Avoiding these seven common mistakes helps you get the most out of your tool sharpener. Focus on correct pressure, angle, and lubrication while taking your time. Clean maintenance ensures consistent performance for years to come.