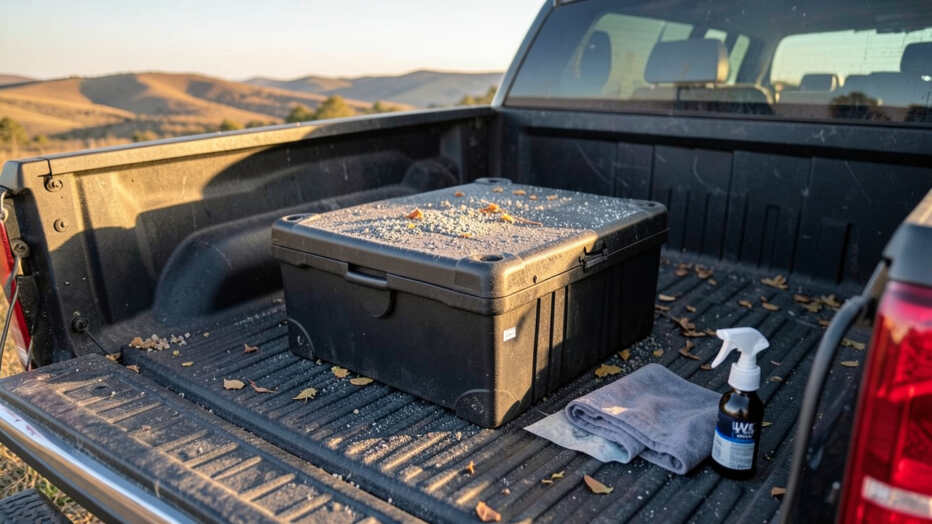

Yes, you can safely use a tool box in a truck bed without damage by using protective padding, corrosion-resistant hardware, and a properly fitted box. Aluminum or stainless steel models reduce the risk of scratches and rust, while correct clamp tension prevents dents and paint chipping. Regular inspection and cleaning under the box are essential to avoid trapped moisture and long-term corrosion.
Using a tool box in a truck bed is a practical way to organize gear and protect your tools from weather and theft. This post covers whether you can install one safely, what causes damage, and how to prevent it entirely.
Simply put, yes, you can use a tool box in a truck bed without damaging it — but only if you use proper padding, corrosion-resistant mounting hardware, and a well-fitted box. Without these precautions, scratches, dents, paint chipping, and rust are almost guaranteed over time.
Key Takeaways
- Using a tool box in a truck bed without protective pads or a rubber mat can cause permanent scratches and paint damage.
- Aluminum and stainless steel tool boxes are safer for your truck bed than painted steel models.
- Drilling into the bed liner or paint exposes bare metal to moisture, increasing rust risk.
- Weight distribution and clamp tension matter — overtightening can dent the bed rails.
- Regular inspection and cleaning under the box helps prevent trapped moisture from causing corrosion.
How Tool Boxes Can Damage Your Truck Bed
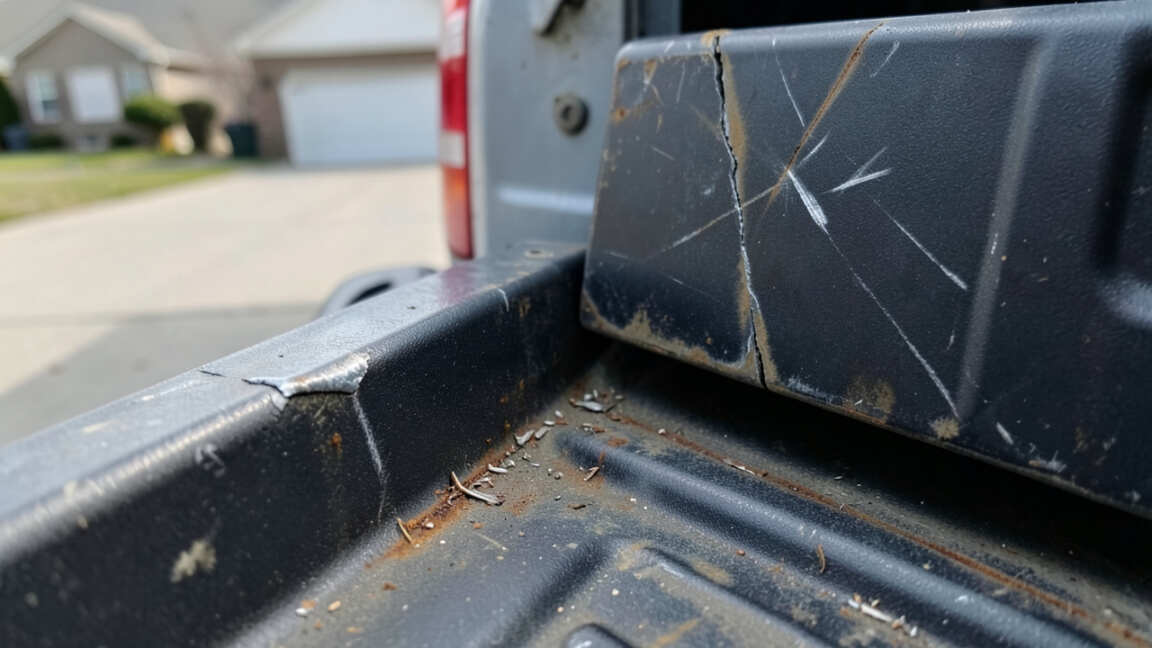
Even a well-made tool box can harm your truck bed if you skip basic protection. The most common types of damage come from friction, moisture, and pressure. Over time, these issues can lead to expensive repairs and reduced resale value.
Scratches and paint chipping happen when the box shifts during driving. The constant vibration rubs the box against the bed surface. Without a barrier like rubber mats or felt pads, the metal-on-metal contact wears through the paint quickly.
Moisture is another big culprit. Rain, snow, and humidity can get trapped between the box and the bed. If you have a painted steel bed or a spray-in liner, trapped water creates rust spots that spread fast.
Even aluminum boxes can cause galvanic corrosion against steel beds.
- Paint scratches from box movement during turns and braking
- Dents on bed rails from overtightened J-hooks or clamps
- Rust formation where moisture sits under the box for days
- Bent or warped bed sides from uneven weight distribution
- Damage to tonneau cover seals when box shifts out of alignment
- Cracked fiberglass or plastic bed liners from excessive pressure
| Damage Type | Common Cause | Prevention |
|---|---|---|
| Surface scratches | Box shifting during driving | Rubber mat or adhesive felt strips |
| Paint chipping | Hard edges resting on bare metal | Padding under all contact points |
| Dents on bed rails | Overtightened clamps | Torque wrench or hand-tighten only |
| Rust formation | Trapped moisture under the box | Lift and clean under the box monthly |
| Galvanic corrosion | Aluminum against steel without barrier | Rubber gasket between metals |
Most truck owners don’t notice damage until they remove the box months later. By then, the paint underneath may be chipped, scratched, or rusted. Prevention takes only a few minutes and costs very little compared to a respray or rust repair.
Warning: Never install a metal tool box directly against a painted metal truck bed without any barrier. The friction alone can wear through clear coat and paint in less than 500 miles of driving, exposing bare metal to moisture.
What Causes Damage When Installing a Tool Box
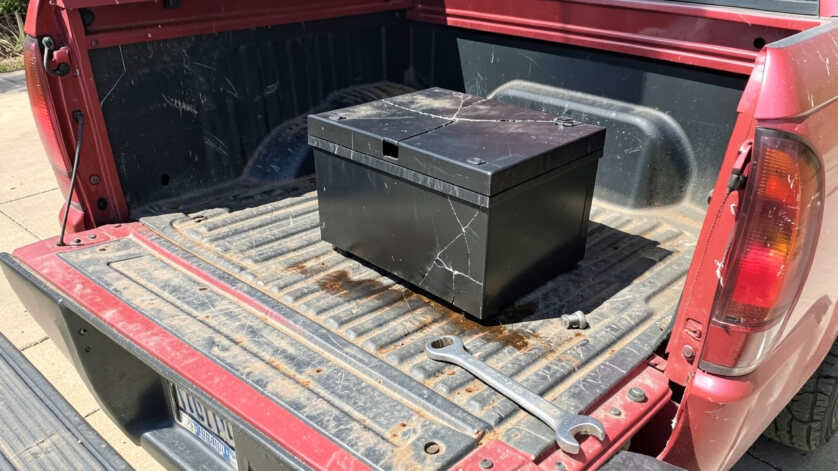
Most damage happens during installation, not during everyday use. Rushing the setup or using the wrong hardware is the number one reason truck beds get scratched, dented, or rusted under tool boxes. Taking your time and using the right materials makes all the difference.
The sharp edges on many tool box bottoms are designed to fit snug against the bed, but that same snug fit can dig into paint and clear coat. If the box has burrs or unpainted aluminum edges, those contact points act like sandpaper. Every bump in the road grinds them deeper into your truck bed surface.
Clamps and J-hooks are another source of trouble. Factory-installed cleats or stake pocket holes often come with threaded hardware that people overtighten. A few extra turns can crush the bed rail edge or crack a plastic bed liner permanently.
The American Automobile Association reports that improper accessory installation is a leading cause of preventable vehicle damage.
- Sharp box edges grind into paint during normal driving vibration
- Overtightened clamps dent or warp bed rail metal
- Drilling holes through bed liner for custom mounts exposes bare metal to rain and road salt
- Using steel bolts in aluminum boxes creates galvanic corrosion over time
- Not cleaning the bed before installation traps dirt grit that acts like sandpaper between surfaces
Tip: Before placing any tool box in your truck bed, wash and dry the entire bed surface. Even tiny dirt particles left behind can grind into the paint when the box settles under weight. A clean bed is your first line of defense against scratches.
How to Install a Tool Box Without Damaging Your Truck Bed
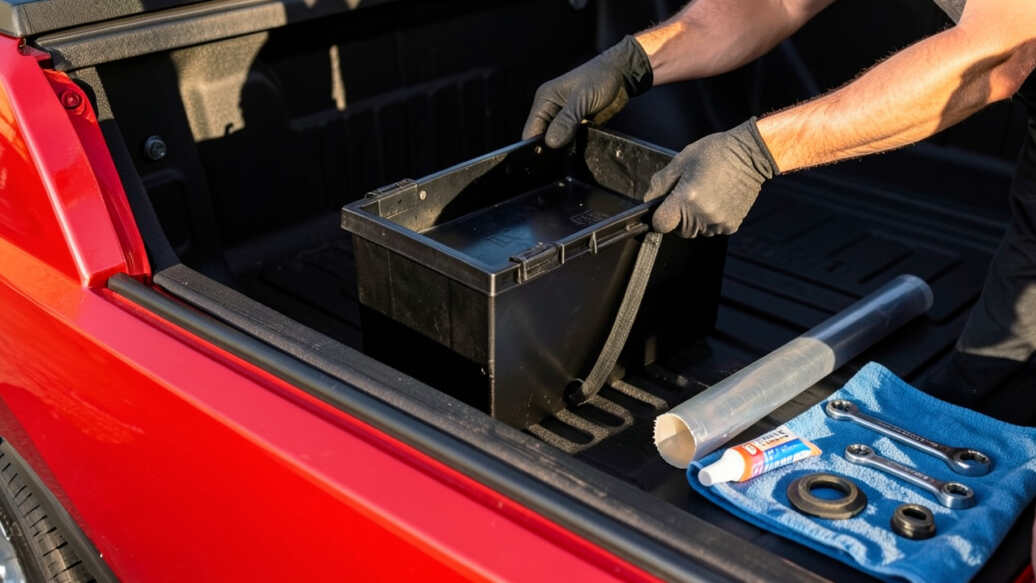
Installing a tool box without damaging your truck bed is straightforward when you follow a few key steps. The process takes about 30 minutes and requires only basic hand tools. The goal is to create a protective barrier between the box and every surface it touches.
Start by measuring the bed width at both the front and rear. Truck beds are not always perfectly square. A box that fits snugly at the front may be too tight at the rear.
If you force it in, you risk scratching the sidewalls. Most modern trucks like the Ram 1500 and Chevrolet Silverado have bed widths around 50-51 inches at the bulkhead.
Next, apply protective padding to the bottom edges of the box. Closed-cell foam tape, rubber weatherstripping, or adhesive felt strips work well. Cut strips that are at least 2 inches wide and run them the full length of the box edges.
Avoid thin foam that compresses to zero under weight — you want at least 1/8 inch of uncompressed thickness.
- Measure your truck bed width in two places (front and rear)
- Cut rubber foam or felt padding strips to match the box contact edges
- Clean both the box bottom and truck bed surface with isopropyl alcohol to remove oils
- Apply padding strips, pressing firmly for full adhesion
- Set the box gently into position using two people to avoid scraping sides
- Hand-tighten clamps or J-hooks — stop when you feel resistance, then back off 1/4 turn
- Check level from side to side and front to back using a small level
- Test for movement by pushing on the box from all directions
Important: Never use a power drill or impact wrench to tighten tool box clamps. Hand-tighten only. The torque from even a low-power drill can over-compress the padding, dent bed rails, or crack plastic bed liners. A simple hand wrench gives you full control.
Best Protection Methods for Your Truck Bed
Protecting your truck bed goes beyond just padding the tool box. A multi-layer approach gives you the best long-term defense against scratches, dents, and rust. Combining a bed liner with additional padding creates a buffer system that absorbs vibration and prevents metal-to-metal contact.
Spray-in bed liners are the most popular option among truck owners. According to a survey by the Specialty Equipment Market Association, over 60% of new pickup buyers opt for spray-in liners at purchase. These liners provide a thick rubberized surface that resists scratches and dampens vibration.
They also prevent moisture from pooling against bare metal.
Drop-in bed liners are another choice, though they require extra care. Plastic liners can trap moisture underneath them, leading to hidden rust. If you use a drop-in liner, drill small drainage holes at the lowest points and lift the liner every six months to check for trapped water and debris.
| Protection Method | Cost Range | Effectiveness | Best For |
|---|---|---|---|
| Spray-in bed liner | $400 – $800 | Excellent | Long-term protection, no moisture traps |
| Drop-in plastic liner | $200 – $400 | Good | Budget protection, easy removal |
| Rubber bed mat | $80 – $200 | Very good | Slip resistance, vibration damping |
| Adhesive felt strips | $10 – $30 | Moderate | Quick fix, targeted scratch prevention |
| Neoprene pad sheets | $20 – $50 | Good | Under-box protection, easy custom cut |
For the best results, combine a spray-in liner with a rubber bed mat under the tool box. The liner protects the entire bed surface, and the mat adds an extra cushion layer that prevents any box-to-metal contact. This combination is used by many fleet operators and construction companies to minimize vehicle damage and extend truck life.
What Types of Tool Boxes Are Safest for Your Truck Bed
Not all tool boxes are created equal when it comes to bed protection. The material, bottom design, and mounting system all affect how much wear and tear your truck bed experiences. Choosing the right box from the start saves you from future damage and replacement costs.
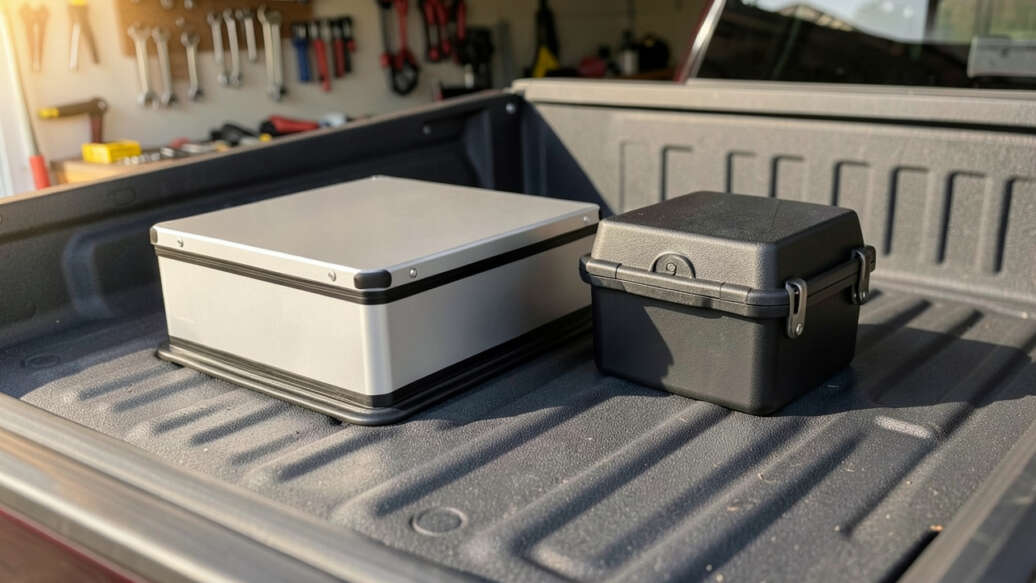
Aluminum tool boxes are the safest choice for most truck owners. Aluminum is lightweight, corrosion-resistant, and doesn’t rust. A high-quality aluminum box with a smooth, rounded bottom edge distributes weight evenly and reduces point pressure on the bed surface.
Brands like Weather Guard and UWS offer models with integrated rubber gaskets that protect the bed surface.
Stainless steel boxes are another excellent option, though they cost more. Stainless steel is stronger than aluminum and resists dents better. The added weight can be a downside — heavier boxes are harder to remove for cleaning under them, which can lead to moisture accumulation if neglected.
- Aluminum boxes — lightweight, rust-proof, moderate cost, easy to handle
- Stainless steel boxes — very durable, dent-resistant, heavier, higher cost
- Painted steel boxes — budget-friendly but prone to rust if paint chips
- Polyethylene / plastic boxes — lightweight, no corrosion, less secure, can warp in heat
- Diamond plate boxes — strong and classic look, but sharp edges can scratch bed sides
Tip: If you already own a painted steel tool box, apply a clear protective film or automotive-grade vinyl wrap to the bottom edges. This adds a sacrificial layer that takes the abrasion instead of your truck bed. Replace the film once a year for continuous protection.
Common Mistakes to Avoid When Mounting a Tool Box
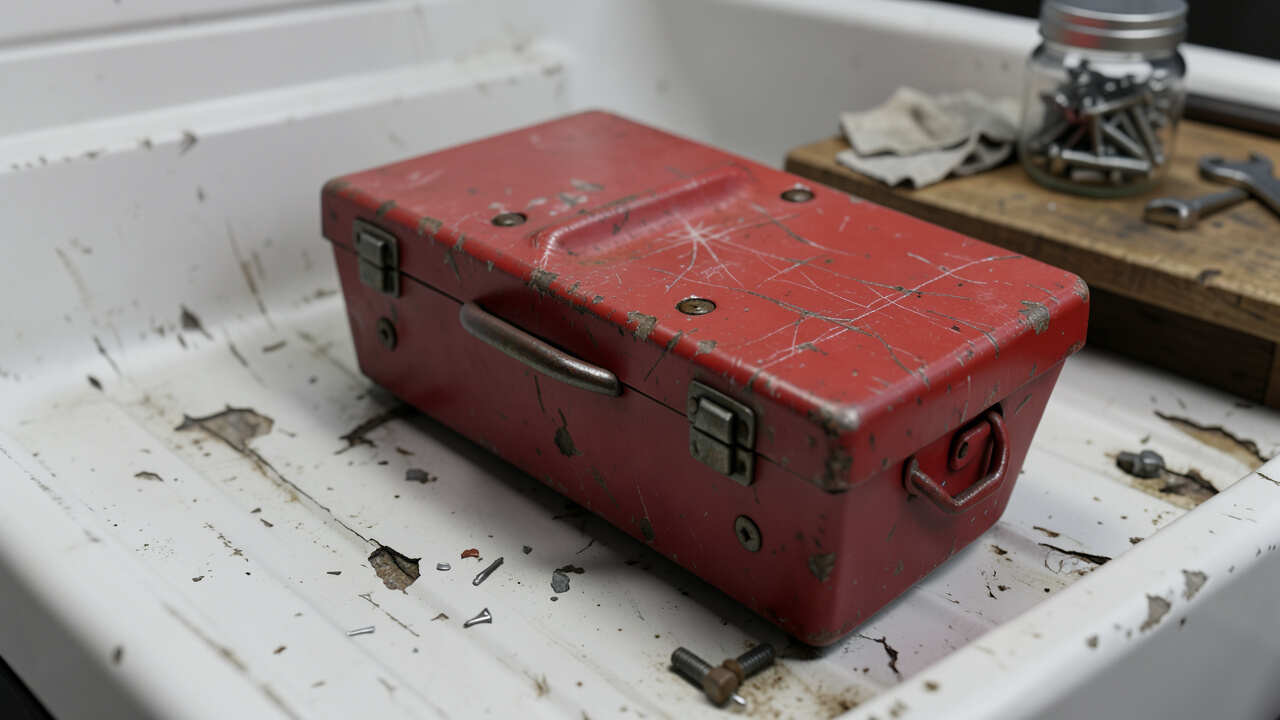
Even experienced truck owners make mistakes when installing a tool box. These errors can cause damage that shows up months later. Knowing what to avoid helps you keep your truck bed in like-new condition while still enjoying the convenience of a storage box.
The most common mistake is skipping the padding entirely. Some people assume the fit is tight enough that the box won’t move. But even a box that feels snug will vibrate over time.
That vibration is what wears through paint and clear coat. Always add a layer of protection, even if the box seems to fit perfectly.
- Forgetting to clean the bed surface before installation — dirt acts like sandpaper
- Using too much clamp force — it can bend bed rails and crack plastic liners
- Drilling holes through the bed without sealing them — exposed metal rusts quickly
- Installing without checking level — an uneven box shifts more during driving
- Neglecting to check and retighten hardware after the first week — boxes settle and loosen
- Never removing the box to clean underneath — trapped moisture causes hidden rust
Warning: Driving with a loose tool box is dangerous. A box that tips or slides during sudden braking can hit the cab rear window or fly out of the bed. Always double-check that all clamps and J-hooks are secure before driving. The National Highway Traffic Safety Administration advises securing all cargo, including tool boxes, to prevent road hazards.
How to Maintain Your Truck Bed Under a Tool Box
Ongoing maintenance is the secret to keeping your truck bed damage-free under a tool box. A little routine attention goes a long way. Most owners forget about the area under the box for years, only to find rust and scratches when they finally remove it.
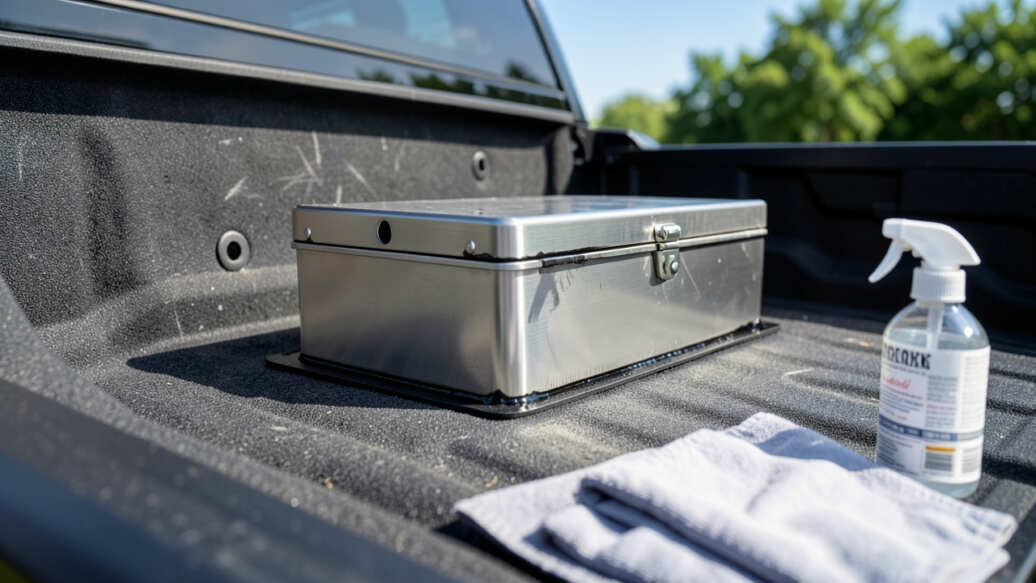
Lift the tool box every three months and inspect the bed surface underneath. Use a flashlight to check for scratches, rust spots, or trapped moisture. You don’t need to fully remove the box — just raise one side enough to look underneath and wipe the area with a dry cloth.
This takes about five minutes and can catch problems early.
Apply a protective wax or ceramic coating to the truck bed surface twice a year. Products like Meguiar’s Ultimate Quik Wax or Turtle Wax Ceramic Spray create a hydrophobic barrier that repels water. Moisture that condenses under the box will bead up and evaporate instead of sitting against the paint and causing rust.
The Professional Detailing Association reports that regular waxing reduces paint corrosion by up to 80% over five years.
- Lift and inspect under the tool box every 90 days for early signs of damage
- Wipe away any trapped dirt or moisture with a microfiber cloth
- Apply automotive wax or ceramic coating to the bed surface twice yearly
- Check clamp tension every month — vibration can loosen hardware over time
- Replace worn padding strips once a year or when they show compression marks
- Use a silicone-based lubricant on clamp threads to prevent rust and binding
Important: If you live in an area with road salt in winter, increase your inspection frequency to once a month. Salt accelerates corrosion dramatically. A quick rinse under the box after winter driving washes away salt residue before it can start rusting the metal.
Frequently Asked Questions
Will a tool box scratch my truck bed?
Yes, a tool box can scratch your truck bed if you install it without protective padding. The vibration from driving causes the box to shift slightly, and any metal-on-metal contact will wear through paint and clear coat over time. Using rubber mats, felt strips, or neoprene padding eliminates this risk almost entirely.
Can I install a tool box without drilling into the bed?
Yes, most truck tool boxes use clamp-on mounting systems that do not require drilling. J-hooks attach to the bed rail edges or stake pockets without making holes. This is the preferred method because it preserves the truck bed’s factory finish and avoids creating rust-prone exposed metal surfaces.
What is the best material for a tool box to avoid damaging the truck bed?
Aluminum is the best material because it is lightweight, corrosion-resistant, and does not rust. A high-quality aluminum box with rounded bottom edges and factory-installed rubber gaskets minimizes friction and protects the paint. Stainless steel is also good but heavier, making it harder to lift for regular maintenance.
How often should I clean under my truck tool box?
You should lift and clean under your tool box at least every three months. In areas with heavy rain, snow, or road salt, increase this to once a month. Regular cleaning removes trapped moisture and debris that cause rust and scratches, extending the life of both your tool box and your truck bed.
Do rubber bed mats prevent tool box damage?
Yes, rubber bed mats are an effective way to prevent tool box damage. They provide a non-slip surface that absorbs vibration and stops metal-to-metal contact. A rubber mat also lifts the box slightly off the bed, allowing air circulation underneath to reduce moisture buildup.
They are a low-cost, high-impact solution.
Final Thoughts
Using a tool box in your truck bed without damaging it is absolutely achievable with the right preparation and ongoing care. The key steps are adding protective padding, choosing a corrosion-resistant box material, and never overtightening mounting hardware. A few minutes of setup and simple seasonal maintenance will keep your truck bed looking great and your tools secure for years.
Don’t skip the small steps — they make all the difference between a scratch-free bed and costly paint repair.