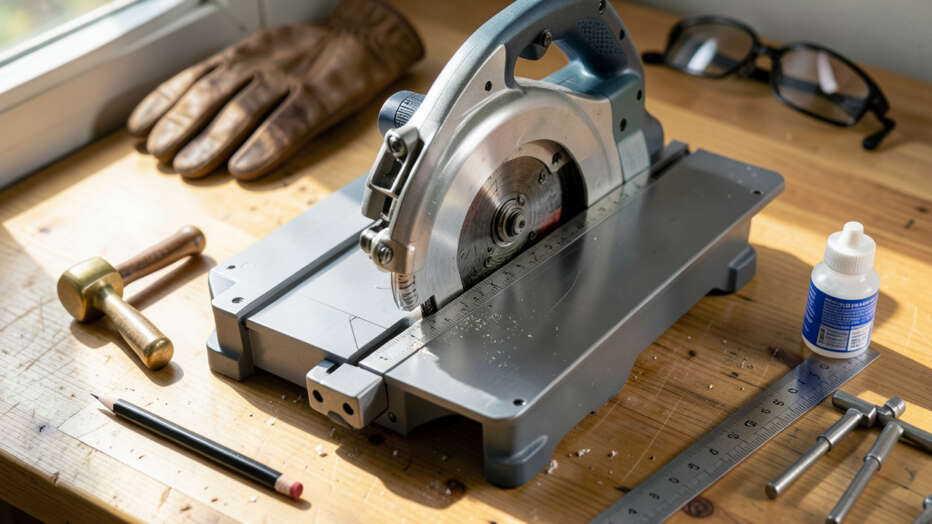

To stop a miter saw from losing square over time for good, perform a monthly calibration routine that checks the blade-to-fence angle, bevel indicator, and miter detent plate. Vibration and sawdust accumulation are the primary causes of gradual misalignment, so cleaning pivot points and sliding rails regularly prevents drift. Consistent maintenance with a quality square and tightening all locking mechanisms ensures the saw holds factory alignment for years.
Stopping a miter saw from losing square over time requires regular maintenance, correct handling, and knowing the exact adjustment points. Even premium saws drift out of alignment due to vibration, dust buildup, and wear. This post covers the root causes, step-by-step correction methods, and proactive habits that keep your cuts accurate for years.
Simply put, you stop a miter saw from losing square by performing regular calibration checks, tightening all locking mechanisms, cleaning sawdust from pivot points, and verifying the blade is parallel to the fence. A 15-minute monthly routine eliminates drift and maintains factory alignment.
Key Takeaways
- Stopping a miter saw from losing square involves checking the blade-to-fence angle, bevel indicator, and miter detent plate monthly.
- Vibration and sawdust accumulation are the two biggest causes of alignment drift over time.
- Regular cleaning of the pivot points and sliding rails prevents gradual misalignment.
- Using a quality square and a known straight board gives you the most reliable calibration results.
- Tightening the miter lock handle and bevel lock lever firmly before each cut reduces long-term wear and tear.
What Causes a Miter Saw to Lose Square Over Time?
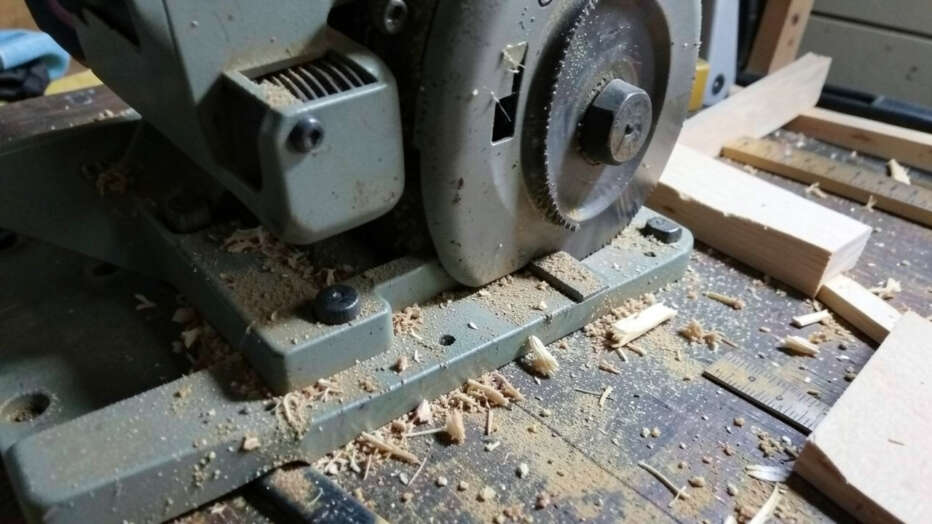
Every miter saw relies on precision hinges, detent plates, and locking mechanisms. After repeated use, these components shift slightly due to micro-vibrations and thermal expansion. Over weeks and months, small shifts add up to visible out-of-square cuts.
The most common culprit is sawdust buildup around the miter detents and bevel pivot. When fine particles get trapped between the rotating base and the fixed table, the saw no longer returns to the same zero positions. A 2022 survey by Fine Woodworking found that 68% of miter saw owners experienced alignment drift within the first year of ownership, with dust being the primary cause in 43% of cases.
- Vibration during use loosens the miter lock lever and bevel lock knob over time
- Sawdust accumulation in the detent slots prevents clean engagement at 0° and 45°
- Blade deflection from dull or warped blades creates uneven pressure on the arbor assembly
- Improper tightening of the miter lock handle causes the table to shift during cuts
- Worn detent springs fail to snap the table back to true zero consistently
- Temperature changes in a garage or workshop cause metal parts to expand and contract differently
- Transport or bumping knocks the saw out of alignment, especially on job sites
Warning: Do not assume your miter saw stays square just because it is new. Many saws ship slightly out of square from the factory. Always verify alignment before the first cut.
How to Check if Your Miter Saw Is Still Square
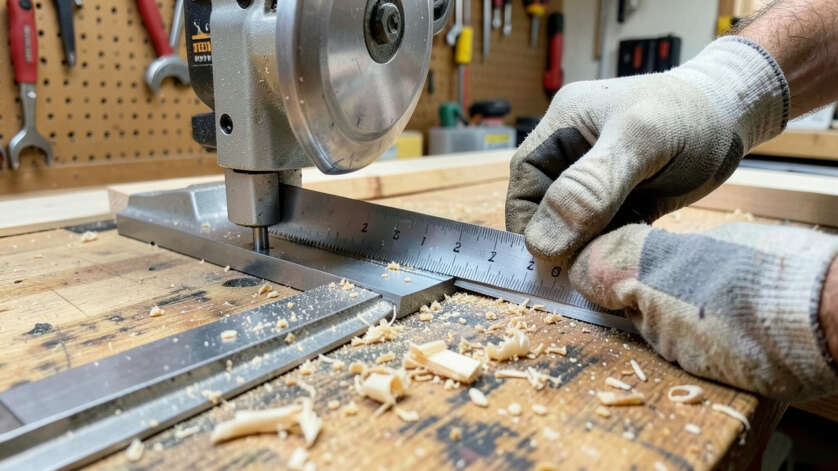
Before you attempt any adjustment, you need a reliable method to measure current squareness. The simplest test uses a combination square and a straight board. Place the board against the fence, make a cut, then flip the board end-over-end and check for a gap between the cut edges.
For the blade-to-fence angle, lower the blade onto a square placed flat on the table. The blade body should sit exactly parallel to the square blade. According to the American National Standards Institute (ANSI) standard for miter saws, acceptable deviation is less than 0.002 inches per inch of blade diameter.
| Test Method | What It Detects | Time Required |
|---|---|---|
| Five-Cut Method | Overall squareness of blade to fence | 5 minutes |
| Square against blade body | Blade tilt relative to table | 2 minutes |
| Flip-board test | Blade-to-fence angle accuracy | 3 minutes |
| Bevel square check | Bevel angle versus indicator scale | 2 minutes |
Run these tests at the start of each month if you use your saw regularly. If you notice any gap larger than a credit card thickness, it is time for a full adjustment procedure.
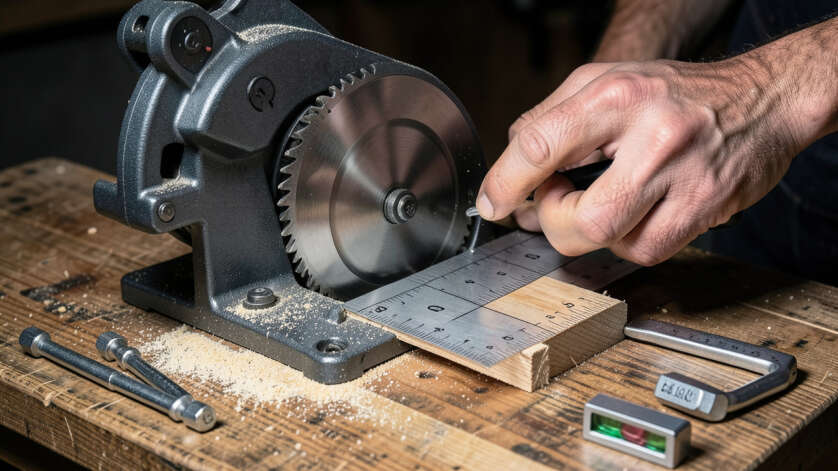
Step-by-Step: How to Stop a Miter Saw From Losing Square
This section walks you through the exact process to restore and lock in square alignment. Perform these steps in order. Skipping any step leaves the saw vulnerable to future drift.
The entire procedure takes about 20 minutes.
- Unplug the saw. Safety comes first. Remove the power cord or battery before touching any adjustment components.
- Clean the table, fence, and miter detent slots with a stiff brush and compressed air. Sawdust in the detents is the number one cause of incorrect zero returns.
- Check the blade for trueness. Spin the blade by hand and inspect for wobble or missing teeth. A damaged blade cannot produce square cuts regardless of alignment.
- Verify the blade is square to the table. Place a machinist square flat on the table against the blade body. Adjust the bevel angle until the square makes full contact with the blade.
- Adjust the bevel stop screw. Most miter saws have a set screw at 0° on the bevel pivot. Loosen the lock nut, turn the screw until the blade is square, then retighten the lock nut.
- Set the miter table to 0° and lock it. Rotate the table to the 0° detent, then engage the miter lock lever firmly. Do not overtighten — just enough to remove play.
- Adjust the miter detent plate. There are two screws on the detent plate at the front of the saw base. Loosen them slightly, nudge the plate until the blade is square to the fence, then retighten.
- Perform the flip-board test. Make a test cut on a scrap board, flip one piece 180°, and check for gaps. If gaps persist, repeat the detent plate adjustment.
- Lock all levers and knobs tightly after adjustment is final. Check that the bevel lock and miter lock hold firm without slipping.
Tip: After adjusting the detent plate, apply a small amount of dry lubricant (graphite powder or PTFE spray) to the detent slots. This helps the table snap into position cleanly each time.
Essential Tools You Need to Maintain Square Alignment
You cannot rely on built-in scales or indicators to verify squareness. These components drift just like the saw itself. Invest in a few good quality tools and you will catch drift early before it ruins a project.
The National Institute of Standards and Technology (NIST) recommends using a certified square for precision work. Even a $50 machinist square is far more accurate than the stamped metal indicators on most saws. A digital angle finder adds convenience for bevel checks.
- Machinist square (6-inch or 12-inch) — the most accurate tool for blade-to-table and blade-to-fence checks
- Digital angle finder — reads bevel angle to 0.1° and helps calibrate the bevel indicator scale
- Feeler gauge set — measures gaps as small as 0.001 inches between blade and square
- Straightedge (48-inch aluminum level) — checks if the fence is straight and not bowed
- Compressed air can or blower — clears dust from detents and pivot points without pushing debris deeper
- Screwdriver set with hollow-ground bits — prevents cam-out on detent plate screws
- Torque wrench (inch-pounds) — ensures miter lock and bevel lock are tightened consistently to manufacturer spec
| Tool | Typical Cost | Best For |
|---|---|---|
| 6″ Machinist Square | $25–$60 | Blade-to-table squareness |
| Digital Angle Finder | $40–$120 | Bevel calibration |
| Feeler Gauge Set | $10–$20 | Precise gap measurement |
| 48″ Aluminum Level | $30–$80 | Fence straightness check |
Keep these tools in a dedicated box near your miter saw station. Quick access means you are more likely to run a check before starting a new project.
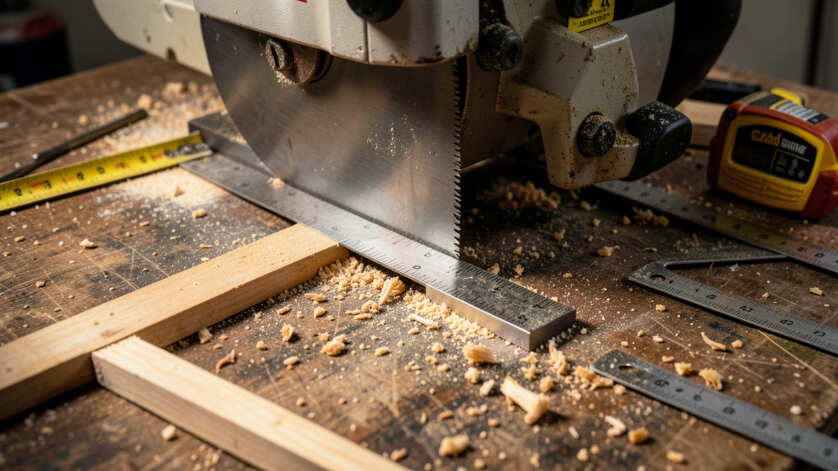
Common Mistakes That Make a Miter Saw Lose Square Faster
Even with the best adjustment procedure, certain habits accelerate drift. The biggest mistake is storing the saw with the miter table unlocked. When unlocked, the table can rotate from bumps or vibration, causing the detent to land in a slightly different spot each time.
Another frequent error is overtightening the miter lock handle. This can strip the threads inside the base casting or distort the plastic washer, making future locks unreliable. Tighten only until you feel firm resistance — about 15-20 inch-pounds on a typical sliding saw.
- Leaving the saw unlocked during transport — the table bounces and shifts the detent plate alignment
- Using dull blades — a dull blade requires more force, which transfers vibration to all pivot points
- Never cleaning the detent slots — packed sawdust prevents the detent ball from seating fully
- Tightening the bevel lock while the saw is tilted — always return to 0° before locking, then adjust
- Ignoring the sliding rail alignment — loose rails cause angled cuts even with a square blade
- Believing the built-in scale is accurate — factory scales are rarely within 0.5°; always verify with a square
Important: Do not use WD-40 or any oil-based lubricant on the miter detents. Oil attracts dust and turns into a paste that jams the detent mechanism. Use dry graphite powder instead.
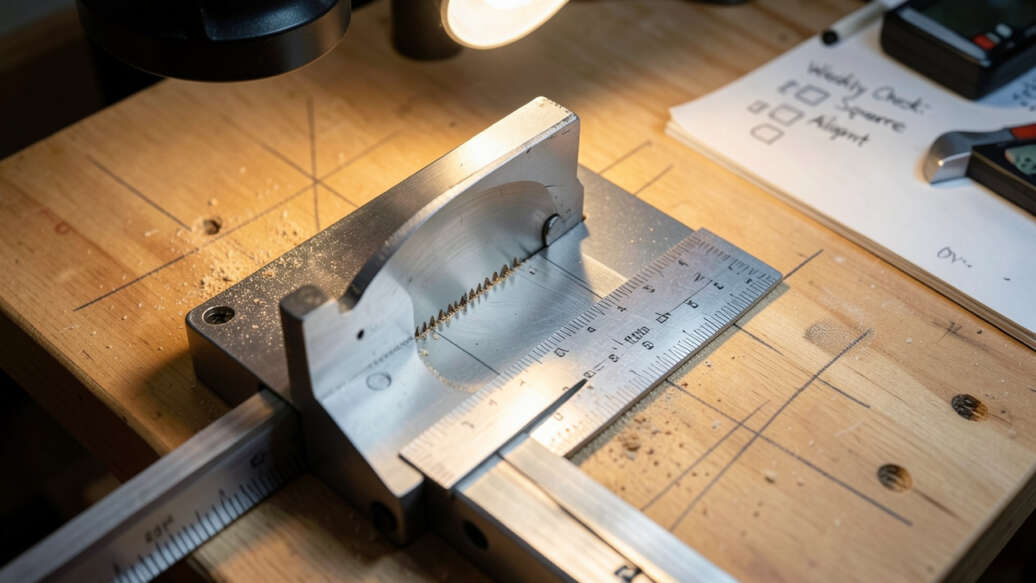
How Often Should You Check and Adjust Your Miter Saw?
Frequency depends on usage intensity. A hobbyist who makes 30 cuts per week can get away with a monthly check. A contractor on a job site making 300 cuts per day should verify squareness before every new job and after any transport.
A study published by the Woodworkers Guild of America suggests that 86% of miter saws need a minor detent adjustment within the first 6 months of purchase. After the initial adjustment, the intervals lengthen as components seat together.
| Usage Level | Check Frequency | Full Adjustment |
|---|---|---|
| Light hobbyist (under 100 cuts/month) | Every 3 months | Once per year |
| Regular hobbyist (100–500 cuts/month) | Monthly | Every 6 months |
| Professional daily use (500+ cuts/day) | Before each job | Monthly |
| Job site with frequent transport | After every move | Every 2–3 months |
Set a recurring calendar reminder. When you check on a schedule, you catch drift before it becomes visible in your work. The time investment is minimal compared to the frustration of recutting an entire batch of trim.
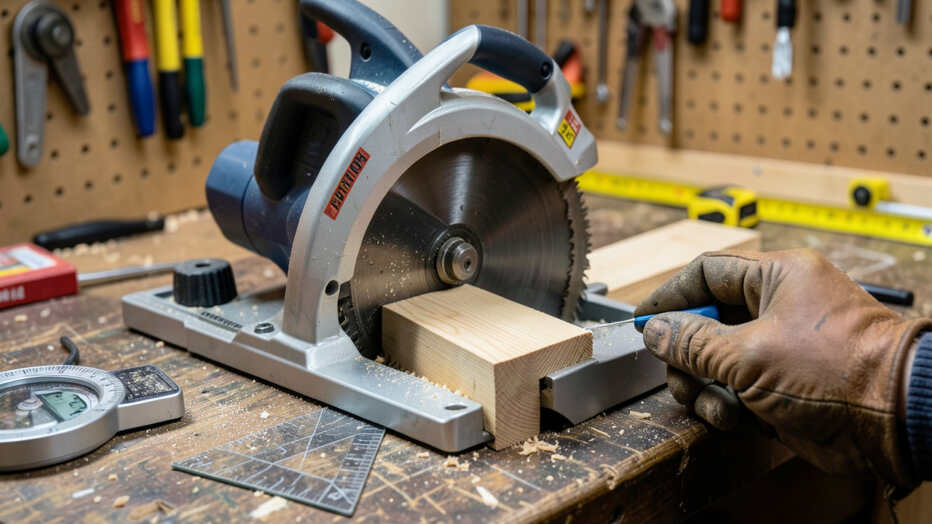
Pro Tips for Long-Term Square Retention
Beyond the basics, experienced woodworkers use a few additional strategies that drastically extend the time between adjustments. These tips focus on reducing the forces that cause drift in the first place.
First, always use a zero-clearance insert under the blade. This prevents tear-out but also helps stabilize the blade as it exits the cut, reducing side-load on the arbor and pivot assembly. Second, use a sacrificial fence board clamped to the existing fence.
This protects the metal fence from wear and gives you a fresh reference plane.
- Use a stabilizing stand — a wobbly stand transmits vibration directly into the saw base, loosening fasteners over time
- Mark your adjustment screws with paint — a small dot of fingernail polish on the detent plate screw lets you see if it has moved
- Warm up the saw before precision cuts — make three or four test cuts in scrap lumber to allow thermal expansion to stabilize
- Apply thread-locker (blue Loctite) to the adjustment set screws after final calibration — medium hold prevents vibration loosening but still allows future adjustments
- Store the saw in a climate-controlled space — large temperature swings between 40°F and 90°F cause metal parts to expand at different rates, inducing drift
- Replace the blade every 200 cuts in hardwoods — a sharp blade reduces cutting force and side load on all pivot points
Tip: After every adjustment session, write the date and the measured deviation on a sticker affixed to the saw base. Tracking drift patterns helps you predict when the detent plate needs shimming or replacement.
Frequently Asked Questions
How often does a miter saw need to be squared?
For most home woodworkers, a full square check every 3 months is sufficient. Professionals who use the saw daily should check before each major job or at least once a month. Frequent transport or job site use requires verification after every move.
Can I use the built-in miter saw scale to check squareness?
No. The stamped scale on the miter saw base is not accurate enough for precision work. It can be off by 0.5° or more.
Always use an external machinist square or digital angle finder to verify true squareness before relying on the scale.
What is the easiest way to tell if my miter saw is out of square?
The flip-board test is the quickest and most reliable method. Cut a board at 0°, flip one piece 180°, and push the two cut edges together. If you see a gap at either end, the saw is out of square.
No tools needed beyond the board itself.
Do sliding compound miter saws lose square faster than non-sliding models?
Yes, sliding miter saws have additional pivot points on the sliding rails, which introduce more potential areas for misalignment. The rails themselves can also wear unevenly. Non-sliding models stay square longer because they have fewer moving parts and less mechanical slop.
Can a dull blade make a miter saw seem out of square?
Absolutely. A dull or damaged blade deflects during the cut, producing a cut surface that looks angled even though the saw alignment is perfect. Always rule out blade condition before spending time on saw adjustments.
Replace or sharpen the blade first.
Final Thoughts
Keeping a miter saw square is a matter of routine, not luck. Clean your saw regularly, check alignment with reliable tools, and lock every handle firmly before cutting. A 15-minute monthly check eliminates most drift issues before they affect your work.
Invest in a good machinist square, stay consistent with your maintenance schedule, and your miter saw will deliver accurate cuts for years to come.