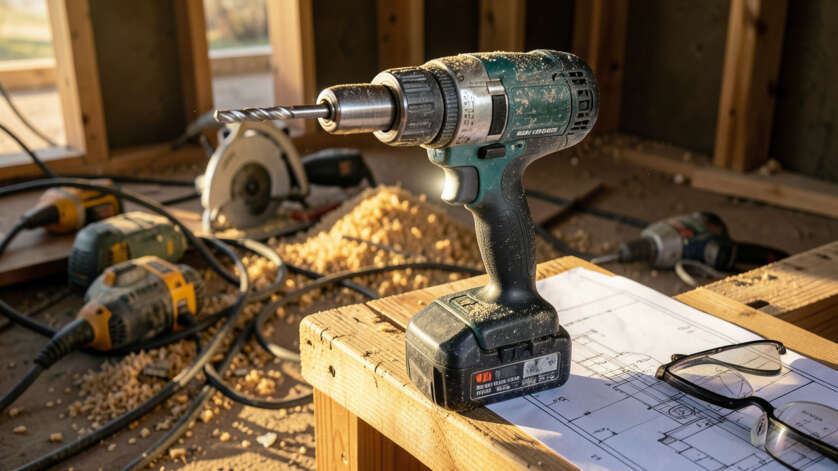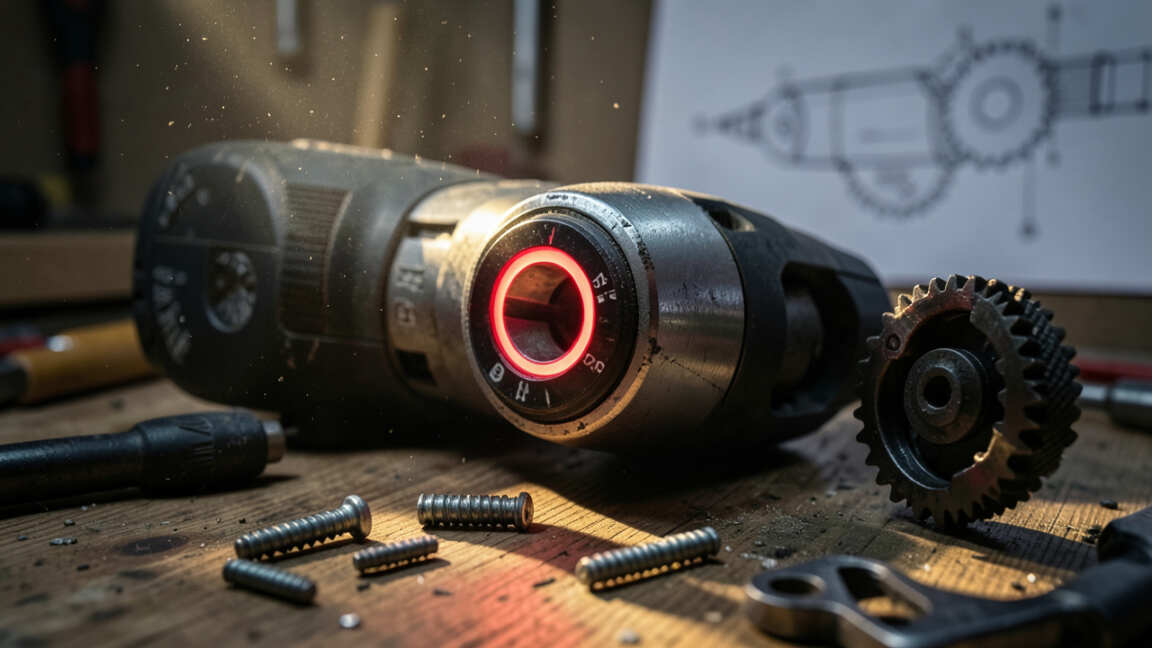

Torque loss in a cordless drill is most often caused by a weak or aging battery, a slipping clutch, worn chuck jaws, or dirty motor brushes. Diagnosing the exact source requires only a few simple checks, such as testing battery voltage and inspecting the chuck with a screwdriver. Regular cleaning and proper battery storage can prevent torque loss from becoming permanent, and replacing worn components typically restores full power.
Why does your cordless drill keep making you lose torque? This frustrating issue can turn a simple DIY project into a struggle. In this post, we’ll break down the most common reasons for torque loss and show you how to fix them.
Simply put, torque loss in a cordless drill is almost always caused by a weak battery, worn chuck, clutch slip, or dirty motor brushes. Diagnosing the exact source takes just a few checks, and most fixes are quick and cheap.
Key Takeaways
- Torque loss typically stems from battery age, clutch misadjustment, or internal debris.
- Regular cleaning and proper battery storage can prevent torque loss from becoming permanent.
- A simple test with a screwdriver and piece of wood can reveal whether the torque loss is in the chuck or the motor.
- Replacing worn brushes or a slipping clutch restores full power in most cases.
What Causes a Cordless Drill to Lose Torque?
Torque is the twisting force your drill applies to drive screws or drill holes. When that force drops, every job becomes harder. The causes fall into three main categories: power supply, mechanical wear, and user settings.
The battery is the most common culprit. As lithium‑ion cells age, their internal resistance rises. This reduces the current the motor can draw, directly lowering torque.
A fully charged battery that’s three years old may deliver only 60–70% of its original power.
Mechanical issues like a slipping chuck or worn gearbox also rob torque. The chuck’s jaws lose grip over time, allowing the bit to spin without transferring force. Inside the gearbox, dried‑out grease or broken teeth create drag instead of rotation.
Common Torque‑Killing Problems at a Glance
| Problem | Signs | Likely Cause |
|---|---|---|
| Battery | Drill stops quickly under load | Old or defective cells |
| Chuck | Bit spins but doesn’t drive screw | Worn jaws or loose key |
| Clutch | Clicks or rattles when drilling | Clutch rings set too low |
| Motor Brushes | Sparks visible through vents | Worn or stuck brushes |
Check your drill’s clutch setting first — many users accidentally dial it down. If that’s not the issue, move to battery and mechanical tests.
How Battery Health Affects Torque Output
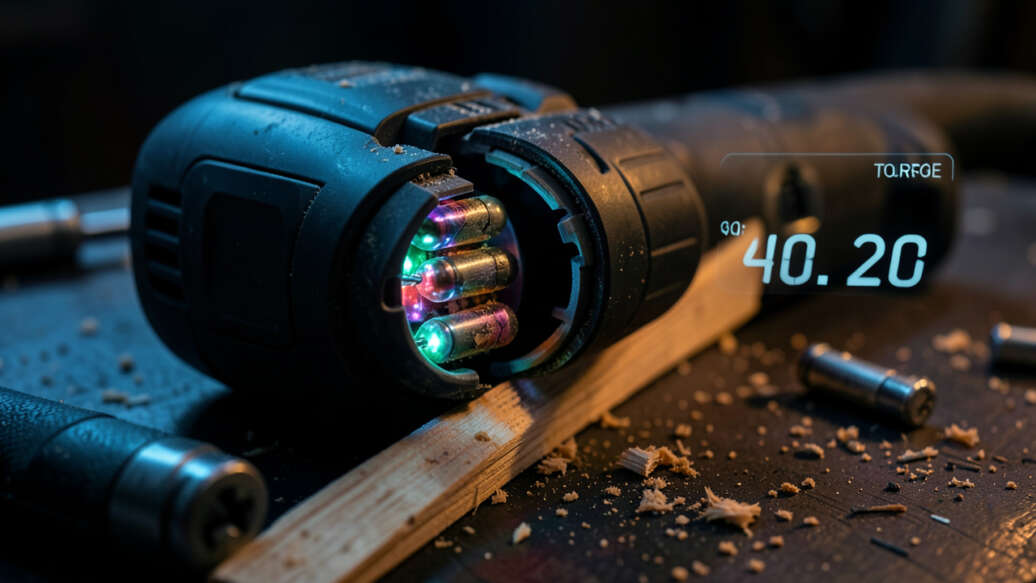
The battery is the heart of your cordless drill’s power system. A healthy battery delivers high current under load. As cells degrade, voltage sags and torque falls off dramatically.
Most modern drills use 18V or 20V lithium‑ion packs. Industry data shows that after 200–300 charge cycles, capacity drops to about 80% of new. At that point, the drill may still spin freely but lacks the punch to drive large screws.
Signs Your Battery Is Causing Torque Loss
- Drill works well on light tasks but stalls on heavy ones
- Battery charges quickly but drains fast under load
- Drill runs slower even with a full battery indicator
- Battery feels hot to the touch after minimal use
- Only one battery in your set shows the problem
Warning: Never open a lithium-ion battery pack unless you are experienced. Shorting the terminals can cause fire. If the battery is more than three years old and consistently underperforms, replace it with a quality OEM unit.
If you suspect the battery, try a known good pack from another tool. If torque returns, the problem is the battery. If not, move to mechanical checks.
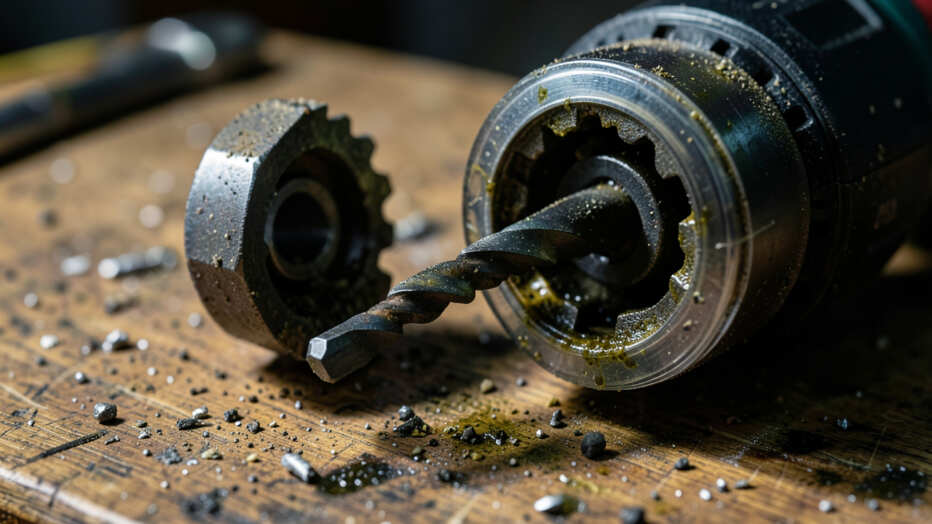
Why Chuck and Gear Problems Reduce Torque
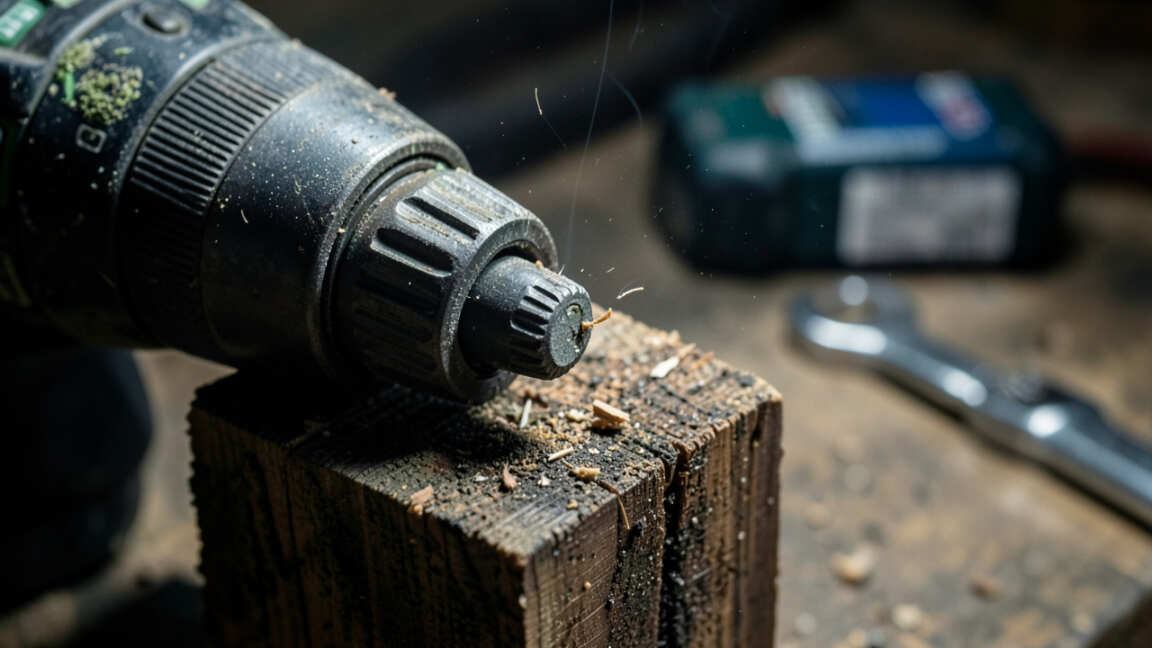
The chuck is the part that grips the drill bit. Over time, the hardened steel jaws wear down. When they can’t fully grip the bit, the bit spins inside the chuck instead of transferring force to the screw.
Gearbox issues are less common but more serious. The planetary gears are lubricated with grease that eventually dries out or picks up dirt. This adds friction and robs power.
Broken gear teeth cause a grinding sound and major torque loss.
How to Test the Chuck
- Insert a 1/4‑inch hex bit and tighten the chuck firmly by hand.
- Grip the bit with pliers and try to rotate it while holding the drill body steady.
- If the bit slips inside the chuck, the jaws are worn and need replacement.
- Listen for clicking or rattling when the drill runs — that may indicate gear damage.
| Chuck Type | Common Problem | Fix |
|---|---|---|
| Keyless | Jaws wear unevenly | Replace chuck assembly |
| Keyed | Key hole strips | Replace key or chuck |
| Hex (impact drivers) | Retaining ring fails | Replace retaining ring |
For gearbox problems, you’ll often need a professional rebuild. But many home users simply replace the whole drill when gears go, as repairs can cost nearly as much as a new tool.
Tip: Apply a drop of lightweight oil to the chuck threads every few months. This prevents dirt buildup and keeps the jaws moving freely.
How to Diagnose Torque Loss in Your Drill
Diagnosing torque loss is a systematic process. You can do it in under ten minutes with no special tools. Start with the simplest checks and move to internal components.
- Check the clutch ring: Rotate to the highest setting (drill icon). Many users leave it on a low number.
- Test with fresh battery: Use a fully charged pack from another tool if possible.
- Listen for abnormal sounds: Grinding, clicking, or whining point to mechanical wear.
- Look for sparks: Visible sparks from motor vents indicate worn brushes.
- Measure run time: A fully charged battery should last at least 10–15 minutes of moderate drilling.
Step‑by‑Step Diagnostic Sequence
- Remove battery and inspect contacts for corrosion. Clean with isopropyl alcohol if dirty.
- Install a fully charged battery. Run the drill at full speed without load — it should spin fast and smooth.
- Apply moderate pressure to a scrap piece of wood. If the drill slows dramatically, suspect the battery or motor.
- Try a different bit in a different chuck position. If the bit slips, the chuck is worn.
- If the drill intermittently loses power, the trigger assembly may be failing.
According to a survey by Pro Tool Reviews, about 40% of torque complaints are solved by simply replacing the battery. Another 25% require clutch adjustment or cleaning.
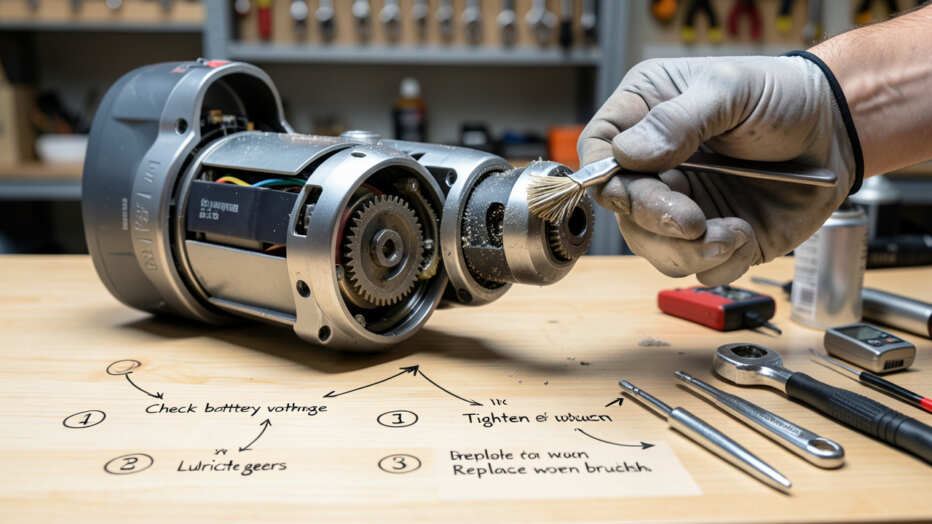
Step‑by‑Step Fixes to Restore Lost Torque
Once you’ve identified the cause, each fix is straightforward. Most require only basic household tools.
Fix 1: Clean the Chuck
- Remove the bit and open the chuck fully.
- Spray a small amount of electrical contact cleaner into the jaws.
- Work the jaws open and closed several times.
- Wipe away any debris and re‑test.
Fix 2: Replace Motor Brushes
Brushes are small carbon blocks that transfer electricity to the motor rotor. They wear down after hundreds of hours. Replacement cost: $5–$15.
| Step | Action |
|---|---|
| 1 | Remove battery and locate brush caps on motor housing. |
| 2 | Unscrew caps and pull out old brushes. |
| 3 | Insert new brushes (same size) and replace caps. |
| 4 | Run drill briefly to seat brushes. |
Important: Always use exact replacement brushes from the manufacturer. Generic ones may not fit correctly and can damage the commutator.
Fix 3: Re‑lubricate the Gearbox
If the gearbox feels rough, apply a small amount of white lithium grease to the ring gear teeth through the vent slots. Do not overfill. Work the grease in by turning the chuck by hand.
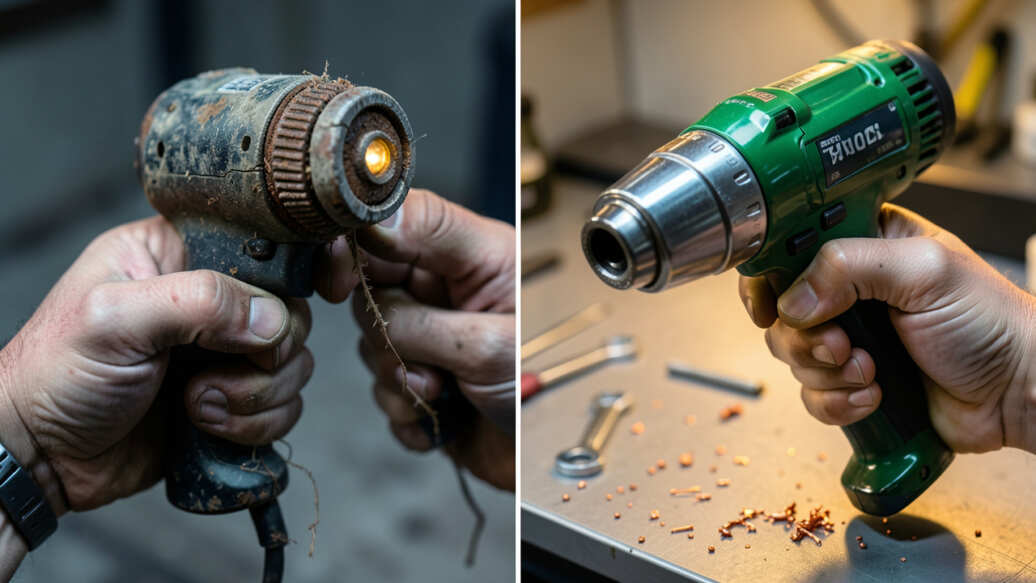
When to Replace vs Repair Your Drill
Not every torque problem is worth fixing. Use this guide to decide.
- Replace the battery: If battery is old and drill is otherwise fine, a new battery ($40–$100) is a smart investment.
- Repair the drill: If the motor brushes or chuck need replacement and you’re handy, parts cost under $20.
- Buy a new drill: If the gearbox is damaged or the motor smells burnt, a new mid‑range drill costs $70–$150 — often less than a professional repair.
According to Consumer Reports, the average cordless drill lasts 5–7 years with normal use. If yours is older than that and losing torque, replacement is usually the better call.
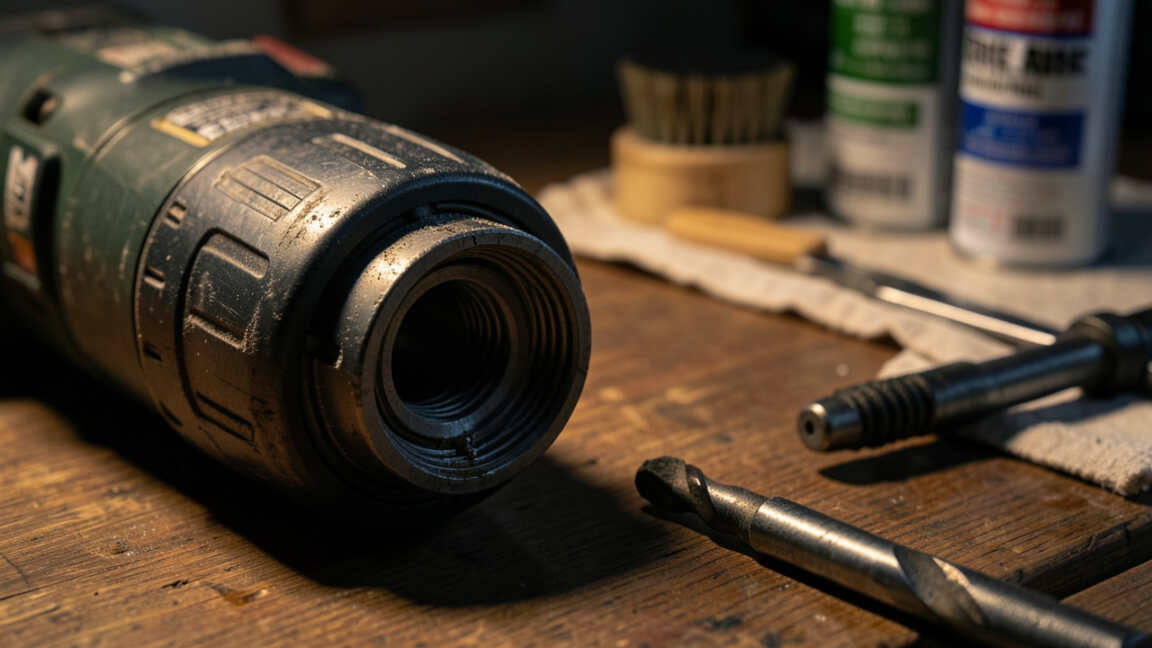
Preventive Maintenance Tips to Maintain Torque
A little regular care keeps your drill performing at its best for years.
- Store batteries at 40–60% charge in a cool, dry place.
- Clean the chuck and vents after every heavy use.
- Lubricate the chuck threads and gearbox annually.
- Avoid dropping the drill — impacts can misalign the clutch.
- Use the correct bit sizes to prevent chuck strain.
Tip: Run your drill at full speed for 30 seconds once a month to keep the motor brushes seated and the gears lubricated.
Frequently Asked Questions
Why does my drill slow down when I apply pressure?
That’s normal to some degree — the motor draws more current under load. But if the slowdown is severe, it usually means the battery can’t deliver enough power or the motor is wearing out.
Can a bad clutch cause torque loss?
Absolutely. If the clutch ring is set too low, it will slip and prevent the drill from applying full torque. Always set the clutch to the drill icon for maximum torque.
How do I clean the chuck to fix torque loss?
Open the chuck fully, spray electrical contact cleaner into the jaws, and work them open and closed several times. Wipe away residue with a clean cloth.
Is it worth replacing brushes on a cheap drill?
If the drill is under $50, replacement brushes usually cost around $8. It’s a cheap fix if you can do the work yourself. But many budget drills have non‑replaceable brushes.
How often should I replace my drill battery?
Most lithium‑ion batteries last 300–500 charge cycles. If you notice significant torque loss after a full charge and the battery is over two years old, it’s time for a new one.
Final Thoughts
Torque loss in cordless drills is frustrating but almost always fixable. Start with the simplest checks — battery and clutch setting — before moving to internal parts. With regular maintenance, your drill can deliver reliable power for years.
If the cost of repair approaches half the price of a new tool, it’s smarter to upgrade.