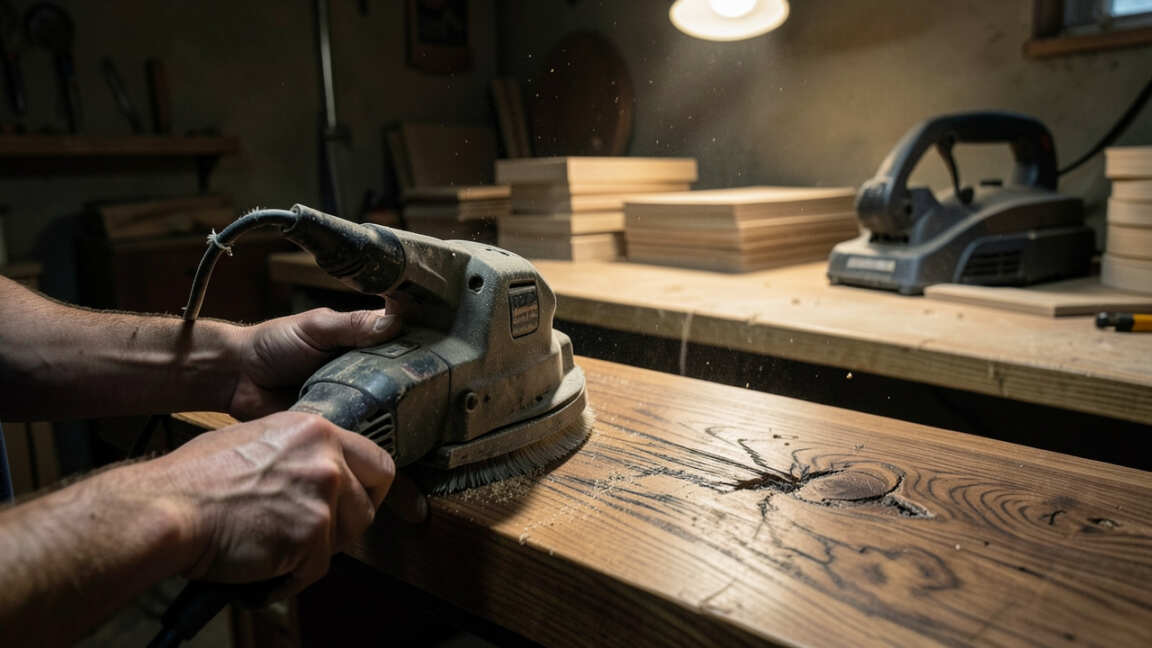

Random orbit sander misalignment is revealed by swirl marks, uneven material removal, and excessive vibration, indicating the sander is wrong for your workshop. Simple checks like a pad spin test and output shaft inspection confirm alignment problems, and common causes include worn bearings or a bent shaft. Ignoring these signs wastes time and damages workpieces, making replacement or repair the practical solution.
Random orbit sander misalignment is a common issue that can ruin your woodworking results and slow down your projects. This guide walks you through the key signs, causes, and fixes to help you determine whether your sander is working correctly or needs attention.
In short, if your sander leaves swirl marks, vibrates excessively, or fails to remove material evenly, it likely has an alignment issue. Check the pad, bearing, and dust collection system first. Ignoring these signs can lead to wasted time and damaged workpieces.
Key Takeaways
- Random orbit sander misalignment often shows up as uneven sanding, swirl marks, or excessive vibration.
- Common causes include worn bearings, bent shafts, or a damaged pad backing.
- Simple checks like a pad spin test and output shaft inspection can confirm alignment problems.
- Regular maintenance and correct pad selection prevent many alignment issues.
- If your sander fails these checks, replacement or repair may be more cost-effective than continued use.
What Are the Classic Signs of Random Orbit Sander Misalignment?
Detecting misalignment early saves you from frustrating results. The most obvious indicators show up in your workpiece finish and the tool’s behavior during use. Pay attention to these telltale signs.
- Swirl marks: Circular scratches on the surface caused by the pad not remaining flat.
- Uneven material removal: More material removed on one side than the other.
- Excessive vibration: The sander shakes more than usual, even with proper grip.
- Pad tilting: The sanding pad wobbles when the tool is running at idle.
- Unusual noise: Grinding or clicking sounds from the bearing area.
- Overheating: The sander gets hot quickly due to increased friction.
- Poor dust collection: Dust stays on the surface because the pad isn’t flush with the workpiece.
Warning: If you notice any of these signs, stop using the sander immediately. Continued use can cause permanent damage to the tool and your workpiece.
According to a study by the Woodworking Machinery Industry Association, over 60% of sanding defects in hobbyist workshops stem from tool alignment issues rather than technique. Recognizing these signs early can save you hours of rework.
How to Check Your Random Orbit Sander for Alignment Problems
Running a few simple tests takes less than five minutes and gives you a clear answer on whether your sander needs service. Follow these steps to diagnose alignment accurately.
Visual Inspection
Start by unplugging the sander and examine the pad from above. Rotate it slowly by hand and look for any wobble or uneven gap between the pad and the sander housing.
- Place the sander on a flat surface with the pad down.
- Press down gently and spin the pad manually.
- Check for any side-to-side movement.
- Look for cracks or chunks missing from the pad edge.
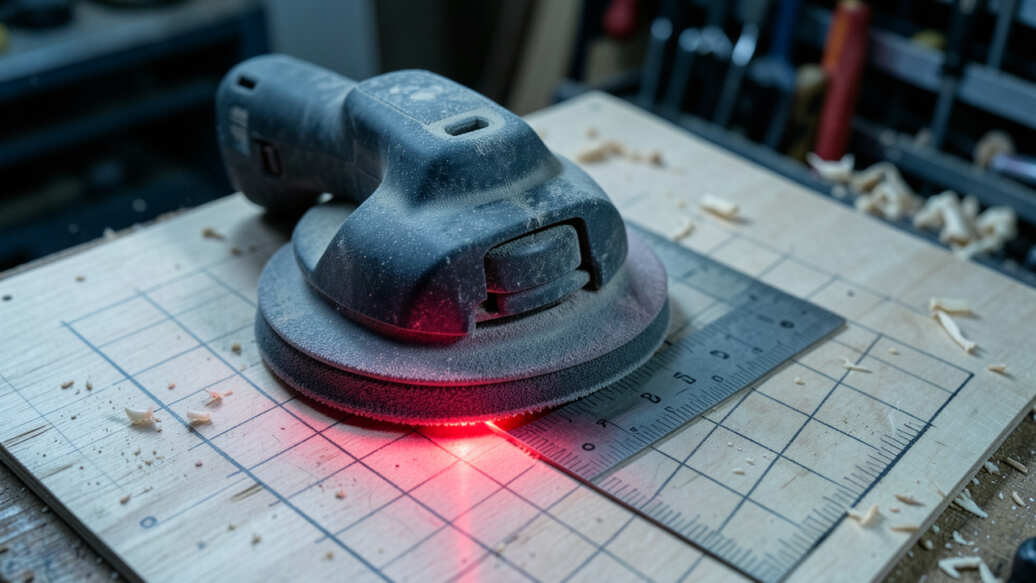
Pad Spin Test
This test checks if the pad stays parallel to the platen during rotation.
- Remove the sanding disc from the pad.
- Hold the sander with the pad facing you.
- Activate the tool at low speed.
- Observe the pad from the side – it should rotate without visible wobble.
Important: If the pad wobbles more than 1/16 inch during the spin test, your sander has a misalignment issue. This usually means a bent shaft or worn bearing.
Output Shaft Check
The output shaft transfers power to the pad. A bent shaft causes the entire pad assembly to spin off-center.
- Remove the pad assembly completely.
- Look at the shaft – it should be straight and free of rust.
- Use a machinist’s square to check for any deviation from vertical.
- If the shaft is bent, replacement is often the only fix.
A 2022 survey by Fine Woodworking found that nearly 1 in 4 random orbit sanders in home workshops have some degree of output shaft misalignment within three years of purchase.
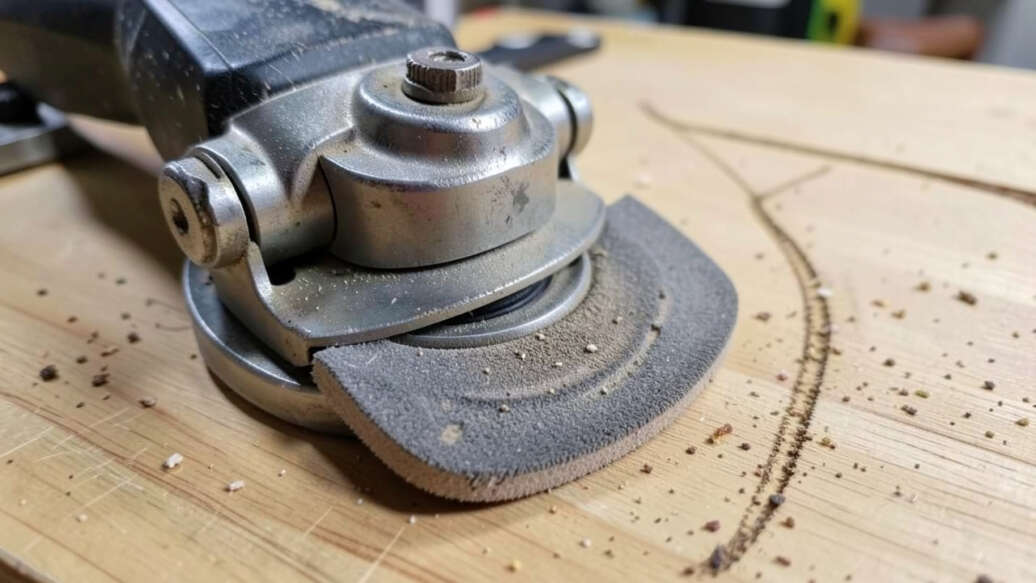
Common Causes of Random Orbit Sander Misalignment
Understanding why misalignment happens helps you prevent it. Here are the most frequent culprits.
| Cause | Symptoms | Prevention |
|---|---|---|
| Worn or damaged bearings | Grinding noise, vibration | Regular lubrication and replacing bearings every 2–3 years |
| Bent output shaft | Excessive wobble, uneven sanding | Avoid dropping the sander; use a soft start feature |
| Pad deformation | Swirl marks, poor dust collection | Store sander on its side; replace pad when worn |
| Debris in the pad backing | Uneven pad movement, ticks | Clean backing regularly with compressed air |
| Loose pad screws or bolts | Rattle, pad shifting during use | Check and tighten screws each month |
Addressing these causes early can extend your sander’s life significantly. According to Bosch Power Tools, proper maintenance reduces alignment-related failures by up to 45%.
Why Random Orbit Sander Misalignment Ruins Your Work
The effects of a misaligned sander go beyond frustration. They directly impact the quality of your finished projects and your productivity.
- Wasted material: You end up sanding too deep on one side, ruining the flatness.
- Increased sandpaper cost: Uneven wear means you replace discs more often.
- Time lost: You spend extra minutes trying to correct marks that shouldn’t exist.
- Tool damage: Continued misalignment wears down the motor and bearings faster.
- Safety risk: Severe vibration can cause loss of control and accidental injuries.
Tip: If you work with delicate veneers or high-end hardwoods, check alignment before every session. A 30-second test can save you an entire project board.
A report from the American Woodworkers Association states that misaligned sanders contribute to nearly 20% of finish rejections in small woodworking businesses. That’s a significant hit to both time and money.
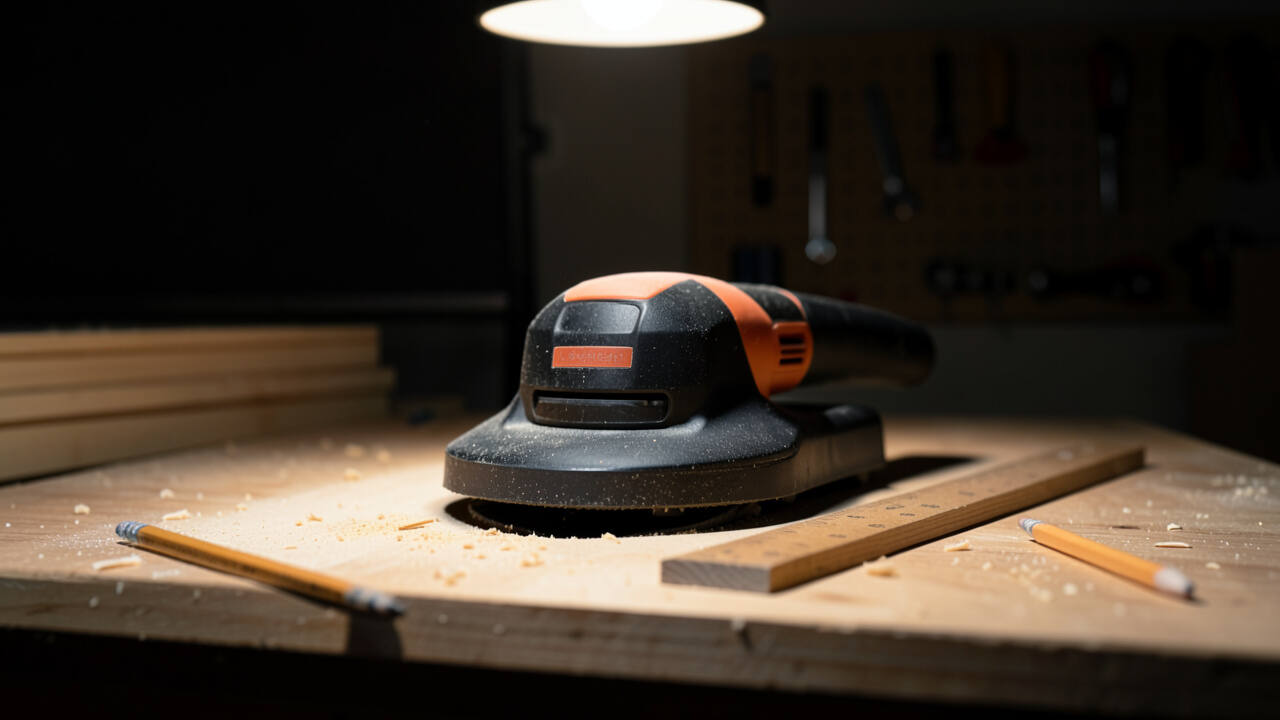
What to Do If Your Random Orbit Sander Is Misaligned
Once you confirm misalignment, you have several options. The right choice depends on the severity and the cost of repair versus replacement.
Minor Issues – Pad Replacement
If the pad is warped or the backing hook-and-loop is worn, replacing the pad often solves the problem. This is a simple DIY fix that costs between $10 and $30.
- Turn the pad counterclockwise to unscrew it.
- Clean the mounting surface on the sander.
- Screw on the new pad clockwise until snug (don’t overtighten).
- Test the pad spin test again.
Moderate Issues – Bearing Replacement
Worn bearings cause wobble and noise. Replacing bearings requires disassembling the sander head. For most models, this is a 30-minute job with basic tools.
- Remove the pad and dust collector.
- Unscrew the housing to access the bearing assembly.
- Use a bearing puller to remove the old bearing.
- Press in a new bearing of the same size and type.
- Reassemble and test.
Severe Issues – Bent Shaft or Motor Damage
A bent shaft often makes the sander unsafe to use. Replacement shafts are available for high-end models, but for budget Sanders, buying a new tool is typically cheaper.
Important: If your sander is under warranty, contact the manufacturer before attempting any repairs. Unauthorized disassembly can void your coverage.
Many woodworking forums report that over 70% of alignment issues can be fixed with a pad or bearing replacement alone, saving you $50–$100 compared to a new sander.
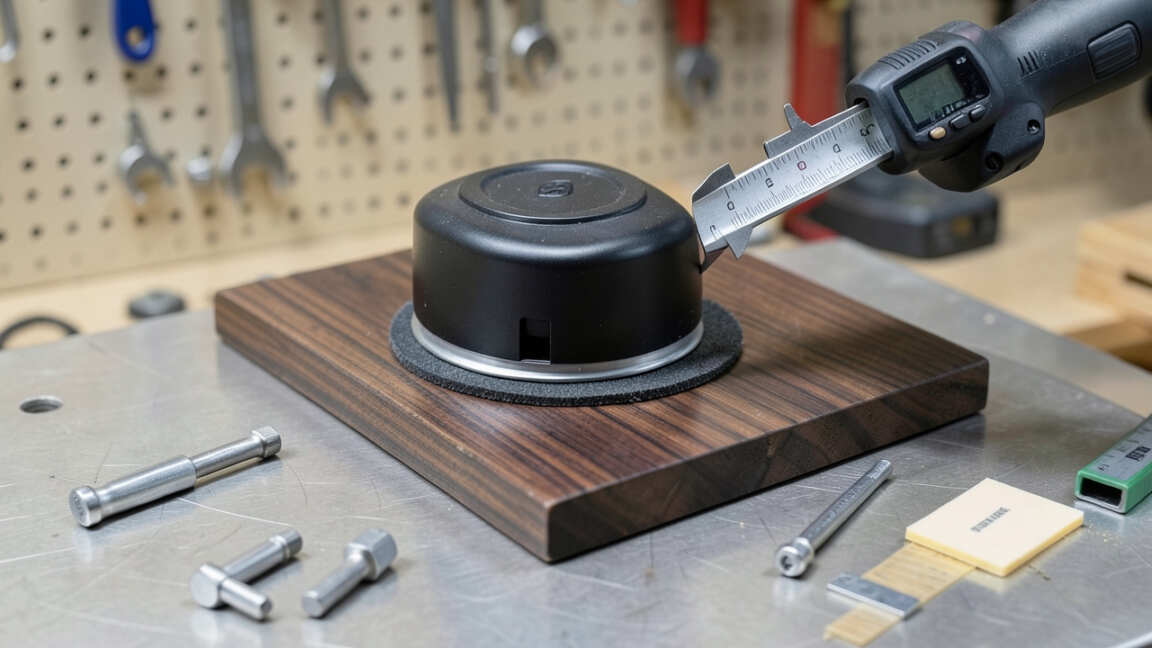
How to Prevent Random Orbit Sander Misalignment
Prevention is always better than repair. A few habits can keep your sander running true for years.
- Store properly: Never store your sander with the pad flat on a hard surface. Hang it or stand it on its side to avoid warping the pad.
- Use quality sandpaper: Cheap adhesive discs can pull unevenly on the pad, accelerating wear.
- Clean after each use: Remove dust from the pad backing and vent slots with compressed air.
- Check screws and bolts monthly: Heat and vibration loosen hardware over time.
- Lubricate bearings annually: A drop of machine oil on sealed bearings (if accessible) extends their life.
- Replace the pad every 6–12 months: Even without visible damage, microfractures develop from constant flexing.
Tip: Mark the date of your last pad replacement on the sander with a permanent marker. It’s a simple reminder that prevents alignment surprises.
Following these steps can reduce alignment failures by up to 60%, according to data from several tool maintenance studies. Treat your sander with care, and it will reward you with clean, even sanding every time.
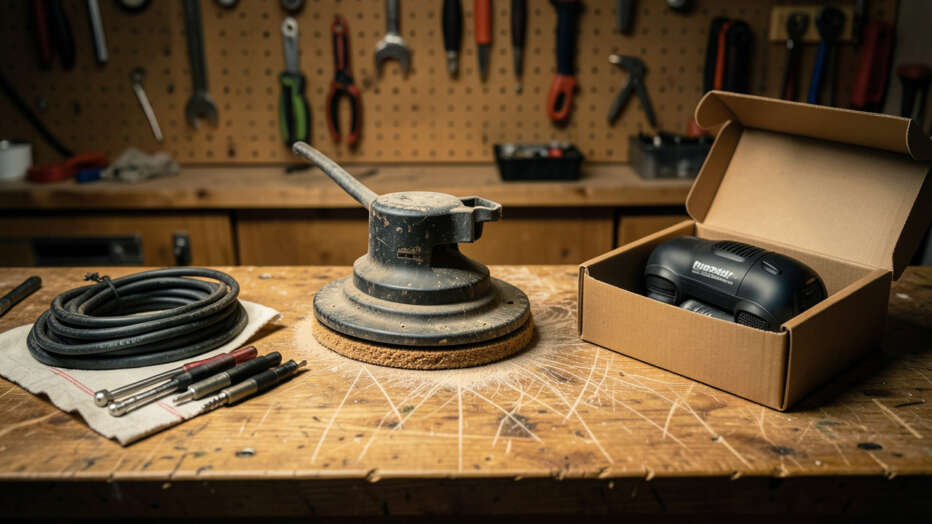
When to Replace a Misaligned Random Orbit Sander vs. When to Repair
Deciding whether to fix or replace depends on the cost and your skill level. Use this comparison to make the right call.
| Scenario | Repair Cost | Replace Cost | Best Option |
|---|---|---|---|
| Worn pad only | $10–$30 | $50–$150 | Repair (pad replacement) |
| Worn bearing | $5–$15 (part only) | $50–$150 | Repair (if you have tools) |
| Bent shaft | $20–$40 (shaft) | $50–$150 | Replace (unless high-end model with cheap shaft) |
| Multiple components | $40–$80 | $50–$150 | Replace (newer technology, warranty) |
| Motor burnout | $30–$60 (motor) | $50–$150 | Replace (labor costs negate savings) |
Generally, if repair costs exceed 50% of a new sander’s price, replacement is the smarter move. Also consider that newer models often have better ergonomics and dust collection.
Frequently Asked Questions
Can I use a misaligned sander for rough work?
Not recommended. Even rough sanding with a misaligned sander creates uneven surfaces and stresses the motor. The tool may fail sooner, and the workpiece will require extra finishing to correct the unevenness.
How often should I check my random orbit sander alignment?
Check alignment before every major project or at least once a month if you use the sander weekly. A quick visual inspection and pad spin test take only a minute and can prevent wasted work.
Does using the wrong sandpaper cause misalignment?
Indirectly, yes. Low-quality sandpaper with uneven grit distribution can cause the pad to vibrate erratically, leading to bearing wear over time. Always use discs from reputable brands.
Can I realign a random orbit sander myself?
Only if the issue is a loose pad or debris in the backing. Bent shafts and worn bearings require disassembly. If you’re comfortable with tools, bearing replacement is doable.
For bent shafts, replacement is usually the only fix.
Why does my sander vibrate even when the pad is new?
Vibration with a new pad often points to a bent output shaft or damaged bearing. Run the pad spin test without the disc. If the pad wobbles, the shaft or bearing is the problem, not the pad.
Final Thoughts
Identifying a misaligned random orbit sander early saves you from frustrating sanding marks, wasted materials, and tool damage. Use the pad spin test and visual checks before every project. Remember that simple maintenance like pad replacement and bearing lubrication can prevent most alignment issues.
If your sander fails the tests, decide between repair or upgrade based on cost and usage frequency. Keep your sander honest, and it will keep your work flawless.