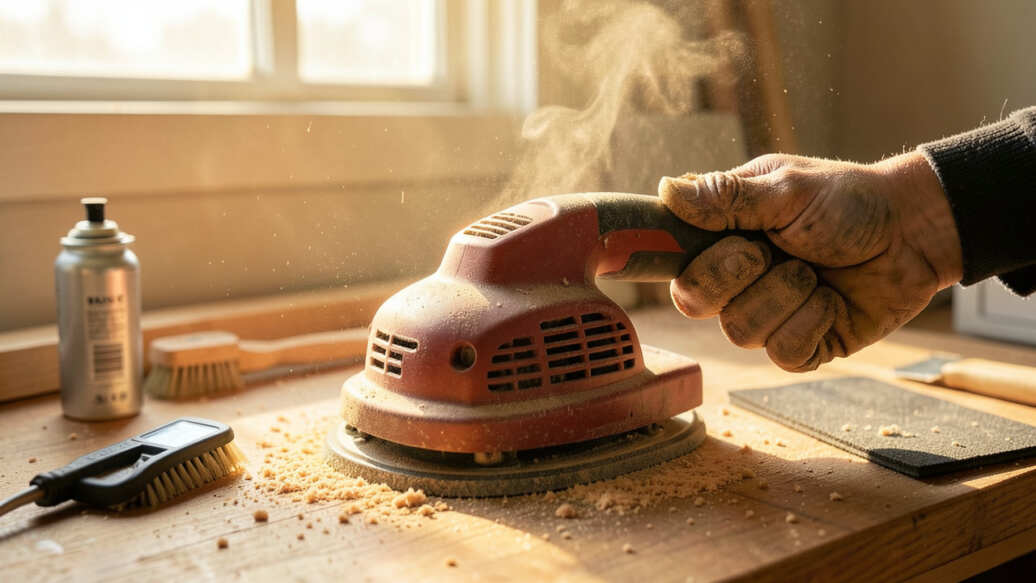

To stop a detail sander from overheating during long sanding, maintain a completely clear dust path by using efficient dust collection and stearate-coated or mesh abrasives to reduce friction. Applying excessive pressure generates immediate heat, so let the tool’s weight do the work and match the grit to the task for low-friction sanding. Implement a strict break schedule—typically every 10 to 15 minutes of continuous use—to let the motor cool down and ensure long-term tool reliability.
Stopping a detail sander from overheating during long sanding is the key to both a flawless finish and a long-lasting power tool. This guide covers the proven techniques, maintenance steps, and best practices to keep your sander running cool, even during the most demanding projects.
Simply put, preventing your detail sander from overheating requires three core actions: maintaining a perfectly clear dust path, matching your grit and pressure to the task, and implementing a strict cool-down break schedule during extended use.
Key Takeaways
- Stopping a detail sander from overheating demands a clean dust collection system above all else; clogs are the primary cause of heat buildup.
- Using stearate-coated sandpaper or mesh abrasives significantly reduces friction and keeps the tool running cooler for longer periods.
- Excessive pressure is a destructive habit that generates immediate heat; letting the tool’s weight do the work is essential for cool operation.
- A scheduled cooling break every 15 minutes of continuous sanding can extend the life of your sander by months or even years.
What Causes a Detail Sander to Overheat?
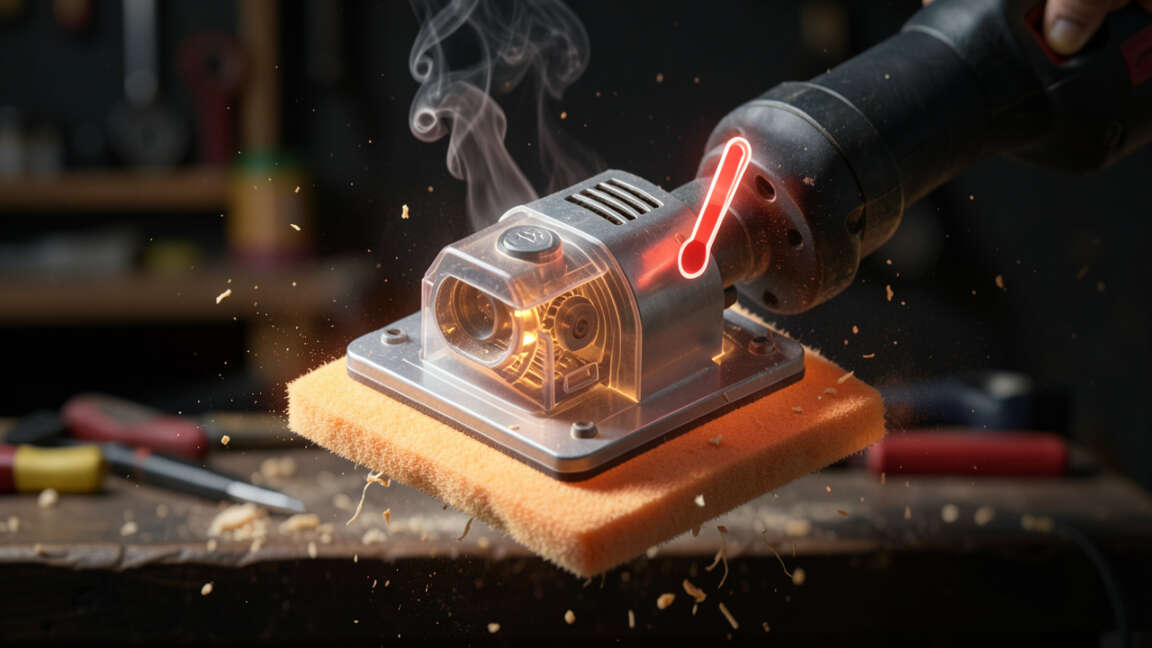
Understanding the root causes of heat buildup is the first step toward prevention. Detail sanders overheat primarily due to blocked airflow, excessive friction, or overworking the motor. When the dust extraction port or ventilation slots become clogged, the internal motor can’t breathe.
Heat is the natural enemy of your sander’s bearings and windings. According to Festool training resources, over 80% of sander motor failures can be traced back to inadequate dust management. The fine dust created during sanding acts as an insulator when trapped inside the tool housing.
- Clogged Dust Holes: The most common cause. Blocked pad holes prevent air from pulling heat away from the paper interface.
- Dull Sandpaper: Worn grit requires more pressure to cut, which generates friction and heat exponentially faster.
- Incorrect Grit Progression: Skipping from coarse to very fine creates unnecessary work for both you and the motor.
- Blocked Ventilation: Gripping the sander too tightly or covering air vents with your hand restricts cooling airflow.
- Overloading the Motor: Running the sander at maximum orbital speed on a heavy load for 20+ minutes without a break.
| Heat Source | Primary Cause | Temperature Impact |
|---|---|---|
| Friction Interface | Clogged paper or wrong grit | High (immediate localized heat) |
| Motor Strain | Excessive downward pressure | Very High (internal component stress) |
| Airflow Restriction | Full dust bag or blocked vents | Critical (causes overheating failure) |
Each of these sources compounds the others. A clogged dust port forces you to push harder, which increases friction and strains the motor further. Recognizing this cycle is the foundation of keeping your sander cool.
How to Choose the Right Sanding Pad and Paper for Heat Reduction
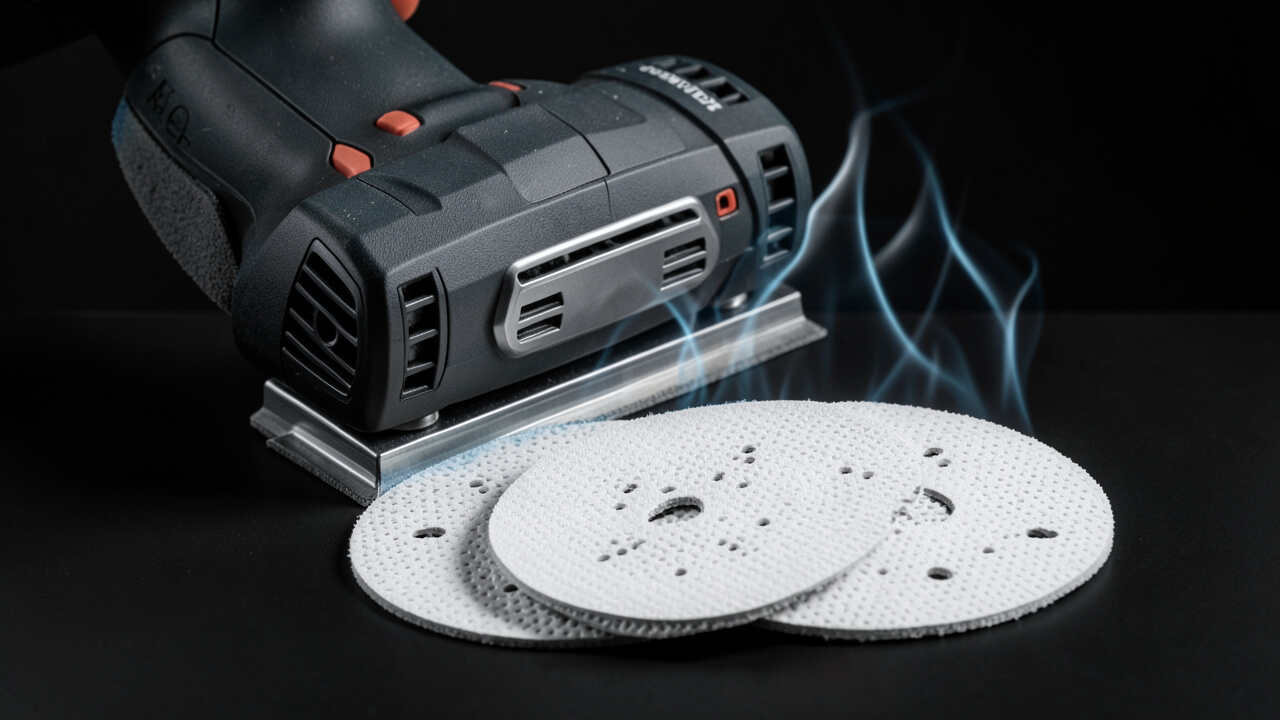
Your choice of consumables plays a massive role in temperature control. Standard non-stick paper creates significant drag on the pad, generating heat quickly. Switching to stearate-coated paper or mesh abrasives like those from 3M or Mirka can lower operating temperatures immediately.
Stearate acts as a dry lubricant. It prevents the paper from glazing over and reduces the friction between the abrasive and the wood. Mesh abrasives, such as Abranet, take this a step further by allowing dust to pass completely through the paper rather than becoming trapped on the surface.
- Stearate-Coated Aluminum Oxide: Best for general woodworking, reduces heat by preventing clogging.
- Mesh Abrasives (e.g., Abranet): Allows up to 90% of dust to pass through, drastically reducing heat at the pad interface.
- Ceramic Alumina: Excellent for hardwoods, runs cooler under heavy loads than standard grits.
- Hook-and-Loop Compatibility: Ensure the backing matches your pad perfectly to avoid uneven wear and hot spots.
- Hole Pattern Alignment: Always align the paper’s dust holes with the sander’s pad holes for maximum airflow.
Tip: Always keep a variety of mesh abrasives on hand for long sanding sessions. While they cost more upfront, the reduction in tool wear and the time saved on dust cleanup makes them significantly cheaper in the long run.
The pad itself matters too. A worn or hardened pad creates uneven pressure, leading to poor dust collection and increased friction. Replace your pad immediately if it shows signs of glazing or uneven wear.
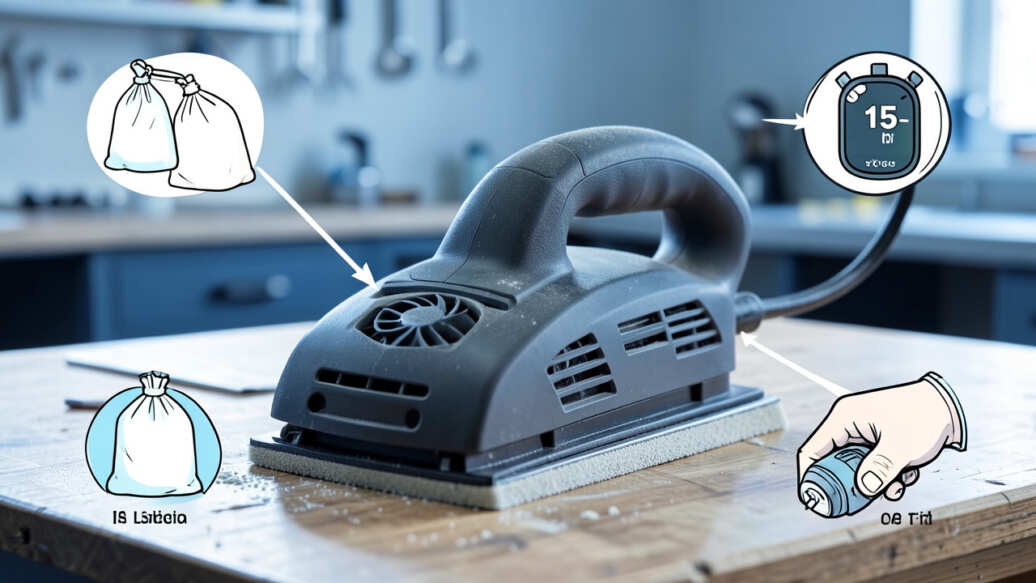
Step-by-Step Guide to Stop Your Detail Sander From Overheating
Follow this exact sequence during your next long sanding project. This process is designed to minimize heat buildup at every stage of operation. Implement these steps as a routine, not just when you notice heat.
- Clear the Entire Dust Path: Before starting, check the pad holes, the dust port, and the bag or vacuum hose. Any restriction in this path will cause heat to build up within minutes. Use a thin rod to clear the port if necessary.
- Select the Correct Grit Progression: Never skip more than one grit grade. Jumping from 80-grit to 120-grit is acceptable, but jumping to 220-grit forces the finer paper to cut material it cannot handle, creating massive friction.
- Set the Appropriate Orbital Speed: Use slower speeds for fine finishes and softer woods. Max speed should be reserved for aggressive stock removal on hard surfaces like oak or maple. Running at max speed on soft wood simply burns the paper.
- Apply Zero Downward Pressure: This is the hardest habit to learn. The weight of the sander is all the pressure needed. If you see the pad bogging down or feeling resistance, you are pushing too hard. Let the abrasive do the work.
- Implement the 15-Minute Rule: Set a timer for 15 minutes of continuous use. When it goes off, turn the sander off and let it sit for 5 minutes. This allows the motor and bearings to cool down to ambient temperature.
- Inspect and Clear Every 5 Minutes: Pause briefly every 5 minutes to tap the dust bag or check the pad holes. A sudden drop in dust extraction is the first sign of a clog forming.
According to Bosch tool manuals, allowing a sander to cool completely between uses can extend the lifespan of the motor brushes by up to 300%. Heat degrades the commutator and windings, so those breaks are vital.
What Are the Best Dust Management Techniques for Detail Sanders?
Dust is the number one insulator inside a power tool. You must manage it aggressively to keep your sander cool. Using a dedicated dust extractor is always better than relying on the built-in dust bag.
- Use a HEPA Vacuum: A shop vac with a HEPA filter provides powerful suction that actively pulls cool air through the sander. This is the single best investment for tool longevity.
- Empty the Dust Bag Frequently: A full dust bag completely stops airflow. Empty it when it is 50% full. A seemingly half-full bag can still be dense enough to choke the motor.
- Clean the Pad Holes: After every sheet change, blow out the pad holes or use a stiff brush. Resin and fine dust buildup in these holes is a major cause of friction heat.
- Use a Cyclone Separator: Adding a cyclone between the sander and the vacuum prevents the vacuum filter from clogging, maintaining constant high suction throughout your project.
- Check for Leaks: A damaged hose or a poor fit between the sander port and the hose reduces vacuum efficiency. Seal connections with tape if necessary to ensure maximum pull.
Warning: Never use a standard vacuum without a grounded hose or anti-static system on a detail sander. Static buildup from fine dust can damage the electronics of variable speed sanders and create a shock hazard.
If you notice the sander getting warm, immediately check the connection between the hose and the sander. A kinked hose is a common oversight that leads directly to overheating. Straighten the hose or switch to a shorter, less restrictive path.
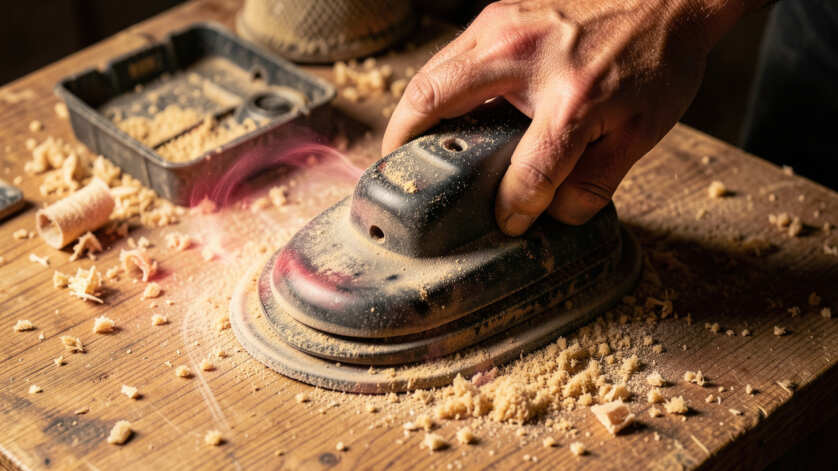
Common Mistakes That Make Detail Sanders Overheat Faster
Even experienced woodworkers make errors that shorten the life of their sanders. Identifying these habits is crucial for stopping heat before it starts. Most of these mistakes come down to impatience or lack of awareness of the tool’s mechanics.
The American Woodworkers Association notes that the average hobbyist applies over 10 pounds of downward force when sanding, which is roughly 8 pounds more than necessary. This unnecessary pressure is the fastest way to generate destructive heat.
- Pushing Down Hard to Speed Things Up: This slows the orbital action, creates friction, and damages the motor bearings.
- Using a Worn-Out Pad: A pad that has lost its shape or has a glazed surface creates uneven contact and localized hot spots.
- Ignoring the Smell of Burning: A hot electrical smell or burning dust odor is a critical warning sign. Ignoring it can lead to melted housings and fire risk.
- Sanding Wet or Green Wood: Moisture causes the paper to clog instantly and creates a paste that blocks dust holes.
- Running the Sander on the Workpiece Before Starting the Motor: This puts maximum strain on the motor and instantly overheats the interface.
- Using the Wrong Vacuum Hose Size: A hose that is too small creates a bottleneck, drastically reducing airflow through the sander.
- Forgetting to Clean the Filter: A clogged vacuum filter reduces suction, causing the sander to overheat even if the dust bag itself is empty.
| Mistake | Immediate Effect | Long-Term Damage |
|---|---|---|
| Excessive Pressure | Sanding action slows, heat spikes | Worn bearings, melted housing |
| Ignoring Clogged Holes | Reduced extraction, friction heat | Motor burnout, melted commutator |
| Continuous Use (No Breaks) | Heat saturation of motor windings | Shortened brush and bearing life |
Reviewing this list during your next project can save you hundreds of dollars in replacement tools. Awareness is the first line of defense against heat damage.
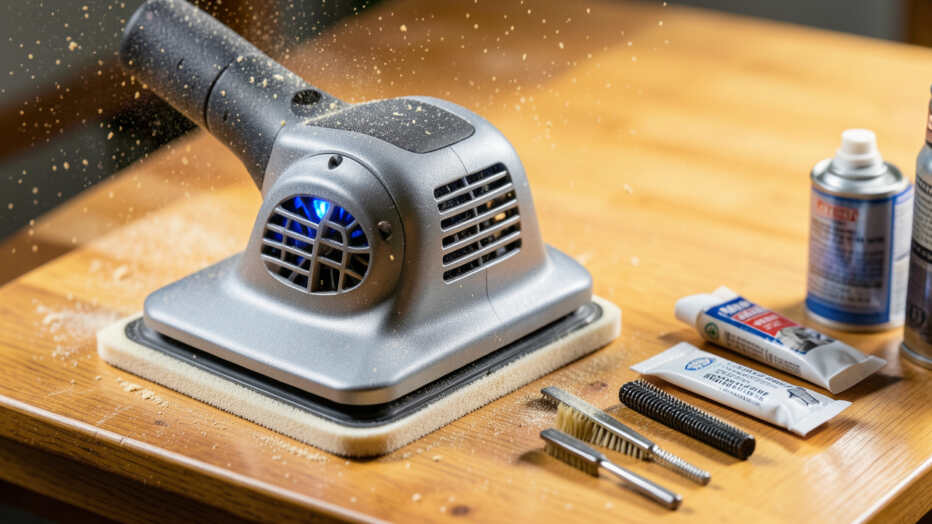
How to Maintain Your Detail Sander for Cooler Long-Term Performance
Regular maintenance is the difference between a sander that lasts for a decade and one that dies after a few big projects. You do not need to be a technician to perform these critical upkeep tasks. A little routine care goes a long way toward stable, cool operation.
Dust and resin accumulate inside the tool over time. This buildup insulates the motor and prevents heat from escaping. A simple quarterly cleaning can restore your sander’s cooling efficiency to near-factory levels.
- Blow Out the Interior: Use compressed air to blow dust out of the ventilation slots and motor housing. Do this every time you finish a major project or monthly if you sand daily.
- Lubricate the Bearings: Place a single drop of lightweight machine oil on the bearings if your sander has lubrication ports. Do not over-lubricate, as excess oil attracts dust.
- Check and Replace Brushes: Worn motor brushes create arcing and resistance, which generates significant heat. Inspect brushes every 50 hours of use and replace them when they are shorter than 1/4 inch.
- Clean the Pad Surface: Remove the paper and wipe the hook-and-loop pad with a brush or tack cloth to remove embedded resin. This ensures a flat, cool interface.
- Tighten the Pad Screw: A loose pad wobbles and creates uneven friction, causing the motor to work harder and overheat. Check the pad mounting screw monthly.
Important: Always unplug the sander before performing any maintenance. Never use excessive amounts of oil on the bearings. A single drop is enough. Too much oil will gum up the mechanism and attract more dust than it saves.
If you notice the sander feels sluggish or runs hotter than usual even after cleaning, the bearings may be failing. Worn bearings create drag, which requires the motor to draw more current and generate more heat. Replace the bearings or the tool immediately.
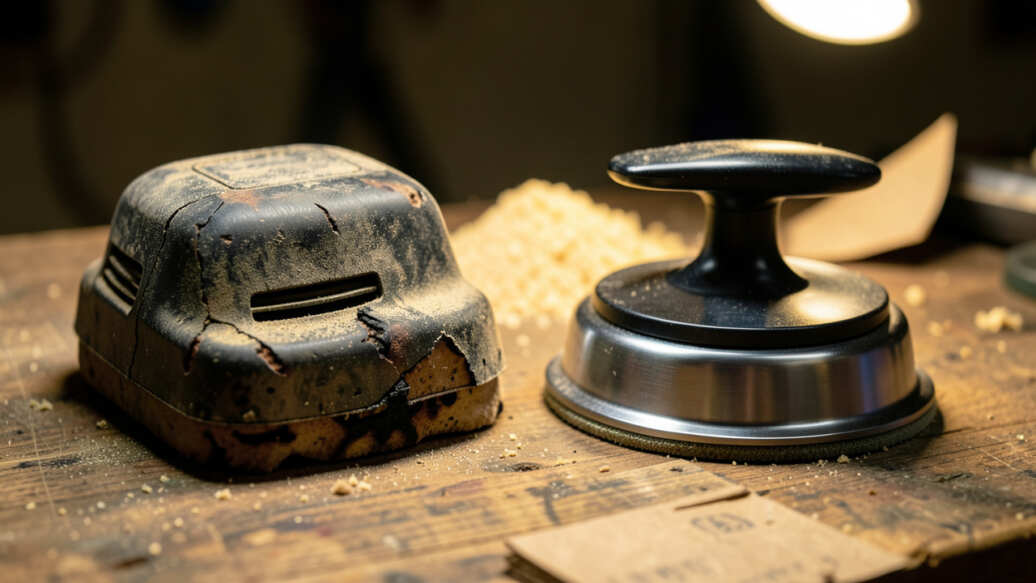
When Should You Replace a Detail Sander
Sometimes, despite your best efforts, a detail sander reaches the end of its serviceable life. Knowing when to stop trying to fix it and simply buy a new one saves you time and frustration. Replacing a tool is often safer and more cost-effective than repairing severe heat damage.
If the internal components have been subjected to extreme temperatures, the plastic housing may have warped, or the commutator bars on the motor may have melted. These are signs of terminal damage.
| Scenario | Repair Cost Estimate | Action Recommended |
|---|---|---|
| Melted switch or housing | $25 – $50 | Replace immediately (fire risk) |
| Worn motor brushes | $5 – $15 | Repair (worth it) |
| Broken bearings + damaged pad | $30 – $60 | Replace if tool is over 3 years old |
| Burned-out motor (smoke smell) | $40 – $80 | Replace (cost of repair > resale value) |
As a general rule, if the cost of repair exceeds 50% of the price of a new, comparable tool, you should replace it. Modern detail sanders from brands like DeWalt and Bosch offer better dust management and more efficient motors than older models, making an upgrade a smart long-term investment.
Frequently Asked Questions
How long should a detail sander run before cooling down?
Most manufacturers recommend a maximum continuous run time of 10-15 minutes. After this, you should turn the sander off and allow it to cool for at least 5 minutes to prevent heat saturation of the motor windings.
Can you use a detail sander continuously for 30 minutes?
You can, but you risk permanent damage to the motor and bearings. If you must run it for 30 minutes, take a 30-second break every 5 minutes to let the tool idle without a load. This greatly improves airflow and heat dissipation.
Why does my detail sander get hot even when using a dust collector?
This usually indicates a blockage somewhere in the dust path, a clogged vacuum filter, or an incorrect hose connection. Check for kinks in the hose and ensure the dust bag is not full. The suction might look fine but still be insufficient to cool the tool.
What happens if a detail sander overheats too much?
Extreme overheating can melt the plastic housing, damage the commutator, cause the motor windings to short circuit, and permanently warp the sanding pad. In severe cases, it can create an electrical fire hazard if the internal wiring insulation melts.
Is it normal for a detail sander to get warm?
Yes, some warmth is normal due to friction and motor operation. The tool should feel warm to the touch, similar to a cup of hot coffee. If it becomes too hot to hold comfortably or smells like burning electronics, it is overheating and needs immediate attention.
Final Thoughts
Stopping a detail sander from overheating is entirely achievable through smart work habits and consistent care. Focus on dust management, gentle pressure, and scheduled breaks to keep your tool running cool. By treating your sander with this simple routine, you guarantee better finish quality and a significantly longer tool lifespan.