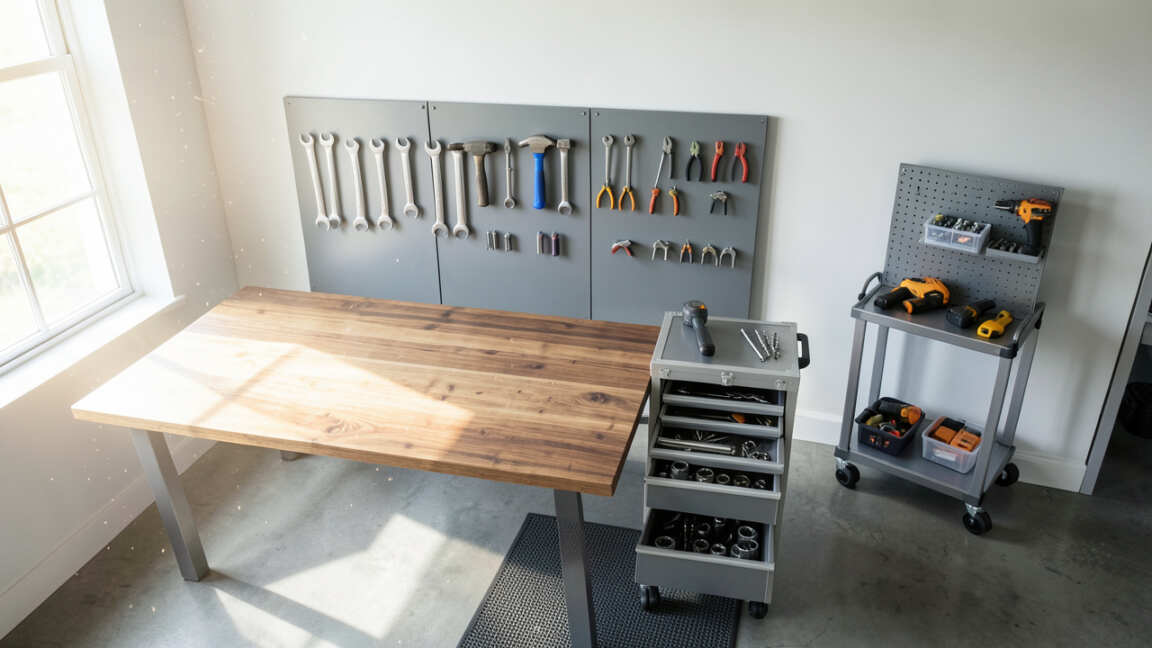

Modular tool storage should be placed along a wall within arm’s reach of your primary workbench or assembly area to minimize wasted motion and keep tools visible yet out of the way. Position the storage to support the work triangle between storage, workbench, and assembly space, ensuring frequently used tools remain within a 24‑to‑36‑inch reach zone. Leave at least 36 inches of clear aisle space in front of cabinets for safe access and reserve wall space for future modular expansion.
Simply put, place modular tool storage along a wall within arm’s reach of your primary workbench or assembly area, leaving clear floor space for movement. Positioning it against a wall near your most-used station reduces wasted motion and keeps tools visible yet out of the way.
Key Takeaways
- Modular tool storage placement should prioritize the “work triangle” between storage, workbench, and assembly area.
- Keep all frequently used tools within a 24‑36‑inch reach zone to minimize bending and walking.
- Avoid blocking windows, electrical panels, or ventilation systems when positioning your storage unit.
- Leave at least 36 inches of clear aisle space in front of modular cabinets for safe access.
- Consider future expansion by leaving wall space for additional modules or overhead racks.
What Is Modular Tool Storage and Why Does Placement Matter?
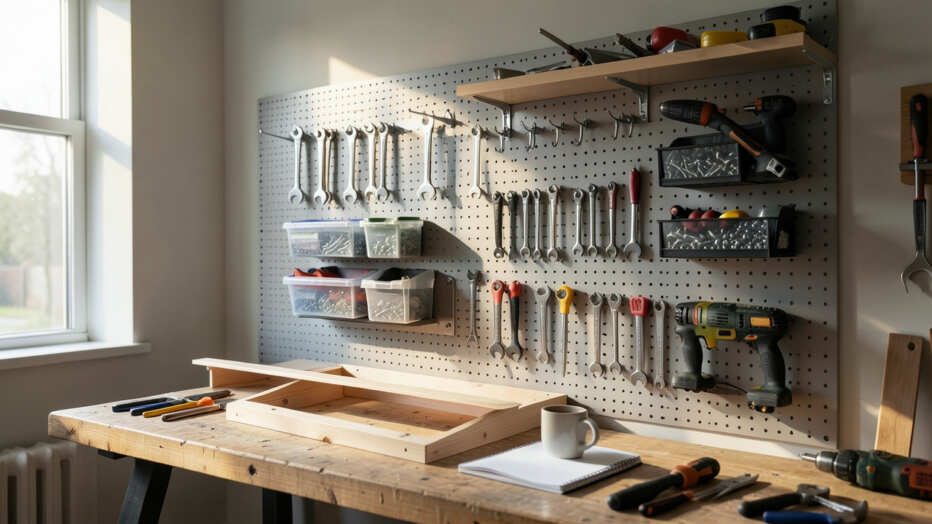
Modular tool storage refers to interlocking cabinets, drawers, and shelving units that can be reconfigured as your collection grows. Unlike fixed shelving, modular systems allow you to add components over time – making placement even more critical because you are building a long‑term layout.
Poor placement forces you to walk extra steps for every tool change. According to efficiency studies from the Lean Construction Institute, unnecessary motion accounts for up to 25% of wasted time in workshops. A well‑positioned modular unit cuts that down dramatically.
- Workflow efficiency – tools are within arm’s reach when you need them.
- Safety – no cluttered aisles or reaching across machines.
- Scalability – leave room to add drawers or pegboards later.
- Lighting – avoid blocking natural light or task lighting.
- Accessibility – lower drawers for heavy items, upper for light spares.
Many woodworkers and mechanics follow the “golden zone” concept: keep your most‑used tools between hip and shoulder height, and within a 24‑inch forward reach. That placement begins with where you install the modular unit itself.
How to Assess Your Workshop Layout for Optimal Storage Placement
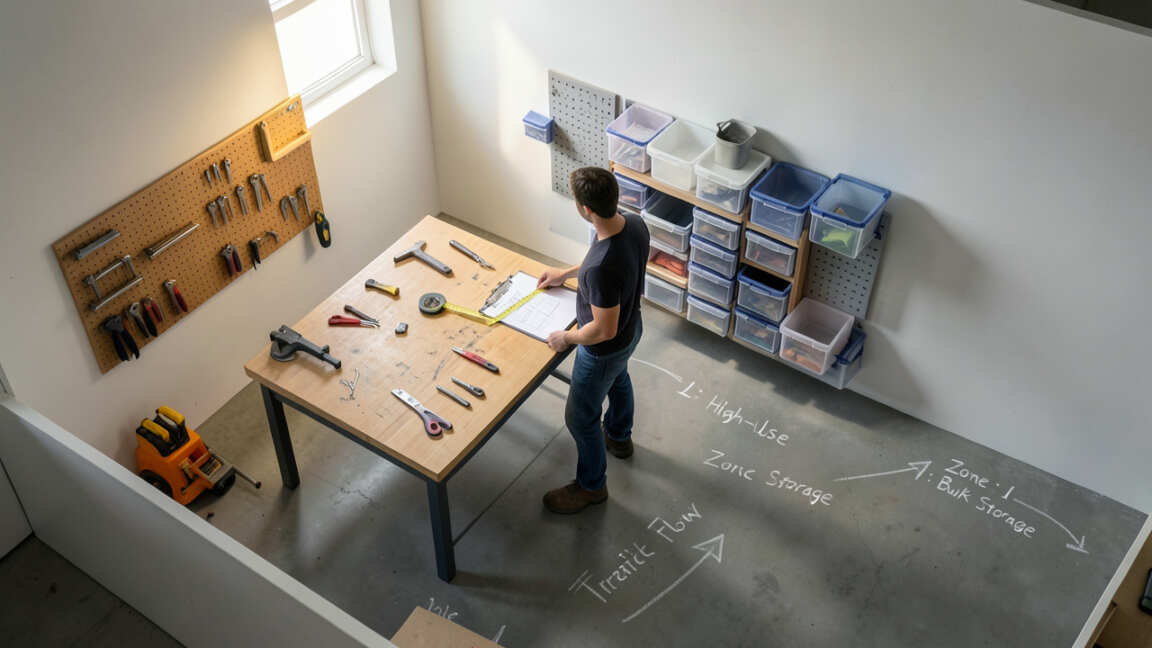
Start by creating a simple scale floor plan of your workshop. Measure doorways, windows, electrical outlets, and major machines like table saws or drill presses. Mark the locations where you spend the most time – your primary workbench, assembly table, or CNC station.
Next, draw your pathways. The National Woodworking Association recommends a minimum of 36 inches of clear aisle width for workshops that see medium traffic. If you move large sheet goods, increase that to 48 inches.
| Workshop Size | Recommended Aisle Width | Max Storage Height |
|---|---|---|
| Small (under 150 sq ft) | 36 inches | 72 inches |
| Medium (150–400 sq ft) | 42 inches | 84 inches |
| Large (over 400 sq ft) | 48 inches | 96 inches |
After you have your map, identify wall spaces that are long enough for your current modular unit plus at least one future expansion bay. Avoid walls that are broken by windows, radiators, or garage doors – they limit your ability to add vertical modules.
Finally, consider the electrical. Your modular storage will likely contain power tools or chargers. Place it within reach of an outlet or plan to run a dedicated circuit.
Extension cords across aisles are trip hazards.
Tip: Use painter’s tape on the floor to outline your storage footprint and test walkways for a full week before permanently installing anything.
Key Considerations: Ergonomics, Workflow, and Safety
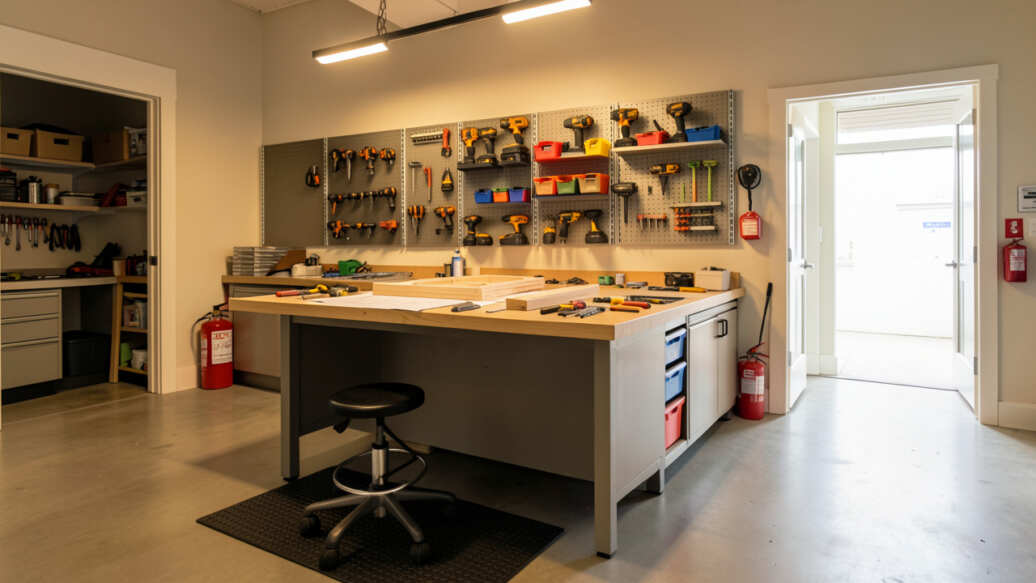
Ergonomics matter more than aesthetics. The most common mistake is placing modular tool storage too low or too far from the work area. The ideal depth for a modular chest is 18–24 inches so you can see all tools at a glance without bending.
Workflow follows the “work triangle” concept borrowed from kitchen design. Your triangle connects storage, primary workstation, and assembly area. Each leg should be 4–8 feet long.
Shorter legs feel cramped; longer ones waste motion.
- Primary storage zone – modular tool chests, cabinets, and pegboards.
- Workbench zone – where you clamp, cut, or assemble.
- Machinery zone – table saw, miter saw, drill press (keep clear of storage).
Safety comes from clear sightlines. Never place modular storage in a way that blocks an exit, hides a fire extinguisher, or forces you to reach over a spinning blade. Lock casters on mobile bases so the unit cannot roll during an earthquake or shift.
- Measure door swing – ensure storage does not interfere with entry or exit.
- Anchor tall units (over 60 inches) to wall studs to prevent tipping.
- Keep flammable liquids (paints, solvents) away from any heat source in the storage area.
- Label drawers clearly so you never have to search while holding a sharp tool.
Professional cabinet shops often follow the “5‑S” system (Sort, Set in Order, Shine, Standardize, Sustain). Setting in order means placing your modular storage at the point of first use – where you pick up a tool, that is where it should be stored.
Important: If you work with hazardous materials, check local fire codes for required clearances between storage units and fuel‑powered equipment like generators or compressors.
Best Spots for Modular Tool Storage in Common Workshop Types
Not all workshops are square rooms. Garages, basements, and sheds each have unique constraints. Below is a comparison of ideal placement based on workshop type.
| Workshop Type | Best Spot | Why It Works |
|---|---|---|
| Attached garage | Side wall away from garage door tracks | Keeps storage clear of vehicle path; easy access to power tools |
| Basement workshop | Wall near the stairs or bulkhead | Reduces stair trips; can use high ceilings for tall cabinets |
| Detached shed | Longest uninterrupted wall | Maximizes floor space; avoids corner claustrophobia |
| Shared (hobby + parking) | Rear wall with lockable casters | Lets you move the unit when parking is needed |
For garages that double as parking, consider a modular unit on heavy‑duty casters. That way you can roll it out of the way when the car is inside. Always lock the casters when you are working – a rolling cabinet that shifts mid‑project is dangerous.
In basement workshops, watch for moisture. Place modular storage at least 4 inches off the floor using a base or caster risers to protect against flooding and condensation. Corrosion on drawer slides is a common complaint after damp seasons.
Warning: Never place modular storage directly under a window if you live in an area with frequent rain or snow – water can seep in and damage both the unit and tools.
Common Mistakes to Avoid When Placing Modular Storage
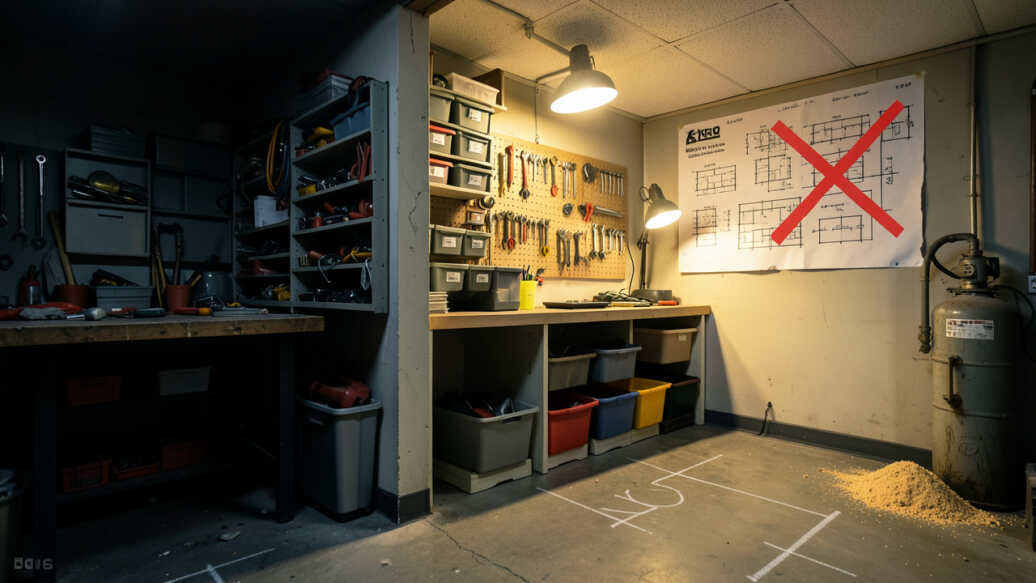
Even experienced workshop owners make errors that they later regret. Here are the most frequent missteps and how to avoid them.
- Forgetting about drawer extension – Full‑extension drawers need 18-24 inches of clearance in front. If you place the unit too close to a workbench, you cannot open the drawers fully.
- Blocking natural light – Placing a tall cabinet directly in front of a window makes the room feel dark and cave‑like. Aim to keep windows clear.
- Ignoring door swing – A cabinet door that hits the workbench or a shelf that extends into a walkway creates frustration daily.
- Overlooking ventilation – If your workshop has a dust collector or air filtration system, keep the storage away from the intake vents to avoid fine dust settling on tools.
- Not planning for growth – You will buy more tools. Leave at least 12 inches of empty wall space on one side of the modular unit so you can add a lateral cabinet later.
According to a 2023 survey by the Equipment and Tool Institute, 62% of hobbiests said they regretted the initial placement of their tool storage within the first year. The number one fix was moving the unit closer to the main work center.
Another common error is using modular units as partition walls. While some people do this to separate a clean area from a dirty one, it often blocks sightlines and creates a blind spot where accidents can happen. If you must use storage as a divider, keep it under 48 inches tall so you can see over it.
How to Future‑Proof Your Modular Storage Arrangement
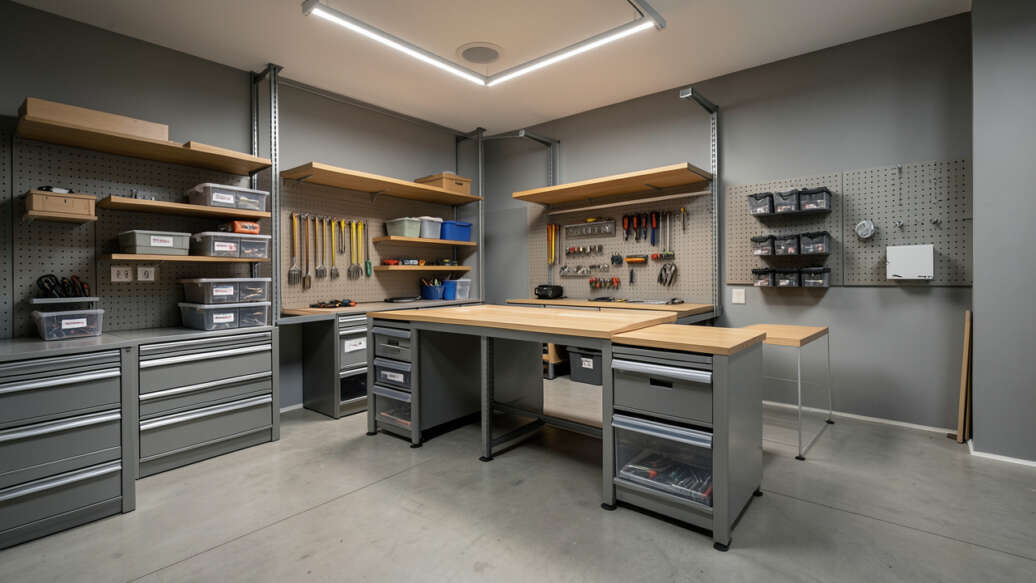
Modular systems are built to evolve. A smart placement strategy accounts for expansions, tool upgrades, and changing workflows years down the road.
- Use a base platform – A 2×4 frame with plywood top elevates the unit and gives you a stable, level surface even on uneven concrete.
- Install wall‑ mounted rails – Place a French cleat or track system on the wall above your modular chest. This adds storage for clamps and small tools without taking up floor space.
- Choose units with interlocking features – Many brands like Bott or Lista allow you to stack drawers and cabinets sideways. Ensure your wall space is long enough for a side‑by‑side configuration.
- Wire everything early – Run electrical conduit and network cable behind the storage location before you move the unit in. Popping a faceplate for a power strip is easier than fishing wires later.
Consider mobile bases with locking swivel casters. If you ever want to reconfigure the workshop, a mobile modular unit can be rolled to a new wall in under 10 minutes. Some makers even offer powered casters for heavy loads over 1000 pounds.
Finally, document your layout. Take photos and keep a small notebook with measurements. This makes it easy to order new modules that fit exactly into your existing space without guesswork.
Tip: Buy a level and a stud finder before you install anything. A modular chest that is not perfectly level will bind drawers over time.
Pro Tips for Maximizing Storage Efficiency
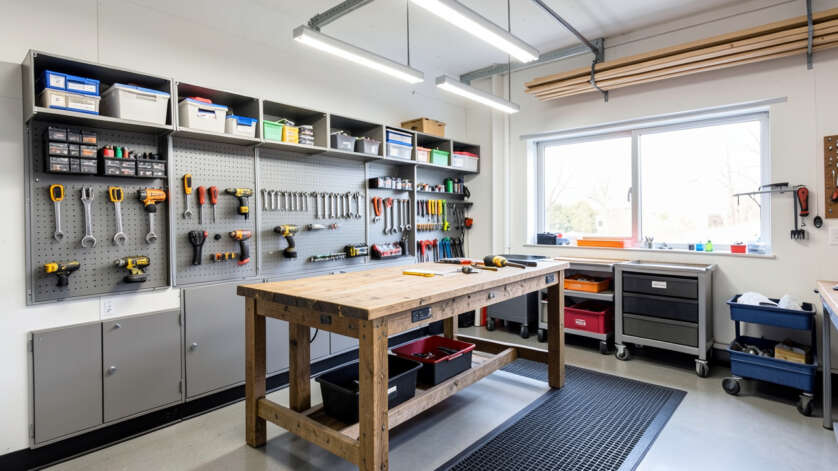
Once your modular storage is in the right spot, the internal organization determines how productive you can be. Here are expert‑level adjustments.
- Double‑stack drawers – Place a shallow drawer above a deep one for small parts and power tools. Use dividers to keep screwdrivers from sliding into drill bits.
- Shadow board your top drawer – Cut foam inserts and trace your tools. This ensures you know immediately if something is missing.
- Magnetic strips on the sides – Attach rare‑earth magnets to the sides of your modular chest for storing wrenches, pliers, and screwdrivers you reach for frequently.
- Roll‑out trays – If your modular unit does not have a work surface, place a roll‑out tray underneath for a temporary assembly space.
- Color‑coded drawer liners – Use different colors for different tool categories: blue for measuring, red for cutting, green for finishing. It speeds up retrieval by 30%.
Think about the vertical space above your chest. Installing a pegboard or slatwall directly above the modular unit creates a two‑tier storage system where seldom‑used tools go up high and daily drivers live in the drawers below.
For workshops where multiple people work, label each drawer with the owner’s name or tool specialty. This reduces arguments over who left a torque wrench in the wrong spot.
Important: Every six months, reassess your drawer layout. As you add tools, the heaviest ones should stay in the bottom drawer to keep the center of gravity low and prevent tipping.
Frequently Asked Questions
Can I place modular tool storage in the middle of the room as an island?
Yes, but only if your workspace is large enough to allow 48‑inch walkways all around. Island placement works well for mobile units that you use on all four sides, but it limits future expansion and can block sightlines to machines.
Should I put my modular storage against an exterior wall?
Exterior walls are acceptable if the wall is insulated and you live in a moderate climate. In cold or humid areas, exterior walls can cause condensation inside the drawers. Use a vapor barrier and keep the unit at least 1 inch away from the wall for air circulation.
How high should a modular storage cabinet be for optimal ergonomics?
The top of the most frequently used drawer should be between 30 and 42 inches from the floor. Total cabinet height should not exceed 84 inches unless you use a rolling step stool. Most pros prefer 72‑inch tall units for the best balance of storage and reach.
What is the minimum clearance in front of a modular drawer chest?
For full‑extension drawers, you need at least the depth of the drawer plus 12 inches for your body. A 24‑inch deep drawer requires 36 inches of clear space in front. Shallow drawer cabinets (12 inches deep) only need 24 inches of clearance.
Can I place modular storage above a workbench?
Yes, using wall‑mounted cabinets or a chest that sits on a tall base. This works well for light‑duty tools and supplies. However, avoid placing heavy power tools above shoulder height – lifting them down every time you need them increases risk of shoulder injury.
Final Thoughts
Choosing the right spot for modular tool storage comes down to three factors: workflow, safety, and future growth. Place your unit along a wall near your primary work area, keep aisles clear, and leave room for expansion. Measure twice, install once, and your workshop will reward you with faster setups and fewer frustrations.
A well‑placed storage system is the backbone of any efficient workspace.