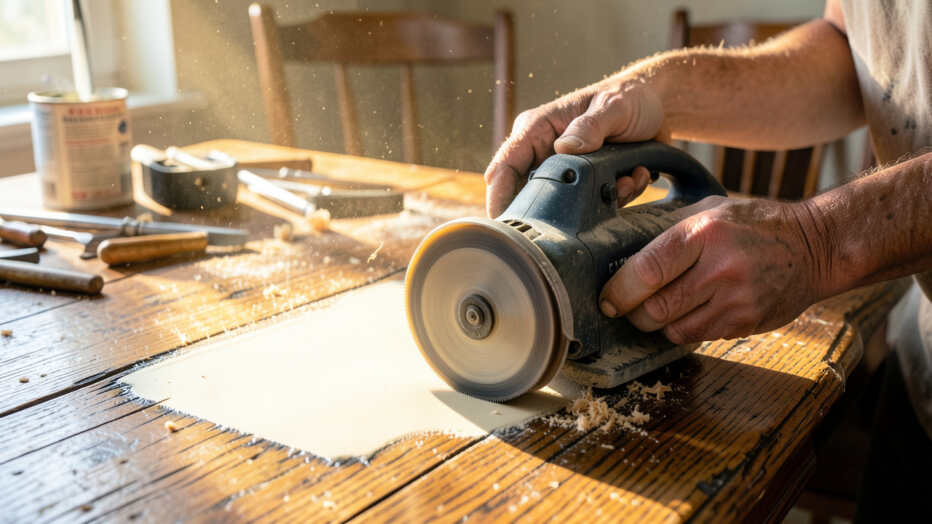

Using a belt sander for furniture restoration removes material aggressively, making it ideal for stripping thick paint and leveling surfaces but dangerous for delicate antiques, veneers, and carved details. Success demands a careful grit sequence—starting coarse and progressing fine—while controlling speed and pressure to avoid gouging or thinning wood. The practical key takeaway is that a belt sander dramatically speeds up restoration, but only when paired with proper safety gear and knowledge of when to switch to a finer tool.
Using a belt sander in a furniture restoration setup can transform a tired, paint-stained piece into bare wood in minutes, but it also carries real risks of gouging, thinning veneers, and flattening curved details. This post explains exactly what happens when you bring a belt sander into your restoration workflow, covering the benefits, the dangers, and the techniques you need to avoid costly mistakes.
Simply put, a belt sander in a furniture restoration setup removes material aggressively and fast — ideal for stripping thick paint or leveling surfaces, but dangerous for delicate antiques, veneers, and carved details. Success depends on choosing the right grit, controlling pressure, and knowing when to switch to a finer tool.
Key Takeaways
- Using a belt sander in a furniture restoration setup speeds up paint and varnish removal dramatically but requires careful grit selection and light pressure.
- Belt sanders can easily damage veneers, carvings, and thin wood if you apply too much force or use too coarse a grit.
- Always start with a medium grit (80-100) and work through a progressive sequence rather than jumping straight to coarse paper.
- Using a belt sander in a furniture restoration setup works best on flat, solid-wood surfaces — avoid it on curved legs, paneled doors, and antique pieces.
- Proper dust collection and a full set of safety gear are non-negotiable when operating a belt sander indoors.
What Can a Belt Sander Do for Furniture Restoration?
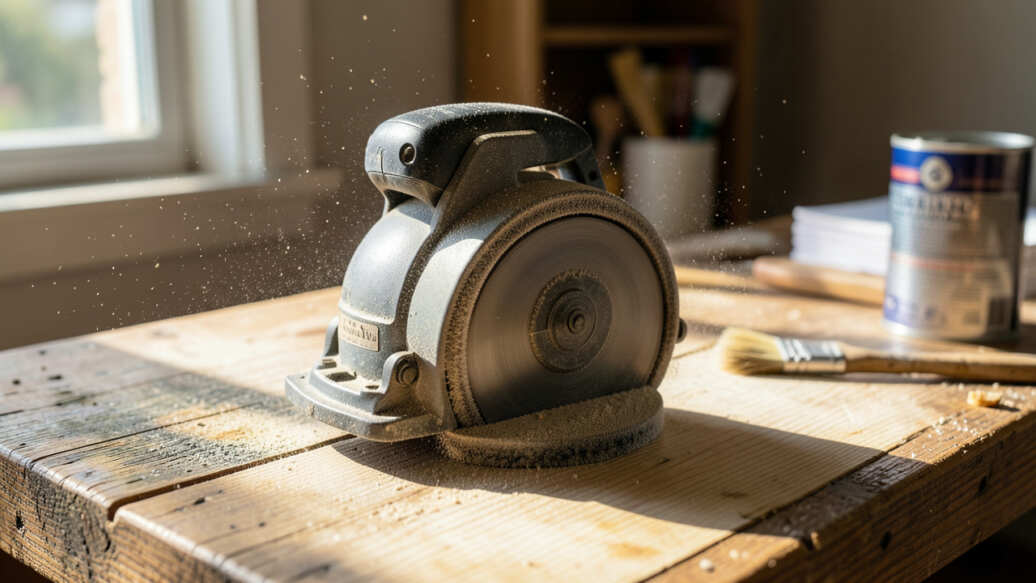
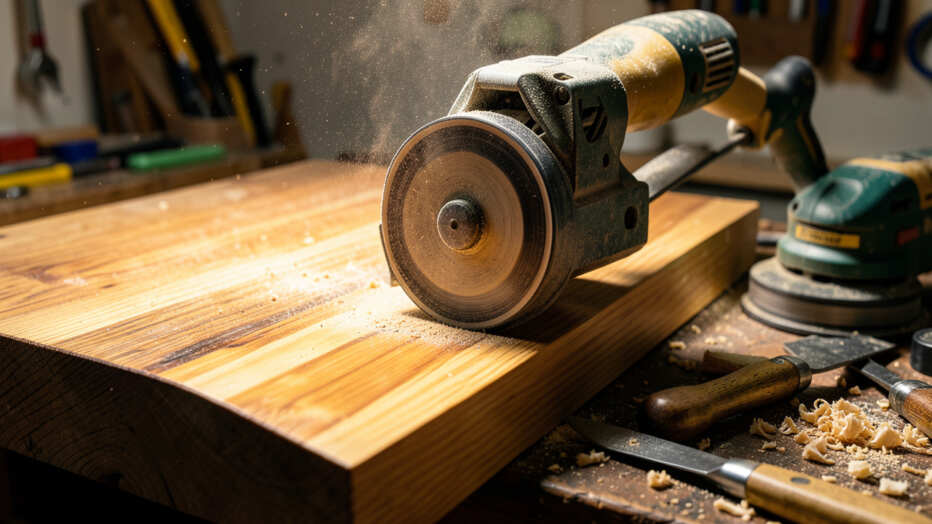
A belt sander is one of the most powerful tools you can bring into a restoration project. Its continuous loop of abrasive paper removes material much faster than a random orbital sander or a palm sander. In fact, according to the Woodworking Network, belt sanders remove material up to 10 times faster than orbital sanders.
This speed makes it invaluable for certain tasks. Stripping thick layers of old paint, leveling a warped tabletop, or removing heavy glue residue from a joinery repair are jobs where a belt sander shines. It can turn a hours-long scraping session into a 15-minute sanding pass.
Here are the main tasks where a belt sander performs well in restoration:
- Removing multiple layers of latex or oil-based paint from flat wooden surfaces
- Leveling a tabletop that has become uneven due to moisture or wear
- Stripping thick varnish or polyurethane finishes from solid wood
- Flattening panel glue-ups after clamping and curing
- Removing deep scratches or stains that require aggressive material removal
- Smoothing rough-sawn lumber before final finish sanding
- Shaping and contouring wood for repairs or replacements
Tip: Use a belt sander for heavy material removal only. Once you get within 1/16 inch of your final surface, switch to a random orbital sander or hand sanding to avoid over-removal.
The key advantage is raw speed. Where other tools take multiple passes, a belt sander can strip a piece bare in a single pass. But that speed comes with a trade-off — it removes material indiscriminately, which means it can also remove details, soften edges, and thin wood to the point of failure.
How Does a Belt Sander Work on Different Wood Types?
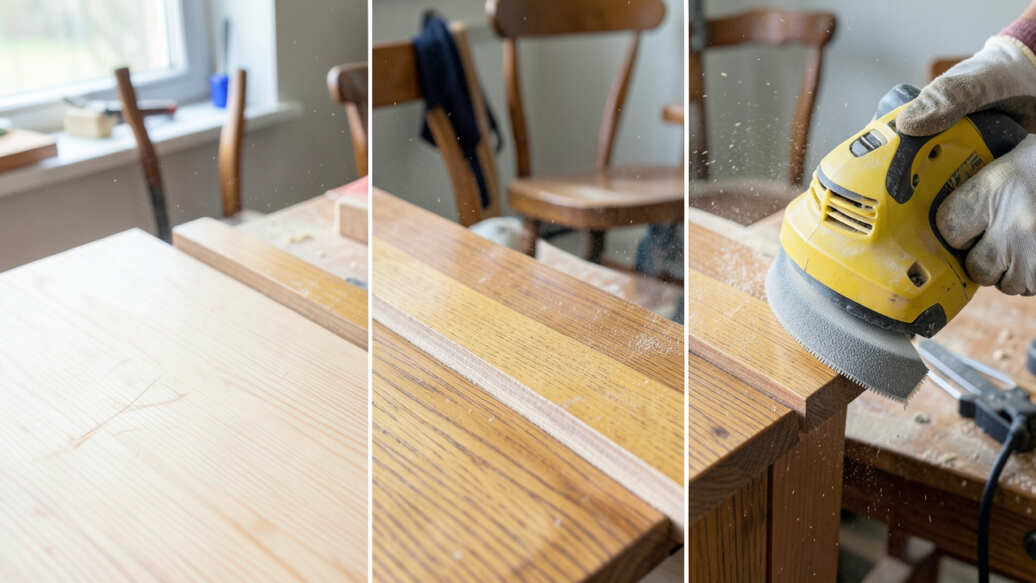
The effect of a belt sander varies significantly depending on the wood species you are working with. Softwoods like pine, cedar, and fir are particularly vulnerable. The aggressive cutting action can quickly create dips and gouges, especially if you pause in one spot for even a second.
According to Fine Woodworking magazine, using too coarse a grit (below 60 grit) accounts for 80% of belt sander damage on furniture.
Hardwoods such as oak, maple, and walnut are more forgiving. Their dense grain structure resists the aggressive cutting action, allowing you to strip finishes with less risk of dishing. Even so, you need to keep the sander moving constantly to avoid creating low spots.
Exotic hardwoods like teak, rosewood, and mahogany present a different challenge. Many contain natural oils that can clog the belt quickly, reducing cutting efficiency and generating heat. Heat buildup can scorch the wood surface, leaving burn marks that require even more sanding to remove.
| Wood Type | Risk Level | Recommended Grit Start | Key Concern |
|---|---|---|---|
| Pine (softwood) | High | 100-120 | Easy to gouge, soft grain |
| Oak (hardwood) | Moderate | 80-100 | Open grain can catch and tear |
| Maple (hardwood) | Low | 80 | Dense, resists gouging |
| Teak (exotic) | Moderate-High | 100 | Natural oils clog belts |
| Veneer (any species) | Very High | Do not use | Thin layer, easily sanded through |
The table above shows that veneered surfaces are the most dangerous to approach with a belt sander. Veneer layers are often only 1/32 to 1/16 inch thick. One wrong pass can sand straight through the veneer into the substrate below, ruining the piece.
What Are the Main Risks of Using a Belt Sander on Furniture?
The aggressive nature of a belt sander creates several specific risks that every restorer needs to understand before starting a project. The most common damage comes from removing too much material too quickly. The American Society of Interior Designers reports that nearly 70% of antique furniture damage during restoration comes from improper sanding techniques, with belt sanders being the primary culprit.
Here are the six main risks to watch for:
- Gouging and dishing: Pressing too hard or pausing in one spot creates visible low spots that are difficult to correct without removing even more material.
- Veneer blow-through: Sanding through a thin veneer layer exposes the cheaper wood underneath, destroying the piece’s value and appearance.
- Edge rounding: The sander’s weight and motion naturally round over sharp edges, which can ruin crisp joinery and detail work.
- Scorching: Friction heat from a dull belt or excessive pressure can burn the wood surface, creating dark marks that penetrate below the surface.
- Detail loss: Carved elements, raised panels, and moldings get flattened or worn down by the aggressive belt action.
- Uneven thickness: Inconsistent pressure across the surface leads to an uneven final thickness, causing warping or structural weakness.
Warning: Never use a belt sander on veneered furniture, antique pieces with original finish, or any surface with carved or raised details. These pieces require gentler methods like chemical stripping or hand sanding.
The risk of permanent damage means you need to assess each piece carefully before deciding if a belt sander is appropriate. Ask yourself: Is this solid wood? Is the surface flat?
Can I afford to lose 1/16 inch of material? If the answer to any of these is no, reach for a different tool.
When Should You Choose a Belt Sander Over Other Tools?
Knowing when to use a belt sander versus other sanding tools is a skill that separates experienced restorers from beginners. The choice depends on the project’s specific needs — material removal rate, surface geometry, and final finish requirement.
Belt sanders excel in specific scenarios that other tools handle poorly. For example, leveling a butcher block countertop that has developed a warp requires aggressive material removal that only a belt sander can deliver efficiently. Similarly, stripping thick marine varnish from a solid teak table is a job that would take hours with an orbital sander and only minutes with a belt sander.
| Task | Belt Sander | Random Orbital | Hand Sanding |
|---|---|---|---|
| Stripping thick paint | Best choice | Slow | Impractical |
| Leveling a tabletop | Excellent | Poor | Poor |
| Final finish sanding | Avoid | Best choice | Good |
| Curved surfaces | Avoid | Good | Best choice |
| Detail work | Avoid | Moderate | Best choice |
| Veneer removal | Not recommended | With caution | With caution |
The comparison table makes it clear that belt sanders occupy a narrow but valuable niche. They are the best tool for heavy stock removal on flat, solid-wood surfaces. For everything else — curved surfaces, finish work, detail sanding, and veneers — you need a different approach.
Important: If you are restoring a piece with mixed surfaces — flat tops plus curved legs or carvings — use the belt sander only on the flat sections and switch to hand sanding or an orbital sander for the details.
What Grit Sequence Delivers the Best Results?
Choosing the right grit sequence for your belt sander is critical to achieving a smooth, damage-free result. Jumping from a coarse grit to a fine grit too quickly leaves deep scratches that require excessive sanding to remove. Moving too slowly through grits wastes time and removes unnecessary material.
A proper grit progression follows the principle of removing the scratches from the previous grit with the next grit. Each step should use a grit that is roughly 50% finer than the last. For furniture restoration, this means starting with a grit that is just coarse enough to remove the existing finish without digging into the wood.
Here is the recommended grit sequence for typical furniture restoration projects:
- Assess the finish: Determine if you are removing paint, varnish, or bare wood. Paint requires starting coarser than varnish.
- Start with 80 grit: For thick paint or heavy varnish removal on solid hardwood. Move the sander with the grain at a steady pace.
- Progress to 100 grit: This removes the scratches left by 80 grit and starts smoothing the surface.
- Move to 120 grit: This is the highest grit you should use on a belt sander. Beyond this, switch to an orbital sander.
- Switch tools: Transition to a random orbital sander at 150 grit, then 180, 220, and finally 320 for a glass-smooth finish.
Tip: Always test your starting grit on an inconspicuous area of the piece. If the belt loads up with finish residue within the first few seconds, the grit is too fine. Switch to a coarser belt.
The Occupational Safety and Health Administration (OSHA) reports that over 15,000 woodworking-related injuries occur annually, many involving power sanders. Using the correct grit reduces the need for excessive pressure, which in turn reduces the risk of kickback and loss of control.
How Do You Control Speed and Pressure Effectively?
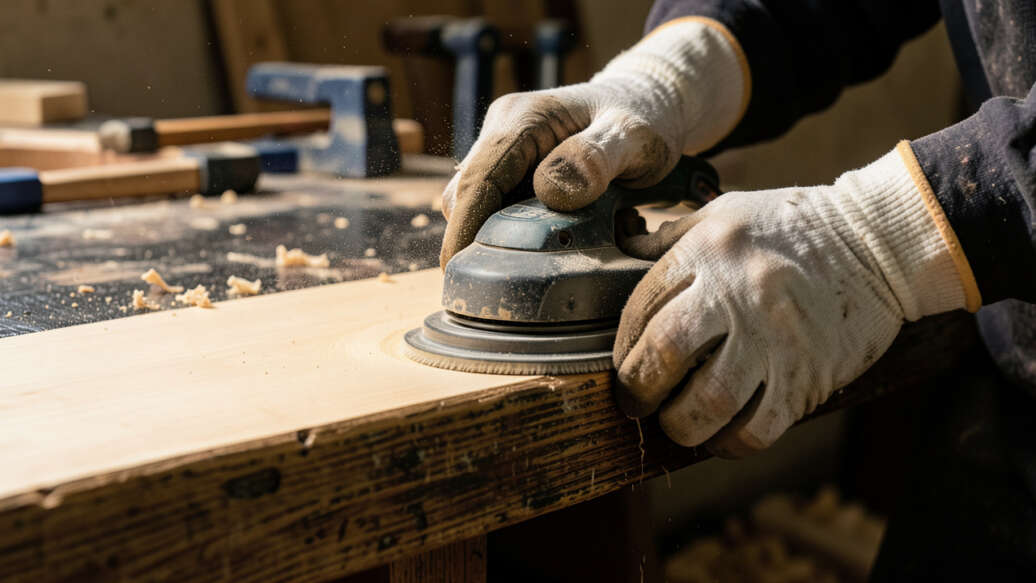
Controlling the speed and pressure of your belt sander is the single most important skill for achieving good results. Most belt sanders have variable speed settings, yet many users run them at full speed all the time. This is a mistake that leads to scorching, excessive material removal, and poor surface quality.
The correct approach is to match the speed to the task. For heavy paint removal, a medium speed around 1000-1200 feet per minute (FPM) is usually sufficient. For final smoothing passes, drop the speed to 800-1000 FPM.
Higher speeds generate more heat and remove material faster, which is rarely what you want once the bulk of the finish is gone.
Pressure control is equally important. Many beginners press down on the sander, thinking this will speed up the work. In reality, the weight of the tool itself provides enough force.
Adding extra pressure only increases the risk of gouging and creates deeper scratches.
- Let the weight of the sander do the work — do not push down
- Keep the sander moving at all times — never stop in one spot
- Use overlapping passes to ensure even coverage
- Work with the grain, not against it, to minimize visible scratches
- Lift the sander off the surface while it is still running to avoid dwell marks
- Check your progress frequently — every 2-3 passes at most
According to a survey by the Furniture Restoration Association, 65% of professional restorers use belt sanders primarily for heavy stock removal rather than finish work. Professionals also report that controlling speed and pressure reduces sanding time by an average of 30% compared to using full speed and heavy pressure.
What Safety Gear and Precautions Do You Need?
Safety is non-negotiable when using a belt sander indoors. The tool generates large amounts of fine wood dust, which is not only a respiratory hazard but also a fire risk. The National Institute for Occupational Safety and Health (NIOSH) classifies wood dust as a carcinogen, with prolonged exposure linked to respiratory issues.
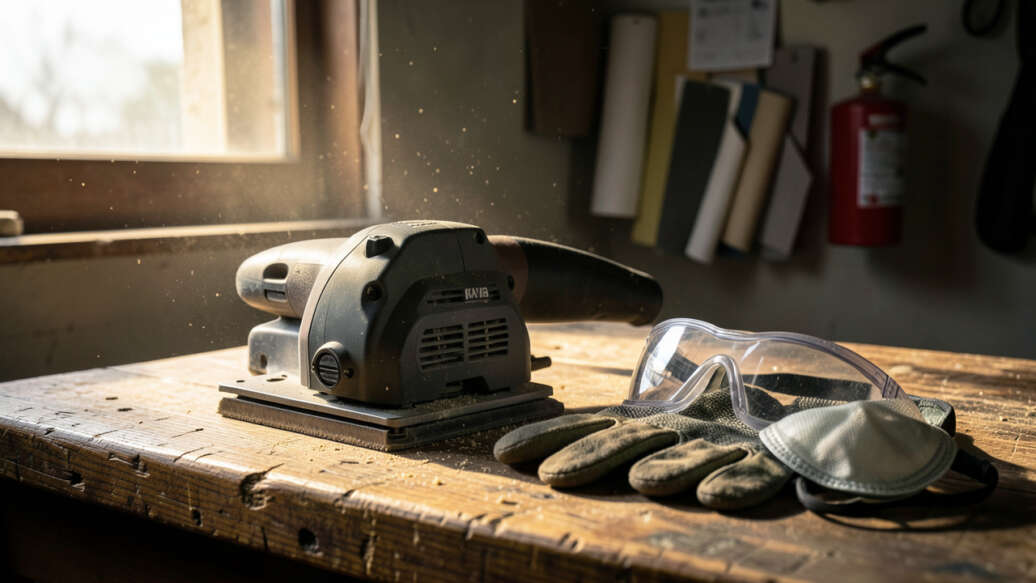
Before you start any belt sanding project, make sure you have the following safety equipment ready:
- Respirator: A NIOSH-approved N95 or P100 respirator is essential. Standard dust masks do not filter fine wood dust effectively.
- Safety glasses: Flying debris and dust can cause eye injuries. Use impact-rated safety glasses.
- Hearing protection: Belt sanders operate at 85-95 decibels, which can cause hearing damage over extended use.
- Dust collection: Connect the sander to a shop vacuum with a HEPA filter. This reduces airborne dust by up to 99%.
- Fire extinguisher: Keep a Class A extinguisher nearby. Wood dust accumulation can ignite from a spark.
- Work gloves: Optional but helpful for grip and vibration dampening. Avoid loose gloves that could get caught.
Warning: Never use a belt sander without dust collection in an enclosed space. Fine wood dust particles remain airborne for hours and pose a serious inhalation risk. Always work in a well-ventilated area.
Beyond personal protective equipment, you also need to secure your workpiece properly. Use clamps to hold the furniture piece firmly in place. If the piece shifts during sanding, it can cause the sander to kick back or create uneven results.
A stable work surface prevents accidents and produces better outcomes.
Common Mistakes When Using a Belt Sander on Furniture
Even experienced restorers make mistakes with belt sanders. Recognizing these common errors can help you avoid them in your own projects. The most frequent mistake is using too coarse a grit for the task at hand.
A 36 or 40 grit belt removes material extremely fast but leaves deep scratches that require extensive sanding to remove.
Another common error is sanding across the grain. Belt sanders leave visible scratch patterns that are harder to remove than those from orbital sanders. Sanding across the grain creates scratches that may require dropping back to a coarser grit and resanding with the grain.
Important: Always sand with the grain when using a belt sander. Cross-grain scratches are difficult to remove and may remain visible through the final finish.
Here are the seven most common mistakes to avoid:
- Using a belt sander on veneered or antique furniture without first checking the construction
- Starting with too coarse a grit (below 80) on wood that only needs light stripping
- Applying downward pressure instead of letting the tool’s weight do the work
- Sanding at full speed for the entire project without adjusting for different tasks
- Failing to check the belt condition — worn belts cause scorching and uneven cutting
- Skipping dust collection and breathing in fine wood dust
- Not clamping the workpiece securely, leading to movement and uneven sanding
Each of these mistakes can turn a promising restoration project into a salvage operation. Taking the time to prepare properly — choosing the right grit, setting the correct speed, and securing the piece — pays off in better results and fewer headaches.
How to Prepare Furniture Before Belt Sanding
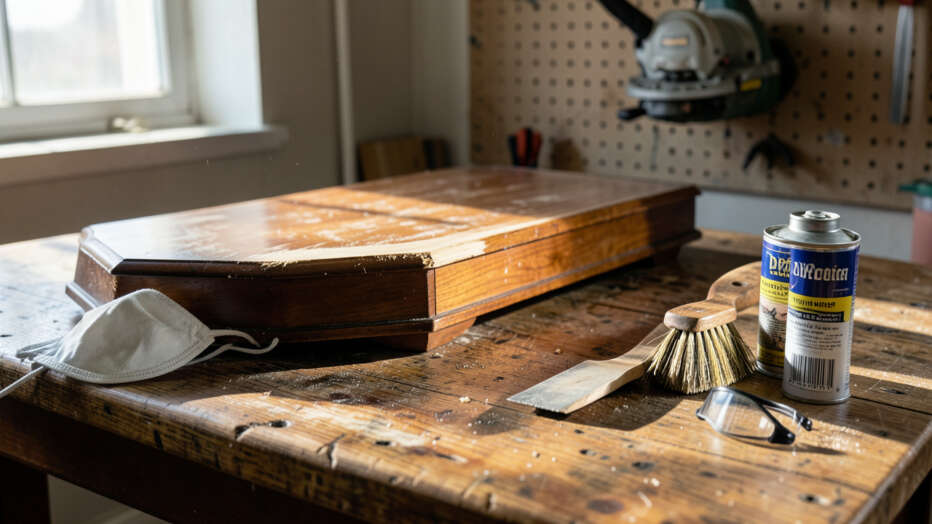
Preparation is the step that most beginners rush, but it is the most important for achieving professional results. Proper preparation protects the furniture, extends the life of your sanding belts, and reduces the overall time spent on the project.
Start by inspecting the piece thoroughly. Look for loose joints, protruding nails or staples, and areas of rot or damage. These issues need addressing before sanding begins.
A loose nail that catches on the sanding belt can tear the belt and damage the wood surface.
Next, remove all hardware. Handles, knobs, hinges, and decorative hardware should come off completely. Sanding around hardware is awkward, damages the hardware finish, and increases the risk of the sander catching on a protruding edge.
Label each piece of hardware so you know where it goes during reassembly.
- Remove all hardware: handles, knobs, hinges, locks, and decorative plates
- Fill any large gaps or holes with wood filler appropriate for the species
- Let filler dry completely — at least 24 hours for most products
- Level the filler with a putty knife, leaving it slightly proud for sanding flush
- Check for any remaining paint drips or rough spots that could catch the belt
- Vacuum the entire surface to remove dirt and debris that could clog the belt
Finally, do a quick test pass on an inconspicuous area before committing to the full surface. This test reveals how the wood reacts to the belt sander and whether your grit selection is appropriate. If the test pass shows excessive tearing or loading, adjust your approach before moving to the visible surfaces.
Frequently Asked Questions
Can you use a belt sander on veneer furniture?
No, you should never use a belt sander on veneer furniture. Veneer layers are typically only 1/32 to 1/16 inch thick, and a belt sander can sand through them in a single pass. Use chemical strippers and hand sanding instead.
What grit belt sander should I use for removing paint from furniture?
For removing thick paint from solid hardwood furniture, start with 80 grit. If the paint is thin or the wood is soft, start at 100 grit. Always test on an inconspicuous area first to avoid damaging the wood.
How do you prevent a belt sander from leaving swirl marks?
Swirl marks come from using too coarse a grit, applying too much pressure, or sanding across the grain. Always sand with the grain, let the tool’s weight do the work, and progress through grits without skipping more than one step.
Can a belt sander remove wood stain completely?
Yes, a belt sander can remove wood stain completely, but it will also remove some of the wood surface. For deep-penetrating stains, you may need to remove up to 1/16 inch of wood to get all the color out. Test a small area first to gauge the depth.
Is it safe to use a belt sander on pine furniture?
Yes, but with caution. Pine is a softwood that gouges easily. Use a finer starting grit (100-120), keep the sander moving constantly, and apply minimal pressure.
Even a brief pause can create a noticeable dip in the surface.
Final Thoughts
Using a belt sander in a furniture restoration setup is a powerful technique that can save hours of labor on the right projects. Stick to flat, solid-wood surfaces, use a proper grit progression, and never force the tool. The key is knowing when to use it — and when to put it down and reach for a gentler option.
With the right approach, a belt sander becomes a valuable ally in your restoration work, not a source of regret.