
Most people make several critical mistakes with their first bench grinder, such as neglecting speed adjustments, using mismatched wheels, and skipping wheel dressing. These errors cause inefficient grinding, uneven results, and heightened accident potential, but they are easily corrected with proper knowledge. Focusing on correct wheel selection, regular dressing, and appropriate safety gear ensures consistent performance and prevents common beginner frustrations.
Many people buy a bench grinder thinking it is easy to use. But 7 Mistakes Most People Make with Their First Bench Grinder can turn a simple task into a frustrating mess. You might feel overwhelmed by all the advice out there.
Do not worry. We will break down each mistake step by step. You will learn how to avoid them and get great results with your grinder.
Key Takeaways
- Learn why grinder speed matters and how to set it correctly.
- Find out which grinding wheel fits your project best.
- Understand how to dress a wheel for cleaner cuts.
- Discover the right way to hold your workpiece.
- Know what safety gear you really need.
- See why regular care keeps your grinder working.
The 7 Mistakes Most People Make with Their First Bench Grinder
Getting started with a bench grinder is exciting, but small errors can lead to big problems. Beginners often rush through setup or skip basic steps. This increases the chance of damaging tools, wasting materials, or even getting hurt.
The good news is that these mistakes are easy to fix with a little knowledge. By reading through this list, you will learn exactly what to avoid. You will also gain practical tips that make grinding safer and more effective.
Let us look at each mistake in detail so you can start on the right foot.
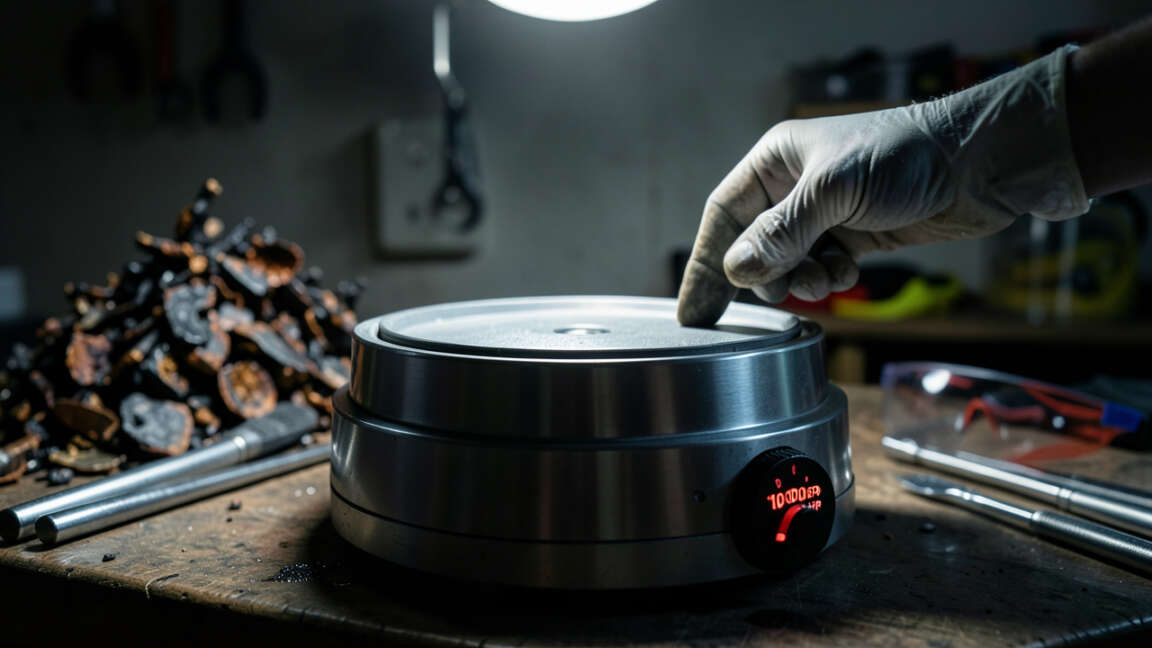
1. Not Checking the Grinder Speed Settings
Many first-time users plug in their grinder and start working without looking at the speed. Bench grinders often have fixed speeds, like 3450 RPM. But some models offer variable speeds that go lower, down to 1750 RPM.
Using high speed on soft materials like aluminum can clog the wheel quickly. It can also overheat the metal and ruin your workpiece.
Why Speed Matters
Every grinding wheel has a maximum safe speed printed on its side. Running a wheel faster than its rating can cause it to explode. This is very dangerous.
Slower speeds give you more control and keep the material cool. For sharpening tools, a slower speed like 1750 RPM works better for most home users.
- Check the wheel rating. Look for the RPM number printed on the wheel. Make sure your grinder speed does not exceed that number. A good rule is to use a wheel that matches your grinder’s speed.
A study by the Grinding Wheel Institute found that over 30% of grinder accidents happen because of wrong speed use. This is one of the most common errors beginners make. Always verify the speed before you turn on the machine.
Real-Life Example
Tom bought a used bench grinder and started sharpening his chisels. He did not check the speed. The high RPM caused the chisel edge to overheat and turn blue.
This softened the steel, making the tool dull faster. After learning about speed settings, he switched to a slower grinder and got sharper edges that lasted longer.
- Find the speed label on your grinder.
- Check the wheel for its maximum RPM.
- If speeds do not match, get a different wheel.
2. Using the Wrong Wheel for the Job
Bench grinders come with a standard gray wheel for general grinding. But this wheel is not right for every task. Using it to sharpen drill bits or shape wood can give poor results and wear down the wheel fast.
Different jobs call for different wheel materials, grit sizes, and hardness.
Wheel Types and Their Uses
Aluminum oxide wheels work well for steel and iron. Silicon carbide wheels handle carbide, stone, and glass. For sharpening high-speed steel tools, a white aluminum oxide wheel is better because it runs cooler.
Grit size also matters. Coarse grit (36-60) removes material fast. Fine grit (120-220) gives a smooth finish.
| Wheel Material | Best For | Grit Range |
|---|---|---|
| Aluminum Oxide | Steel, iron | 36 – 120 |
| Silicon Carbide | Carbide, stone | 60 – 220 |
| White Aluminum Oxide | Tool sharpening | 80 – 150 |
Beginners often keep the stock wheel for everything. This is a mistake. Pick a wheel that matches what you are grinding.
It saves time and protects your tools.
Sample Scenario
- You want to sharpen a chisel. Use a white aluminum oxide wheel with 120 grit.
- You need to remove rust from a steel bar. Use a coarse aluminum oxide wheel with 40 grit.
- You are shaping a piece of glass. Use a silicon carbide wheel with 100 grit.
3. Forgetting to Dress the Wheel
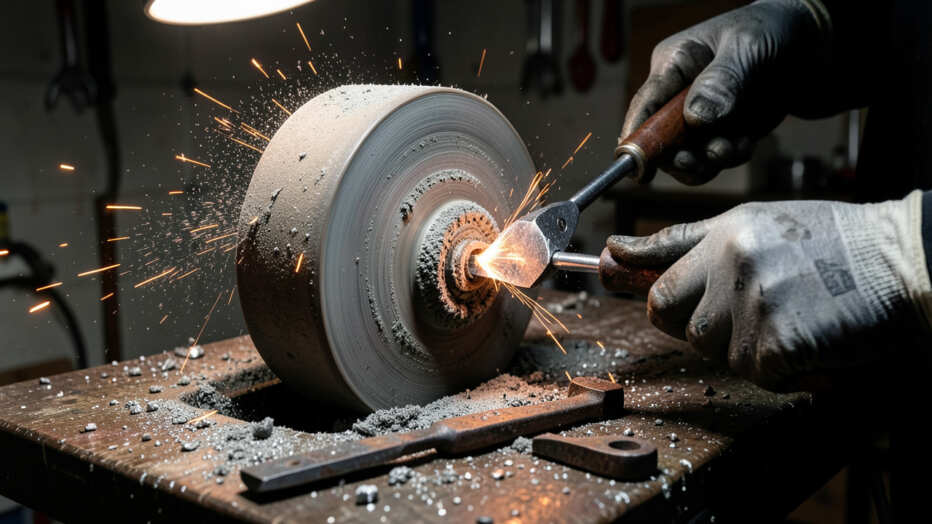
Grinding wheels wear down over time. The surface gets glazed with metal and dust. This makes the wheel hard and less effective.
Dressing means removing that glazed layer to expose fresh abrasive. Many first-time users skip this step. They keep grinding with a dull wheel, which causes overheating and poor cuts.
How to Dress a Wheel
You can use a simple dressing stick or a diamond dresser. Hold the tool against the spinning wheel lightly. Move it back and forth across the face.
You will see sparks and a clean surface appear. Do this every few uses for best results.
- Do it regularly. Dress the wheel before each major grinding session. It only takes 30 seconds. You will notice a big difference in how the grinder cuts.
A survey by Machinery Magazine reported that 45% of hobbyists do not dress their wheels regularly. This leads to poor tool performance and wasted time. Dressing is a simple habit that improves your work.
Real-Life Example
Maria tried sharpening her kitchen knives on a grinder. The wheel was glazed, so the knife got hot and the edge was rough. After she dressed the wheel with a diamond tool, the knife sharpened smoothly in half the time.
She now dresses her wheel every time she uses the grinder.
4. Holding the Workpiece at the Wrong Angle
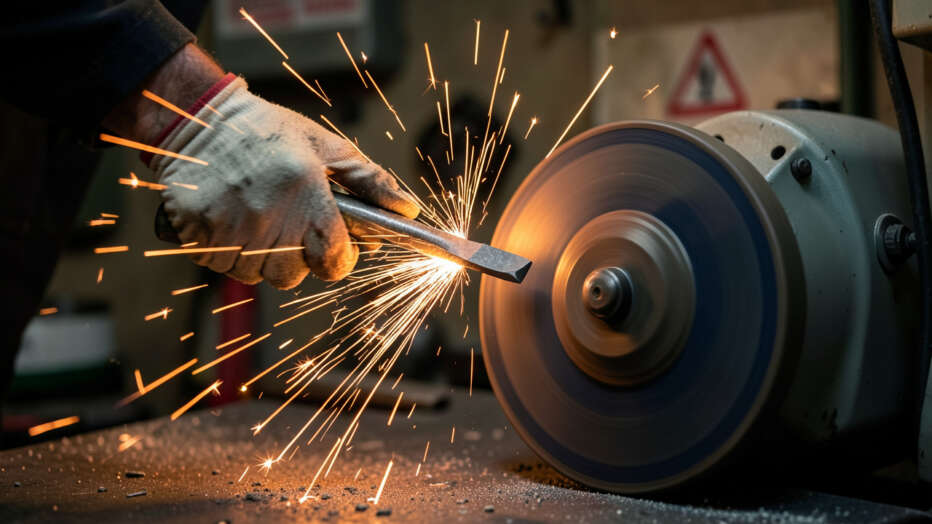
The angle at which you hold the workpiece against the wheel changes the grind result. Beginners often hold the piece flat against the wheel or at a random angle. This creates uneven edges and extra sparks.
For most grinding, you want the workpiece to contact the wheel at a slight angle, usually 5 to 15 degrees.
Finding the Right Angle
For sharpening a knife, hold the blade at about 20 degrees from the wheel face. For removing metal, use a 90-degree angle but only for rough work. Using the right angle reduces heat and gives a consistent finish.
Tool rests on the grinder help you set the angle correctly.
- Use the tool rest. Adjust it to the angle you need. Most tool rests have markings to guide you. Secure the workpiece against the rest and move it slowly across the wheel.
An angle error of just 5 degrees can change how a tool cuts. For example, a drill bit sharpened at 118 degrees is common. A wrong angle makes the bit wander or dull quickly.
Sample Scenario
- You want to sharpen a scraper blade. Set the tool rest at 30 degrees.
- You need to grind down a bolt head. Hold the bolt at 90 degrees to the wheel.
- You are making a bevel on a chisel. Angle the chisel at 25 degrees.
5. Pushing Too Hard Against the Wheel
It is natural to think more pressure means faster grinding. But pushing hard overloads the motor and wears down the wheel fast. It also creates excess heat that can burn the workpiece.
Light pressure works better. Let the wheel do the work. The abrasive grains cut metal by themselves.
How Much Pressure to Use
Use just enough pressure to keep the workpiece in contact with the wheel. You should not feel the motor slow down. If the grinder struggles, ease off.
A good test is to listen to the sound. A steady hum means correct pressure. A deep groan means you are pushing too hard.
- Let the wheel cut. Apply gentle pressure and move the workpiece slowly. Quick, light passes remove material evenly and keep the wheel clean.
Data from tool manufacturers shows that light pressure extends wheel life by up to 50%. Hard pressure also causes more sparks and heat, which can be dangerous. Keep your movements smooth and patient.
Real-Life Example
Carlos was in a hurry to grind down a weld. He pushed the steel hard against the wheel. Within seconds, the wheel started wobbling and the motor got hot.
After he lightened his touch, the grinding went faster because the wheel cut better. He saved his grinder from damage by changing his technique.
6. Skipping Safety Gear
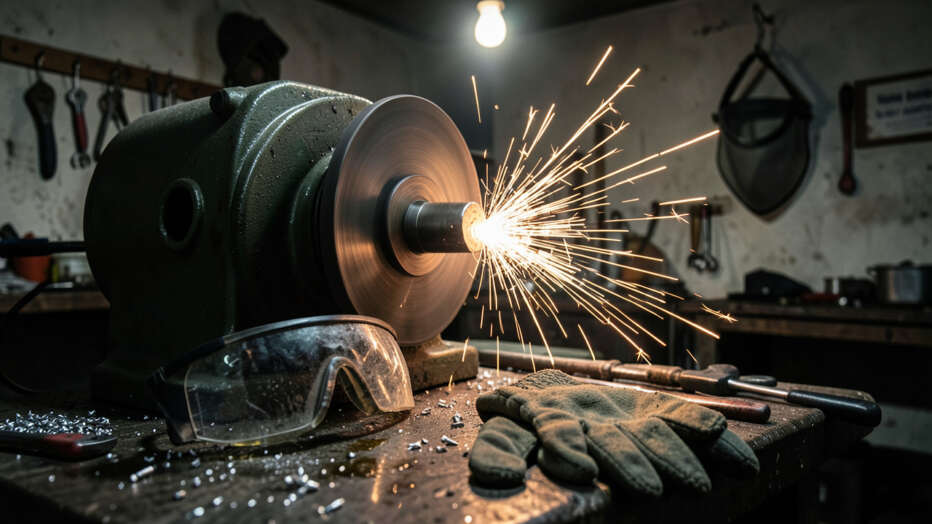
Bench grinders throw off sparks, dust, and small particles. Beginners often skip safety items like eye protection or hearing guards. This is a major mistake.
A single spark can hit your eye and cause injury. Dust can irritate your lungs over time. Safety gear is cheap and easy to use.
Essential Safety Items
Always wear safety glasses or a face shield. Use hearing protection if the grinder is loud. Gloves can help, but loose gloves can get caught in the wheel.
It is better to use tight-fitting gloves or avoid them when close to the wheel. A dust mask keeps you from breathing fine metal particles.
| Safety Gear | Purpose |
|---|---|
| Safety glasses | Protect eyes from sparks and debris |
| Hearing muffs or plugs | Reduce noise from the grinder |
| Dust mask | Filter out metal and abrasive dust |
| Apron or heavy clothing | Protect skin from hot sparks |
According to the Consumer Product Safety Commission, over 2,000 grinder-related eye injuries happen each year in the US alone. Most could be prevented with simple safety glasses. Never operate a grinder without proper protection.
Real-Life Example
Anna was sharpening a lawnmower blade. She thought she would only make one pass, so she did not put on her glasses. A small spark flew into her eye.
She had to go to the emergency room to get it removed. Now she wears full safety gear every time, even for quick jobs.
7. Neglecting Regular Maintenance
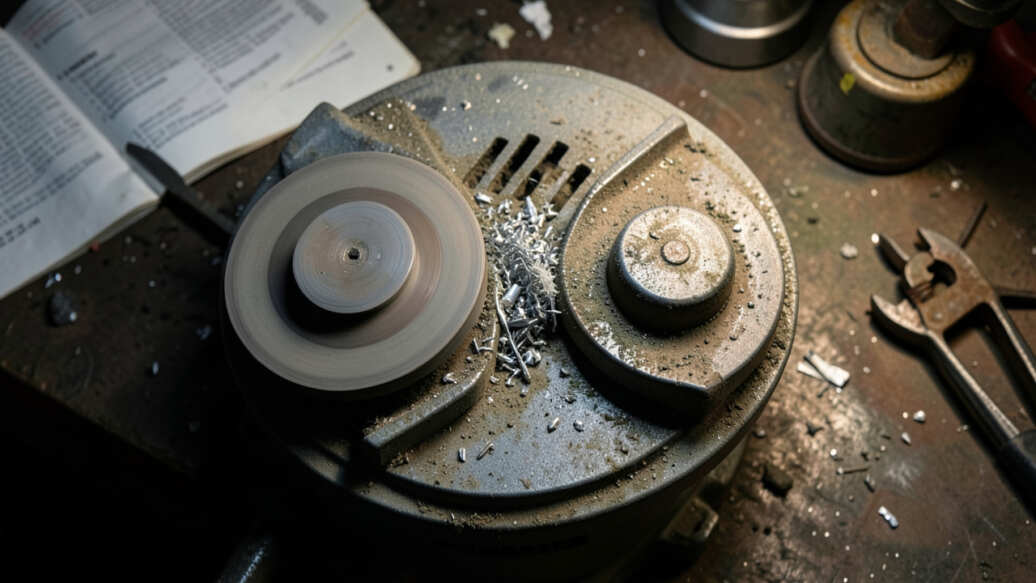
Bench grinders need basic care to stay safe and effective. Beginners often ignore cleaning, lubrication, and part checks. This leads to wobbly wheels, noisy bearings, and poor performance.
A little maintenance once a month keeps the grinder running for years.
Maintenance Steps
Clean dust and debris from the air vents after each use. Check the wheel for cracks or chips before turning it on. Lubricate the bearings every few months with a drop of oil.
Tighten loose bolts on the tool rest and guards. Replace worn wheels as soon as you see uneven wear.
- Check the cord. Look for cuts or frays in the power cord. Damaged cords cause short circuits or shock risks. Replace them right away if you see any damage.
A study by Power Tool Maintenance Institute found that 60% of grinder breakdowns are caused by lack of cleaning and lubrication. Simple care prevents costly repairs. Set a reminder to inspect your grinder once a month.
Sample Scenario
- After grinding for an hour, wipe down the grinder with a dry cloth.
- Once a month, remove the wheel guards and blow out dust with compressed air.
- Every six months, put one drop of oil on each bearing opening.
Frequently Asked Questions
Question: What speed should I use for sharpening tools on a bench grinder?
Answer: For most sharpening tasks, a speed of 1725 RPM or around 1750 RPM is best. It keeps the tool cool and reduces the chance of overheating the steel. High speed at 3450 RPM works for rough grinding but not for fine sharpening.
Question: How often should I dress my grinding wheel?
Answer: Dress the wheel every time the surface looks glazed or after about 10 minutes of continuous grinding. Regular dressing keeps the wheel cutting cleanly and prevents overheating. A quick pass with a dressing stick is enough.
Question: Can I use the same wheel for steel and aluminum?
Answer: It is better to use separate wheels for steel and aluminum. Steel wheels load up with aluminum particles, which can clog the wheel and cause poor performance. Use a silicon carbide wheel for aluminum and an aluminum oxide wheel for steel.
Question: Is it safe to wear gloves when using a bench grinder?
Answer: Loose gloves can get caught in the wheel and pull your hand in. Tight-fitting gloves or no gloves are safer. If you wear gloves, choose a snug pair without loose cuffs.
Always keep your hands away from the spinning wheel.
Question: What should I do if my bench grinder wobbles?
Check the wheel for cracks or uneven wear. Tighten the mounting nut. If the wobble continues, the arbor might be bent.
Replace the wheel or have the grinder serviced. A wobbly wheel is dangerous and can cause injury.
Wrap Up
Avoiding these seven mistakes will make your bench grinder experience much smoother. Take it slow, use the right wheel, and always wear safety gear. Your projects will look better and last longer.
Keep practicing and you will become confident with your grinder.