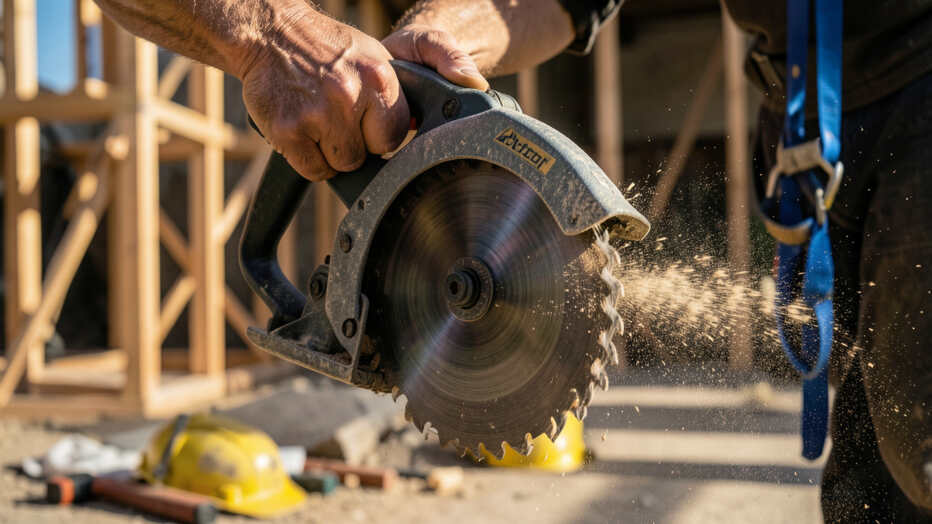

Professional contractors should not use a circular saw without proper guides and safety guards, as freehanding cuts and ignoring safety features significantly increases the risk of kickback, binding, and serious injury. Using a straight edge guide for rip cuts and a speed square for crosscuts produces precise, professional results while preventing the common mistakes that cause over 30,000 annual injuries. Proper blade selection—matching tooth count and type to the material—directly affects cut quality and safety, and in situations requiring extreme precision, a miter saw or table saw may be the better choice.
Should professional contractors rely on a circular saw for every cut? This article examines the risks, best practices, and alternatives to help you decide. We’ll cover common misuse, safety protocols, and when a circular saw is or isn’t the right tool for the job.
In short, a circular saw is a powerful tool for pros, but using it improperly—like freehanding cuts without a guide or ignoring safety guards—can lead to serious accidents and poor results. Master proper technique first, then choose the right saw for each task.
Key Takeaways
- Circular saws are versatile but require proper setup and technique to avoid kickback and binding.
- Common mistakes like dull blades and missing safety guards cause over 30,000 injuries annually, per CPSC data.
- Pro contractors should always use a straight edge guide for rip cuts and a speed square for crosscuts.
- Blade selection (tooth count, type) directly affects cut quality and safety settings.
- There are specific situations where a miter saw, track saw, or table saw is safer and more precise.
The Right Way to Use a Circular Saw for Professional Results
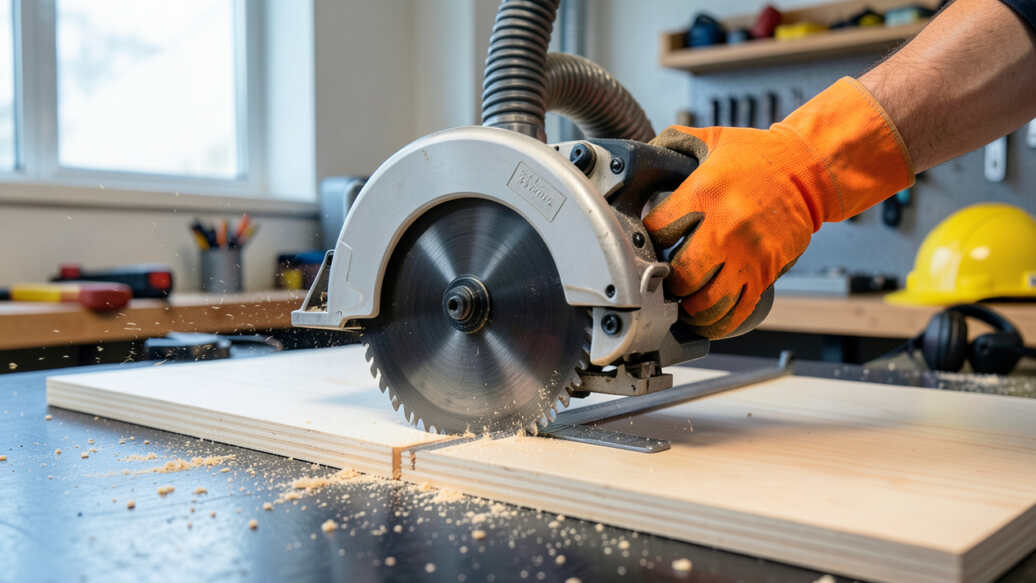
Using a circular saw correctly starts with setup. Always check the blade is sharp and installed in the correct rotation direction. Tighten the arbor nut firmly, and adjust the blade depth so it extends about 1/4 inch below the material you’re cutting.
This reduces motor strain and minimizes kickback risk.
For straight cuts, secure a straightedge or level to the workpiece with clamps. Run the saw shoe against the guide to ensure a perfectly straight line. For crosscuts, use a speed square as a fence.
Never freehand long rip cuts—that’s the number one cause of wandering cuts and binding.
- Set blade depth: 1/4 inch below material thickness.
- Use a sharp, appropriate blade for the material (e.g., fine tooth for plywood, carbide for framing).
- Clamp a straightedge for all rip cuts over 2 feet.
- Let the saw reach full speed before entering the cut.
- Support both sides of the waste piece to prevent binding.
- Use a zero-clearance insert on a table saw for tear-free cuts; for circular saws, score the line first with a utility knife.
Tip: Use painter’s tape on the cut line before scoring to reduce splintering on plywood and melamine.
Proper body position also matters. Stand with your feet shoulder-width apart, keep your free hand away from the cut line, and always let the blade stop completely before lifting the saw from the material. These small habits separate pros from amateurs.

Common Mistakes Pro Contractors Make with Circular Saws
Even experienced contractors slip into bad habits. The most dangerous mistake is disabling the kickback guard or lower guard because it “gets in the way.” According to OSHA, guard removal contributes to 40% of severe circular saw hand injuries.
Other errors include using a dull blade, forcing the saw through the cut, and not checking for nails or knots that could catch the blade. Below is a comparison of common missteps and their solutions.
| Mistake | Consequence | Solution |
|---|---|---|
| Removing lower guard | Blade exposure, kickback risk | Keep guard functional; clean it regularly |
| Dull blade | Burn marks, kickback, motor strain | Replace or sharpen after every 10–15 hours of use |
| No straightedge guide | Wandering cuts, wasted material | Use a 4-foot level or purchased guide |
| Cutting without eye/ear protection | Permanent hearing loss, eye injury | Always wear ANSI-rated glasses and earplugs |
Pro tip: Mark your blades with a date and track usage. Dull blades increase force needed, raising fatigue and injury risk. Many contractors swap blades at the start of each new job to ensure consistent performance.
Warning: Never use a circular saw with a missing lower guard spring. It can fail to retract, causing the blade to remain exposed after the cut. Replace springs immediately.

Why Proper Blade Selection Matters for Every Job
Using the wrong blade is a silent productivity killer. A general-purpose 24-tooth carbide blade works for framing lumber but tears plywood veneer. Conversely, a 60-tooth fine finish blade on wet pressure-treated wood gums up quickly and overheats.
The table below shows recommended blade tooth counts for common materials:
| Material | Tooth Count | Blade Type |
|---|---|---|
| Plywood (finish cuts) | 60–80 | Triple-chip grind or ATB |
| Framing lumber (2×4, 2×6) | 24–30 | Carbide-tipped rip/cross |
| PVC/vinyl siding | 80–100 | Non-ferrous metal cutting |
| Metal roofing | 14–18 | Abrasive or carbide-tipped |
Blade diameter also matters. Most circular saws use 7-1/4-inch blades, but worm-drive saws often take 8-1/4-inch for deeper cuts. Using an undersized blade reduces motor efficiency and may leave the guard misaligned.
Check manufacturers like Freud, Diablo, and DeWalt for task-specific blades. Spending an extra $10 on the right blade saves hours of sanding and reduces safety hazards.
- Identify your material and desired cut quality.
- Select tooth count (higher = finer finish, slower cut).
- Match arbor size (5/8 inch standard, but some saws use 1 inch).
- Inspect blade for cracks, missing carbide tips, or warped plate.
- Install with teeth facing forward direction (usually marked on blade).
Safety Equipment Every Pro Should Use with a Circular Saw
Even if you’ve been framing houses for 20 years, safety gear is non-negotiable. The U.S. Bureau of Labor Statistics reports that hand and finger injuries from saws cost an average of $12,000 per incident in medical expenses and lost time.
Minimum personal protective equipment (PPE) includes:
- ANSI Z87.1 rated safety glasses with side shields.
- Hearing protection (earmuffs or foam plugs) rated for at least 25 dB reduction.
- Cut-resistant gloves for handling sharp materials (but remove when operating the saw).
- Steel-toe boots to prevent foot injuries from falling boards.
- Dust mask (N95 at minimum) for MDF, plywood, and pressure-treated lumber.
Important: Do not wear loose clothing, gloves, or jewelry near the blade. Tie back long hair. The guard cannot protect you from entanglement.
Consider adding anti-kickback saws with electronic brakes. Companies like Skilsaw and Bosch offer models that stop the blade in under one second after releasing the trigger. This feature alone can prevent many severe cuts.
Also keep a clean worksite. Sawdust on the floor creates a slip hazard. Use a dust extractor or shop vac attached to the saw’s dust port—not only improves air quality but reduces cleanup time.
When Should a Pro Contractor Avoid Using a Circular Saw?
A circular saw is not the right tool for every situation. For instance, making dozens of identical crosscuts on trim or framing? A miter saw or compound miter saw is faster and more precise.
Cutting large sheets of plywood repeatedly? A track saw offers plunge cut capability with zero clearance that prevents tear-out.
Here’s a quick comparison of tools to use instead of a circular saw:
| Task | Better Tool | Reason |
|---|---|---|
| Repeated crosscuts on trim | Miter saw | Faster setup, consistent angles, sliding back |
| Ripping full sheets of plywood | Track saw or table saw | Straighter cuts, less chance of binding, integrated dust collection |
| Cutting stainless steel or thick metal | Angle grinder with cutoff wheel or plasma cutter | Circular saw lacks torque and may stall; metal blades overheat quickly |
| Intricate curves or notches | Jigsaw or reciprocating saw | Circular saw cannot turn corners; binding risk high |
Also avoid using a circular saw in wet conditions. Water can cause electrical shorts and increase slip risk. If you must cut pressure-treated lumber that’s still damp, use a GFCI cord and wear rubber-soled boots.
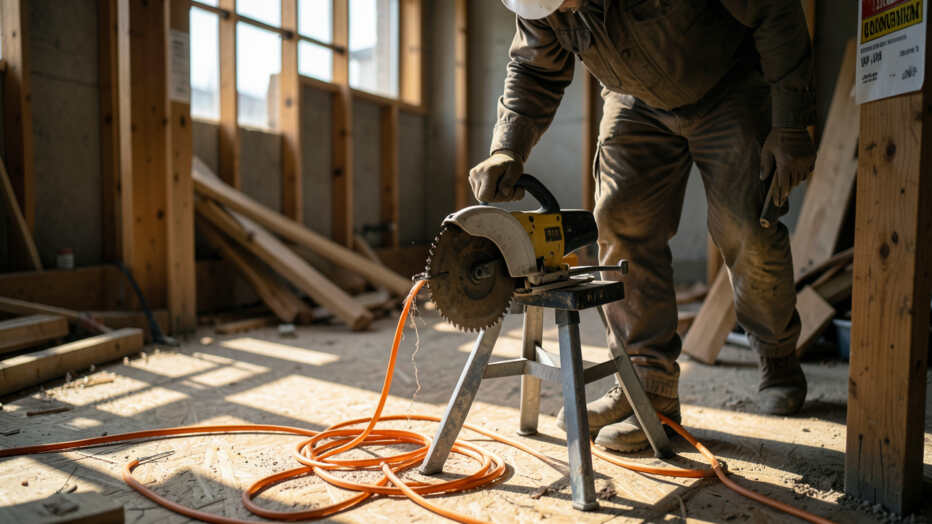
Warning: Never use a circular saw with a damaged power cord. Exposed wires cause electrocution risk. Inspect cords before each use and replace if cracked.
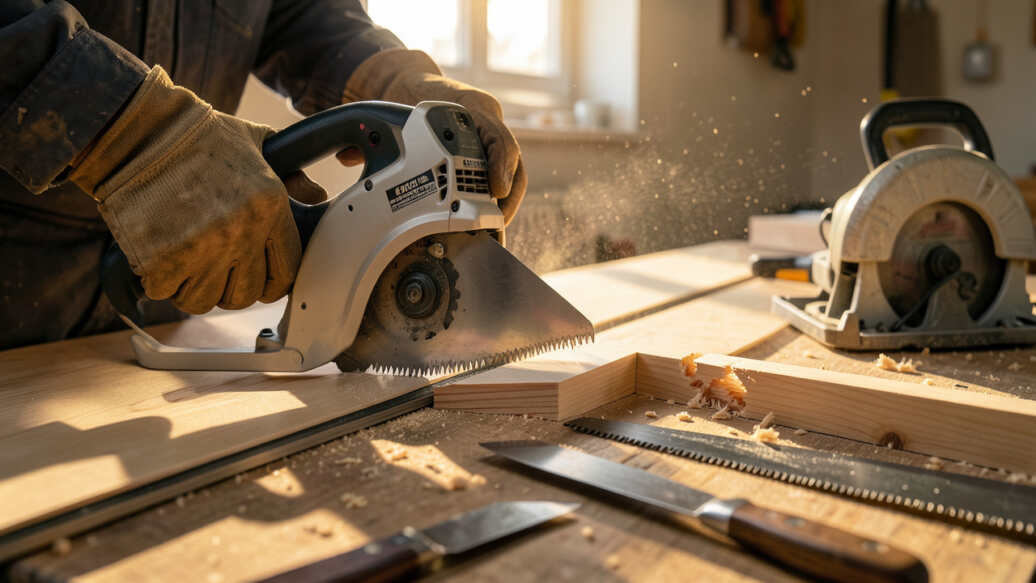
Alternatives to Circular Saws for Precision Cuts
Track saws have grown in popularity among pro contractors because they combine the portability of a circular saw with the accuracy of a table saw. A track saw runs on a guided rail system that prevents wandering and leaves a clean, splinter-free edge.
For finish carpenters, a cordless miter saw offers speed and mobility on job sites without extension cords. Top brands like Festool, Makita, and Milwaukee have 12V and 18V systems that handle most trim work.
Consider these scenarios where another tool outperforms a circular saw:
- Plunge cuts: Track saws can plunge into the middle of a panel, leaving a clean starting hole.
- Bevel cuts at common angles: Miter saws lock and repeat angles quickly with a detent system.
- Repetitive, identical parts: Table saw with a sled or stop block ensures every piece is exactly the same length.
- Cutting cement board or hardieplank: Use a shear or score-and-snap tool to avoid silica dust clouds.
That said, a circular saw remains essential for rough framing, subflooring, and cutting long boards on site. The key is knowing when to pick it up and when to reach for another tool.

How to Train Your Crew on Circular Saw Safety
Training should be hands-on and regular. The National Institute for Occupational Safety and Health (NIOSH) recommends initial onboarding plus refresher sessions every six months. Focus on three areas: pre-use inspection, proper cutting technique, and emergency response.
- Pre-use inspection: Check blade sharpness, guard operation, power cord condition, and trigger lock-off function.
- Proper technique: Demonstrate blade depth setting, use of guides, and correct body stance.
- Emergency response: Show how to release the trigger in a kickback and use a fire extinguisher if sparks ignite sawdust.
Create a simple sign-off checklist that each crew member completes before using the saw. Include line items like “blade tight,” “guard spring working,” “helmet and glasses on.” This builds accountability and reduces complacency.
Tip: Keep a spare lower guard assembly in your truck. If a guard gets bent or the spring fails, swap it immediately rather than working without protection.
Finally, enforce a no-tolerance policy for using saws without guards. According to OSHA’s 1926.304(c)(1), all portable circular saws must have a guard that automatically returns to covering the blade after the cut. A single violation could lead to a fine and, more importantly, a life-altering injury.
Frequently Asked Questions
Is it safe to use a circular saw one-handed?
No. Most circular saws require two-handed operation for control and safety. One-handed use increases the risk of kickback and reduces accuracy.
Some smaller cordless models claim one-handed use, but even those are safer with two hands.
What’s the most common circular saw injury?
Lacerations to the hand and fingers, typically caused by kickback that pulls the hand into the blade. The CPSC reports these account for about 35% of circular saw injuries. Using a sharp blade and a guide reduces risk.
Can a circular saw cut concrete or metal?
Yes, but only with the proper blade. Use a diamond blade for concrete and mortar, and a ferrous-metal-cutting blade for steel. Always wear additional PPE like a face shield and hearing protection because these cuts produce sparks and loud noise.
How often should I replace a circular saw blade?
For pro contractors doing daily cuts, replace or sharpen the blade every 10–15 hours of runtime. Signs of dullness include burning wood, needing to push harder, and a rising sound pitch during cuts.
What is the difference between a worm-drive and a sidewinder circular saw?
Worm-drive saws have more torque and are preferred for heavy framing, while sidewinders are lighter and better for smaller cuts. Worm-drives sit on the left side of the blade (blade left), sidewinders on the right (blade right). Choose based on your dominant hand and typical workload.
Final Thoughts
A circular saw is a workhorse on any pro job site, but only if used correctly. Prioritize blade selection, safety equipment, and a straightedge guide for every cut. Know when to switch to a miter saw, track saw, or table saw for precision work.
With the right habits, you’ll stay safe and produce professional results every time.