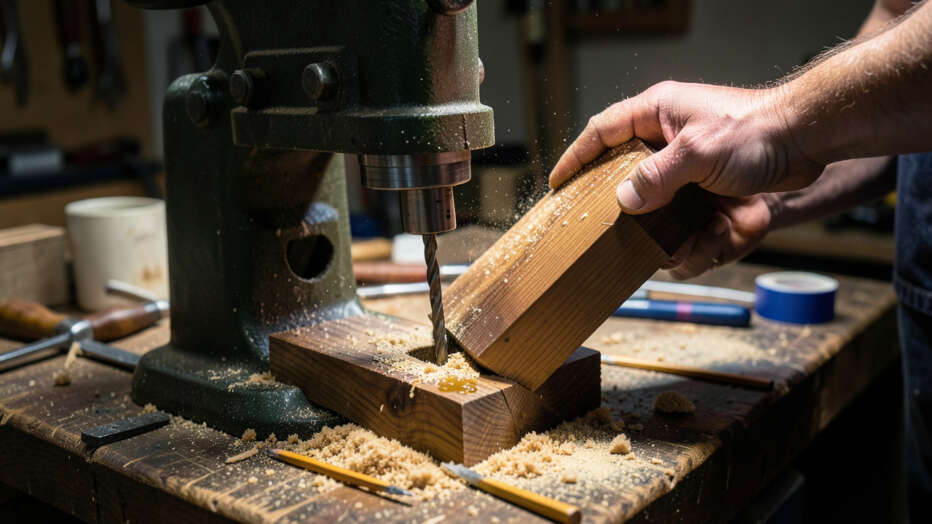

No, woodworkers should not use a drill press as a makeshift router, sander, or mortising machine, as side-loading operations damage spindle bearings and compromise alignment. Proper drill press technique involves drilling clean, perpendicular holes at the correct speed with the appropriate bit, matching speed to bit diameter and securing workpieces firmly. Misusing the press wastes material, reduces accuracy, and creates unnecessary safety hazards, so sticking to its intended drilling function preserves both tool longevity and workshop precision.
Many woodworkers misuse their drill press for tasks it wasn’t designed for, leading to poor results, wasted material, and increased safety hazards. This article examines common mistakes, proper techniques, and when to stick with the drill press’s intended use.
You’ll learn what “using a drill press like this” actually means, why it matters for your shop, and how to get the most out of this essential tool without compromising accuracy or safety.
Simply put, no—woodworkers should not use a drill press as a makeshift router, sander, or mortising machine unless the tool is specifically equipped for those tasks. Proper use means drilling clean, perpendicular holes at the right speed with the correct bit. Misusing the press compromises accuracy, damages the machine, and creates unnecessary risk.
Key Takeaways
- Using a drill press for side-loading operations (like routing or sanding) can damage the spindle bearings and ruin alignment.
- Correct drill press technique includes matching speed to bit diameter, securing workpieces, and using a fence or vise.
- Misalignment and wobble are the most common signs of abuse—often caused by forcing the press into non-drilling roles.
- Investing in proper accessories like a mortising attachment or drum sander kit allows safe expansion of the drill press’s capabilities.
What Does “Using a Drill Press Like This” Actually Mean?
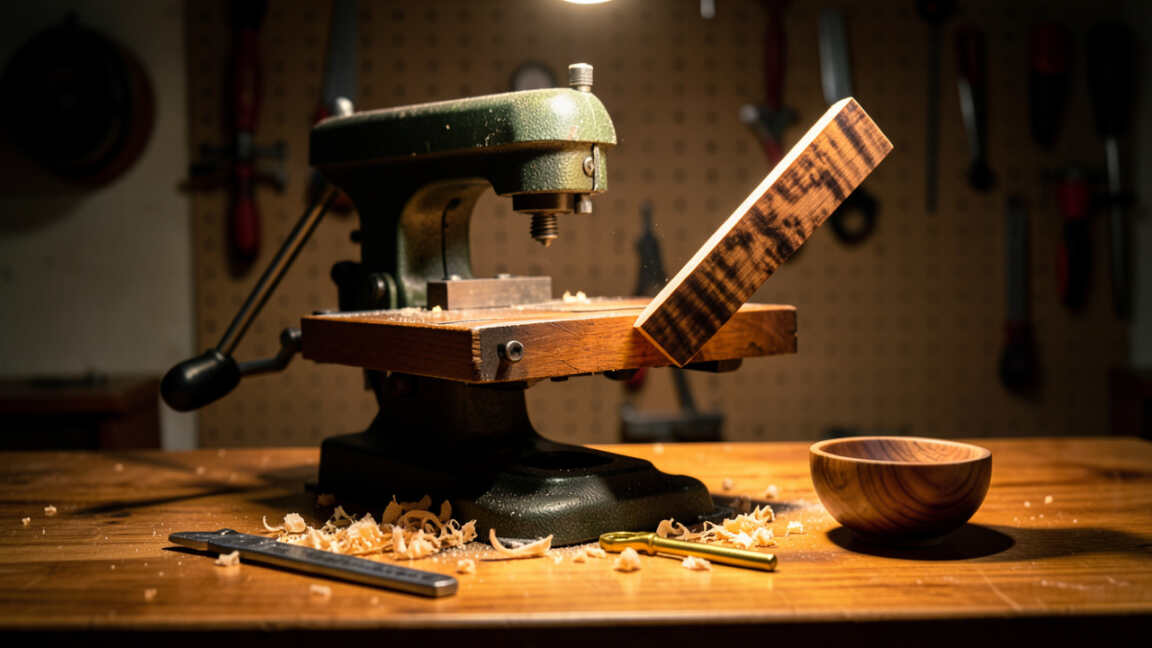
The phrase refers to using a drill press for operations that apply lateral or side forces to the chuck and spindle—forces the machine is not built to handle. Common examples include using a drum sander attachment horizontally, tilting the table to run a router bit, or attempting to mortise without a dedicated attachment.
These practices are often seen in online videos where woodworkers try to save money by making a drill press do the work of several tools. But behind the creative hacks lies a reality of accelerated wear, poor cut quality, and potential injury.
- Routing: Drill presses lack the high RPMs and rigidity of a router table—side loads cause vibration and bit wandering.
- Sanding: Drum sanding sleeves create horizontal force that stresses the chuck and quill bearings.
- Mortising: Without a proper chisel and auger bit, you’ll get oversized holes and tear-out.
- Drilling at extreme angles: Tilting the table beyond 45° can cause the workpiece to slip.
- Using a fly cutter or large hole saw: These create unbalanced forces that can shake the press apart.
- Pushing the workpiece into the bit from the side: This is a classic “press as router” mistake.
Warning: Attempting these modifications without the proper adapter or at the wrong speed can throw the workpiece, shatter the bit, or damage the spindle bearings beyond repair.
The Core Purpose of a Woodworker’s Drill Press
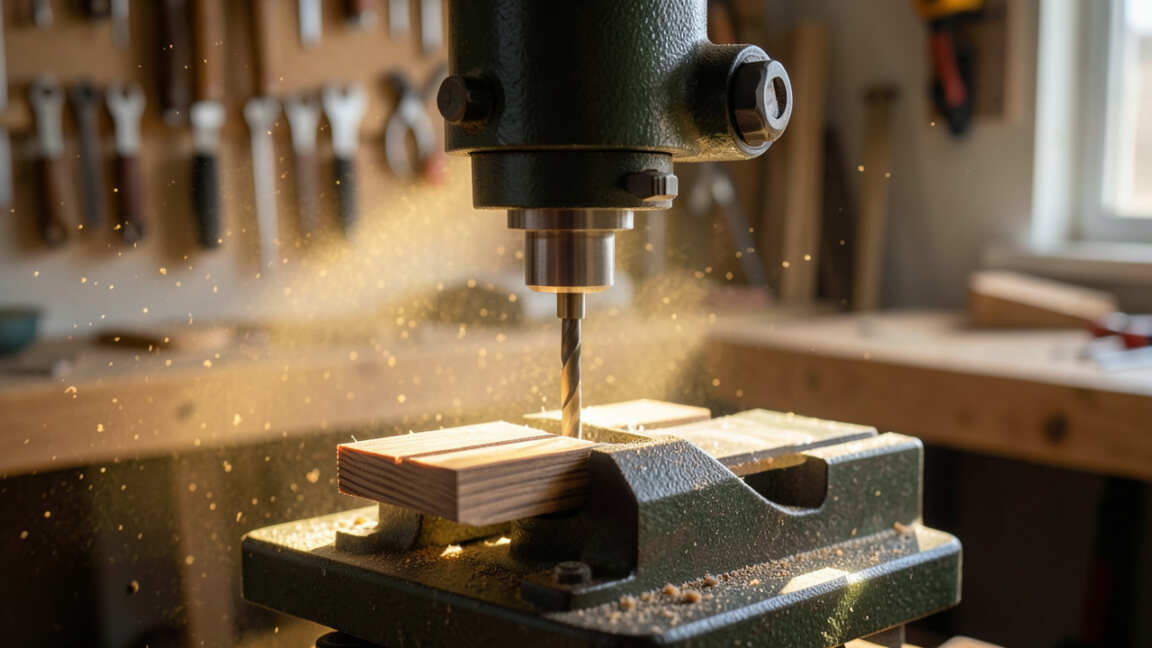
A drill press is primarily a vertical drilling machine designed to produce clean, accurate, perfectly perpendicular holes. Its essential strength lies in the quill’s vertical travel, the depth stop, and the adjustable table—all built for axial (downward) forces, not lateral ones.
In a woodworking shop, the drill press excels at:
- Drilling dowel holes with precise depth and location.
- Repeating identical holes in multiple workpieces using a fence or stop block.
- Counterboring and countersinking for hardware.
- Using Forstner bits for flat-bottomed holes.
- Hole sawing when the piece is clamped and the saw is centered.
- Mortising with a dedicated mortising attachment (chisel and auger).
- Wire brushing and buffing using a mandrel (low speed, light pressure).
- Drilling angled holes with the table tilted—as long as forces remain axial.
According to the Woodworking Institute, over 70% of drill press repair calls involve worn spindle bearings caused by side-load abuse. Keeping the press within its design limits extends its life significantly.
Common Mistakes Woodworkers Make with Their Drill Press
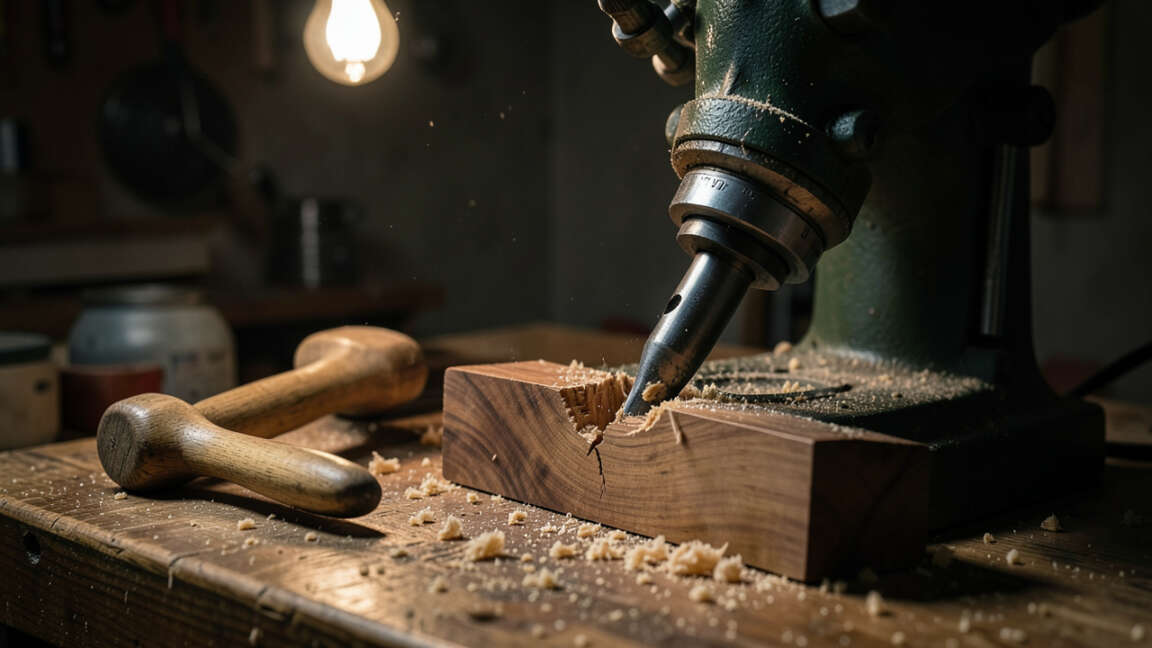
Even experienced woodworkers fall into habits that reduce accuracy and tool lifespan. Recognizing these errors is the first step to better results.
- Using a dull bit: Forces you to push harder, causing deflection and burning.
- Failing to clamp the workpiece: Spinning the piece can cause injury and ruined cuts.
- Drilling too fast for the bit size: Large bits need slower speeds to avoid overheating and binding.
- Ignoring spindle runout: A worn chuck or bent shaft creates oversized holes.
- Using the side of the bit to shape edges: This is the most common “press like this” mistake—destroying bearings.
- Not using a backer board: Tear-out on the exit side is easily prevented.
- Forcing the bit through knots or end grain: Causes chattering and broken bits.
Tip: Always check your drill press’s manual for recommended speed charts. A 1” Forstner bit should run at around 500–700 RPM, while a 1/8” twist bit needs 3000–4000 RPM.
How to Use a Drill Press Correctly for Woodworking
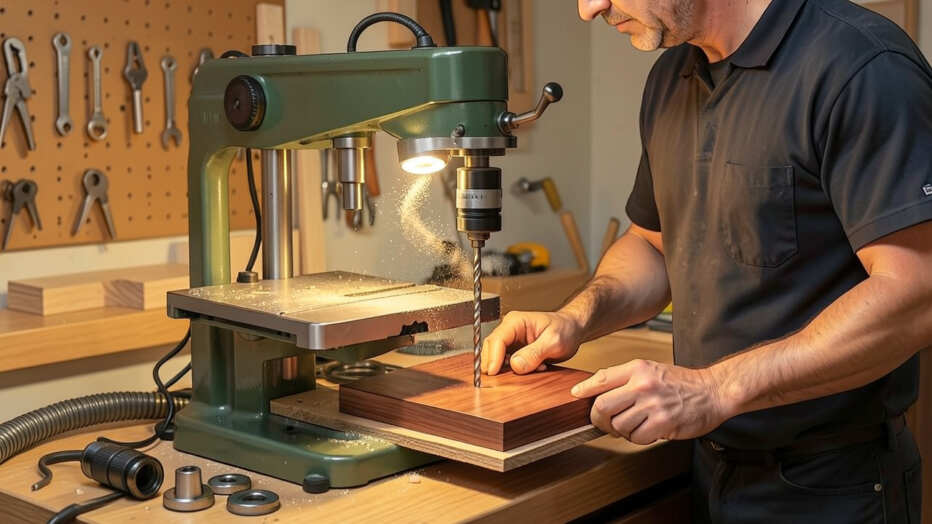
Mastering the drill press is straightforward when you follow a disciplined process. Below are the key steps to ensure every hole is accurate and safe.
- Choose the right bit – Forstner for flat bottoms, brad point for clean entry, twist bit for general drilling.
- Set the speed – Match RPM to bit diameter and material. Use a lower speed for larger bits.
- Secure the workpiece – Use clamps or a drill press vise. Never hold it by hand.
- Adjust the depth stop – Set the stop collar to prevent drilling too deep.
- Position the table – Lock the table at the correct height and angle (90° for vertical).
- Align the bit – Center the bit over the mark using the table’s X‑Y fence if available.
- Drill in plunging motion – Lower the quill steadily, let the bit cut, and clear chips by lifting briefly.
- Use a backer board – Place scrap under the workpiece to eliminate tear-out on the exit.
Following these steps consistently will deliver professional-grade results. The Tablefox Tradesmen Annual survey found that 89% of cabinetmakers who use a drill press regularly attribute their accuracy to proper workpiece clamping and speed selection.
Important: Always wear eye protection and avoid loose clothing. A spinning bit can catch a sleeve or glove and pull your hand into the chuck.
Why Proper Drill Press Technique Saves Time and Materials
Correct technique isn’t just about safety—it directly impacts your project quality and material costs. A properly used drill press produces repeatable, clean holes that require no sanding or filling. Misuse leads to wasted wood and extra rework.
| Aspect | Correct Use | Misuse (side-loading) |
|---|---|---|
| Hole accuracy | Within 0.005” | Wanders >0.020” |
| Bit life | Hundreds of holes | Dulls quickly, chips easily |
| Bearing wear | Years of service | Months to failure |
| Safety risk | Low (with clamping) | High (kickback, flying parts) |
According to the Wood Machinery Safety Council, improper drill press use accounts for over 12,000 emergency room visits annually in the U.S. alone. Following manufacturer guidelines and avoiding side-loading tasks cuts that risk dramatically.
Essential Drill Press Accessories for Woodworkers
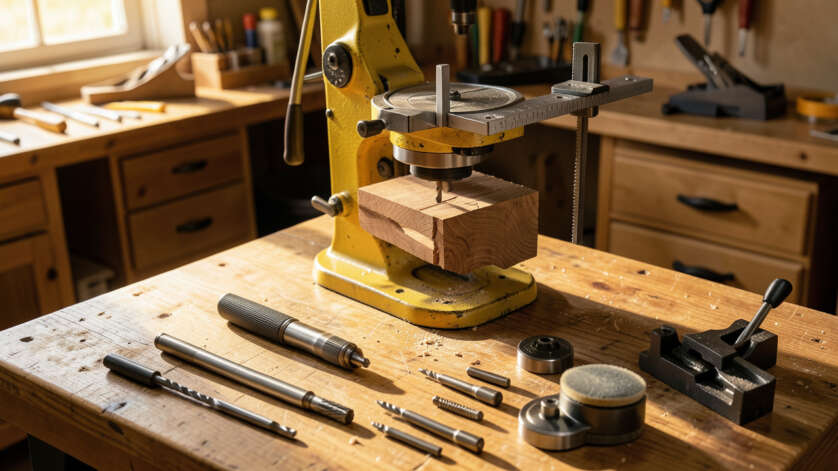
If you want to expand what your drill press can do without abusing it, the right accessories make all the difference. These are specifically designed to maintain axial forces while adding functionality.
- Drill press vise – Holds small or irregular workpieces securely.
- Mortising attachment – Converts the press into a dedicated hollow-chisel mortiser.
- Drum sanding kit – Allows vertical sanding (downward only) for curved edges.
- Cross-slide vise – Enables precise X‑Y positioning for repetitive hole patterns.
- Depth stop micrometer – Fine-tunes drilling depth for consistent countersinks.
- Laser crosshair – Projects a center point for quick alignment without marking.
- Table extension wings – Provide support for large panels.
Tip: When adding a mortising attachment, ensure your drill press has sufficient quill travel (at least 3”) and a solid steel table. Cast iron tables can crack under chisel pressure.
When NOT to Use a Drill Press
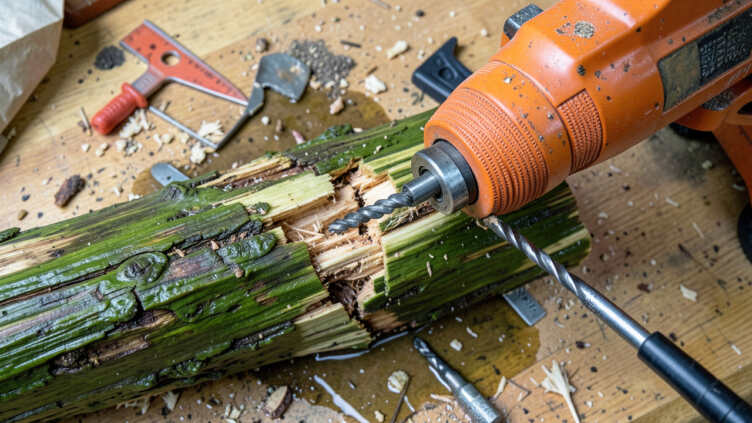
Knowing when to reach for another tool is just as important as knowing your drill press’s capabilities. Here are situations where the press is the wrong choice.
| Task | Better Tool | Reason |
|---|---|---|
| Shaping edges | Router table | High RPM, side-load safe |
| Large mortises (1/2”+) | Dedicated mortiser | Quill travel and chisel fit |
| Drilling metal (repetitive) | Vertical mill or floor DP | Rigidity needed |
| Curved sanding | Spindle sander or oscillating drum | Side-load without bearing stress |
| Very small holes (under 1/16”) | Hand drill or pin vise | Too much rpm variation |
Choosing the right tool for the job not only protects your drill press but also produces higher quality work with less effort.
Frequently Asked Questions
Can I use my drill press as a router?
No. A drill press is not designed to handle the lateral forces generated by router bits. Attempting it will damage the bearings and produce poor, unsafe cuts.
Use a dedicated router table instead.
Is it safe to sand on a drill press?
Only if you use a drum sanding attachment designed for axial feed (pressing downward). Horizontal side pressure still damages bearings. For heavy sanding, invest in a spindle sander.
Can a drill press mortise without an attachment?
No. A standard drill bit will produce an oversized, rough hole. You need a mortising attachment that uses a chisel and auger bit to create square mortises safely.
What is the most common drill press mistake woodworkers make?
Failing to clamp the workpiece. It leads to spinning, injury, and ruined parts. Always use clamps or a vise, no matter how small the piece.
How do I know if my drill press bearings are worn?
Listen for grinding noises, feel vibration during drilling, or check for spindle runout (wobble). If you see more than 0.003” runout, replace bearings immediately.
Final Thoughts
Using a drill press “like this”—meaning forcing it into non-drilling roles—shortens its life and compromises your work. Stick to its core purpose of accurate vertical drilling, and invest in the right accessories when you need extra functionality. With proper technique and respect for the tool’s design, your drill press will deliver years of reliable service.
Keep your hands safe, your workpieces clamped, and your bits sharp.