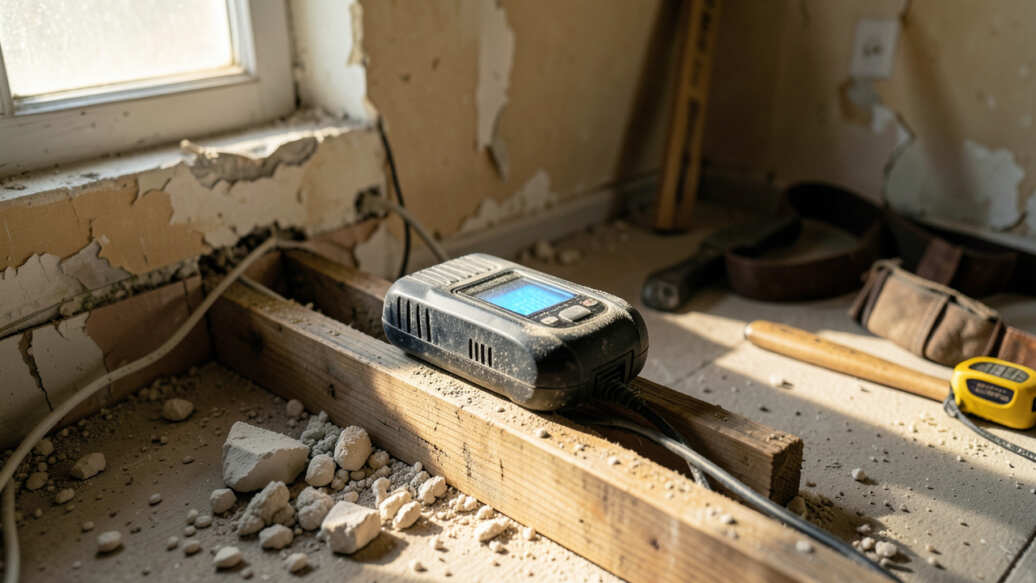

Buying a stud finder for a renovation site is a worthwhile investment because it prevents costly mistakes like hitting wires or pipes behind walls and ensures secure mounting. Even a budget model delivers reliable results for most DIY projects, while a deep-scan model is recommended for thicker walls found in older homes or commercial sites. The cost of a stud finder is quickly offset by avoiding repairs and rework, making it an essential tool for any renovation involving wall work.
Buying a stud finder for a renovation site can mean the difference between a smooth project and costly drywall repairs. This guide helps you decide if this tool is a necessary investment for your specific renovation needs.
In short, a stud finder is worth buying for any renovation project involving wall mounting, electrical work, or carpentry. It prevents damage, saves time, and ensures secure installations. Even budget models deliver reliable results for most DIYers.
Key Takeaways
- Stud finders for renovation sites prevent costly mistakes like hitting wires or pipes behind walls.
- A quality stud finder pays for itself by avoiding repairs and rework during renovations.
- Choose a deep-scan model for thicker walls in older homes or commercial renovation sites.
- Learning proper usage techniques maximizes accuracy and saves time on the job.
Why You Need a Stud Finder for a Renovation Site
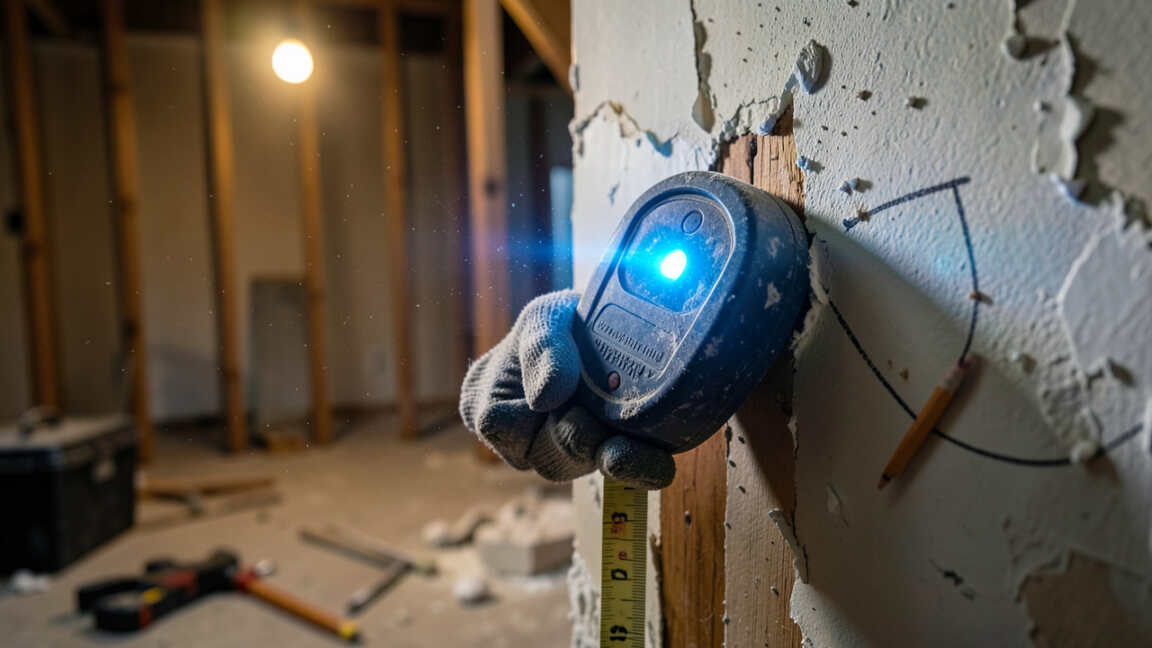
Renovation sites often involve walls with hidden wiring, plumbing, and structural elements. A stud finder helps you locate the exact position of studs, ensuring your anchors and screws hit solid wood or metal instead of empty space.
According to industry surveys, nearly 40% of renovation-related drywall damages come from attaching items without locating studs first. This tool reduces that risk dramatically.
- Prevents accidental damage to electrical lines and water pipes behind walls
- Ensures heavy fixtures like shelves and cabinets are securely mounted
- Speeds up framing and drywall installation by marking stud locations quickly
- Reduces the need for expensive drywall repairs after missed placements
- Works on both wood and metal studs common in modern construction
- Helps detect live wires in some advanced models for extra safety
- Improves overall project efficiency by eliminating guesswork
Tip: For heavy-duty renovation work, choose a stud finder with a deep-scan feature that can penetrate up to 1.5 inches into thick wall materials.
How Stud Finders Work in Renovation Projects
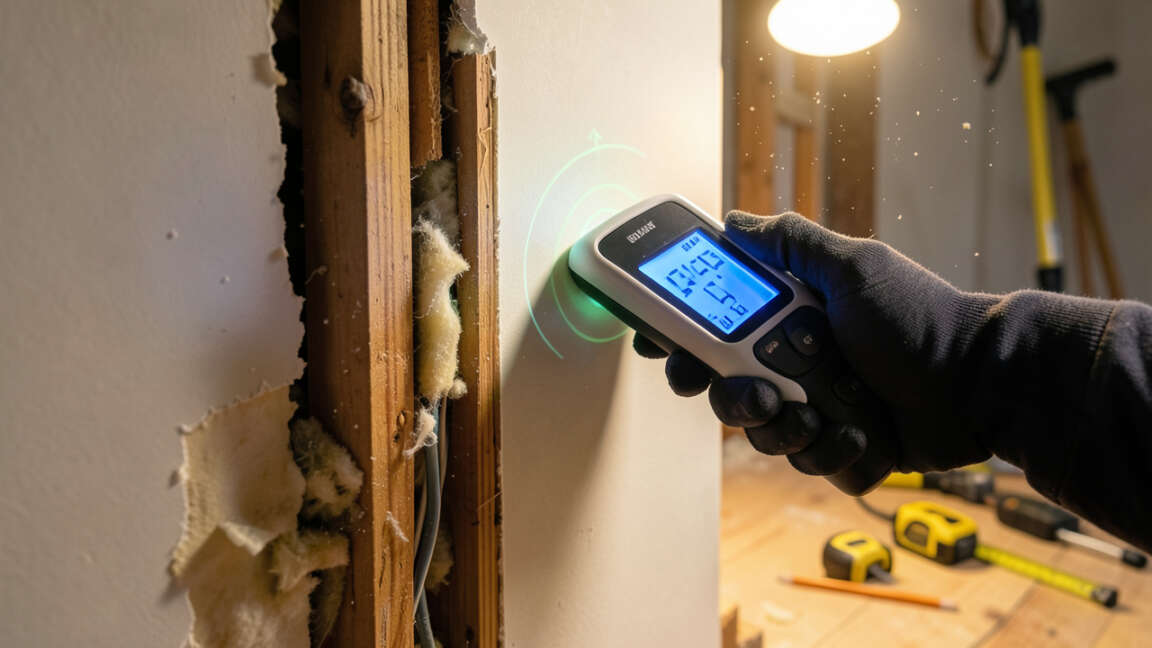
Most stud finders use capacitive sensing or magnetic detection to locate changes in wall density. Capacitive models emit a low-frequency electric field and measure how it changes when passing over a stud.
Magnetic versions detect the nails or screws in studs, which is useful for older homes with lath and plaster walls. Understanding the technology helps you pick the right type for your renovation site.
For renovation sites with multiple wall materials—drywall, tile, or paneling—multi-sensor models offer the best accuracy. They adjust automatically to different surfaces and reduce false readings.
Warning: Always calibrate your stud finder on the specific wall surface before scanning. Skipping calibration can lead to false positives and missed studs.
- Turn on the device and place it flat against the wall
- Press the calibration button until the indicator light flashes
- Move the finder slowly across the wall in a straight line
- Mark the edge of the stud when the device beeps or lights up
- Repeat from the opposite side to confirm the center of the stud
Types of Stud Finders: Which One Is Best for Your Site?
Stud finders come in several varieties, each suited for different renovation conditions. Magnetic models are simple and affordable, while electronic and deep-scan units offer advanced features.
For a renovation site with thick walls, soundproofing, or metal studs, a deep-scan or multi-sensor model is recommended. Below is a comparison of the main types.
| Type | Best For | Limitations | Price Range |
|---|---|---|---|
| Magnetic | Basic drywall, older homes | Only detects nails, not stud edges | $5–$20 |
| Electronic | General renovation, most walls | May struggle with thick or textured surfaces | $20–$50 |
| Deep Scan | Thick walls, metal studs, renovation sites | Higher cost, requires batteries | $40–$100 |
| Multi-Sensor | Complex walls, DIY professionals | Learning curve for optimal use | $50–$150 |
Choose a magnetic model for quick checks on standard drywall. Invest in a deep-scan or multi-sensor unit for large renovation sites with mixed wall compositions.

Key Features to Look For in a Stud Finder for Renovation
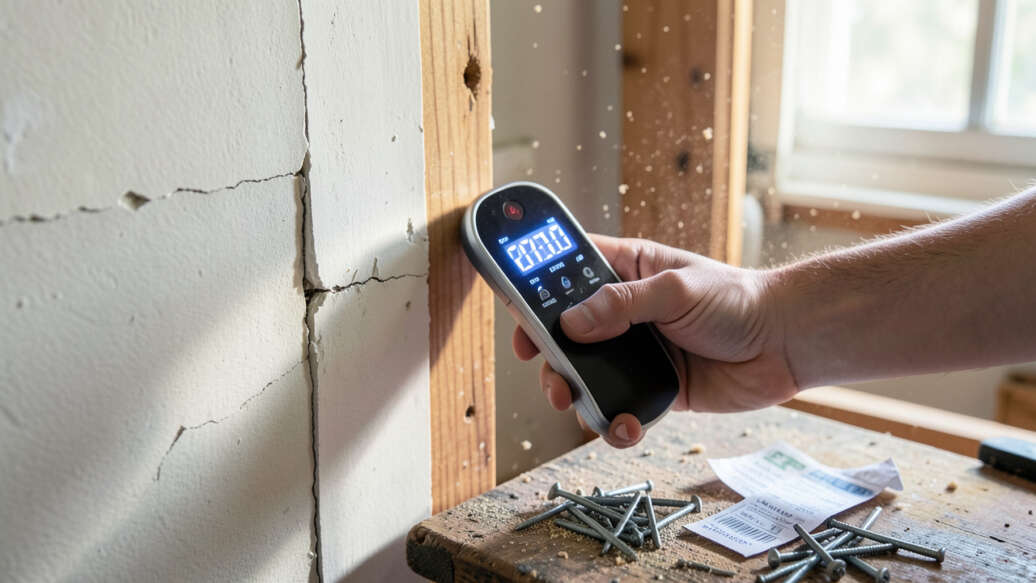
When buying a stud finder for a renovation site, focus on features that enhance accuracy and ease of use. Center-finding capability, depth detection, and AC wire awareness are critical.
Many modern models include LCD screens that show stud edges, centers, and even live wires. These visual cues speed up marking and reduce errors on busy renovation sites.
- Center-Find Mode: Locates the exact middle of a stud for precise drilling
- Deep Scan Mode: Penetrates thicker materials like plaster or tile backing
- AC Wire Detection: Alerts you to live electrical wires behind walls
- Automatic Calibration: Adjusts to wall surface without manual steps
- Ergonomic Grip: Comfortable for extended use during long renovation days
- Battery Life Indicator: Prevents mid-project power loss
- LED Display: Clear reading even in bright renovation site lighting
Important: For renovation sites with metal studs, choose a model specifically designed for metal detection. Standard electronic finders may give unreliable readings on metal surfaces.
Cost vs. Benefit: Is a Stud Finder Worth the Investment?
Basic stud finders cost as little as $10, while professional models reach $100 or more. Compare this to average drywall repair costs, which range from $50 to $200 per hole.
One misplaced screw can lead to patching, painting, and rework that totals hours of labor. A single avoided mistake typically covers the price of a mid-range stud finder.
| Cost Component | Without Stud Finder | With Stud Finder |
|---|---|---|
| Tool cost (one-time) | $0 | $10–$100 |
| Drywall repairs per mistake | $50–$200 | $0 |
| Time wasted per error | 30–60 minutes | 0 minutes |
| Structural risk | High (hitting wires/pipes) | Low |
Over a single renovation project, the tool pays for itself in avoided mistakes. For ongoing use, the savings multiply quickly. Stud finders for renovation sites are a low-cost insurance policy against expensive errors.
When Can You Skip Using a Stud Finder?
Not every wall situation requires a stud finder. If you are hanging very lightweight items like picture frames on drywall without heavy loads, standard drywall anchors are sufficient.
Also, if your renovation site uses open framing—such as a new build with exposed studs—you don’t need a stud finder at all. The same applies when working on concrete or brick walls.
- Lightweight decorations under 10 pounds can use adhesive hooks or small anchors
- Open stud walls during construction allow direct visual placement
- Concrete or brick surfaces require masonry anchors instead of studs
- Temporary renovation markings can be done with simple measuring tapes
- Prefabricated partitions with metal tracks may not have regular studs
Assess the weight and structural requirements of your installation. If you are mounting heavy cabinets or fixtures, skip the guesswork and use a stud finder.
Common Mistakes When Using a Stud Finder on a Renovation Site
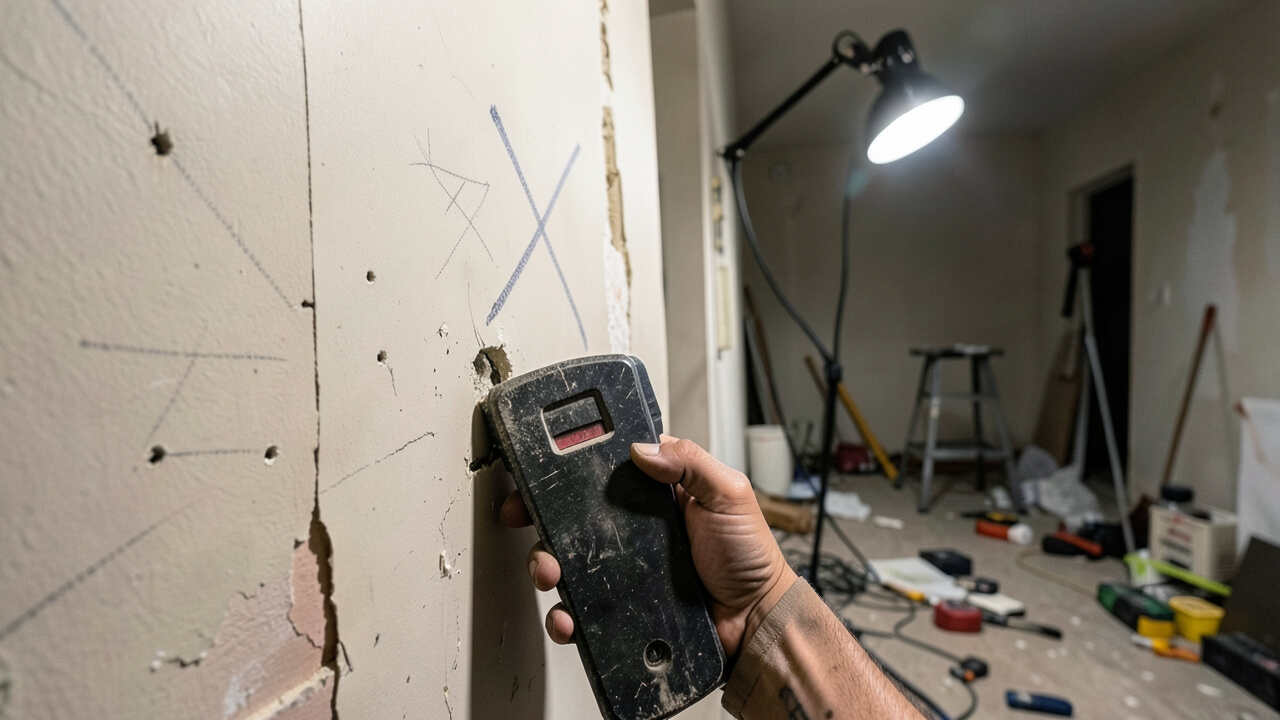
Even the best stud finder for a renovation site can give bad results if used incorrectly. Common pitfalls include skipping calibration, moving too fast, or ignoring wire detection warnings.
Another frequent error is marking only one edge of the stud. Without finding the center, your screw may still miss the solid wood and strip out the drywall.
- Not calibrating on the same wall surface before scanning
- Moving the device too quickly, causing missed signals
- Ignoring the wire detection alert and drilling into live cables
- Relying on a single mark instead of confirming the stud’s center
- Using a magnetic finder on metal studs without checking polarity
Warning: Never assume a wall has no wires or pipes just because your stud finder doesn’t signal them. Always use a wire detector or consult building plans when in doubt.
How to Use a Stud Finder Effectively for Renovation
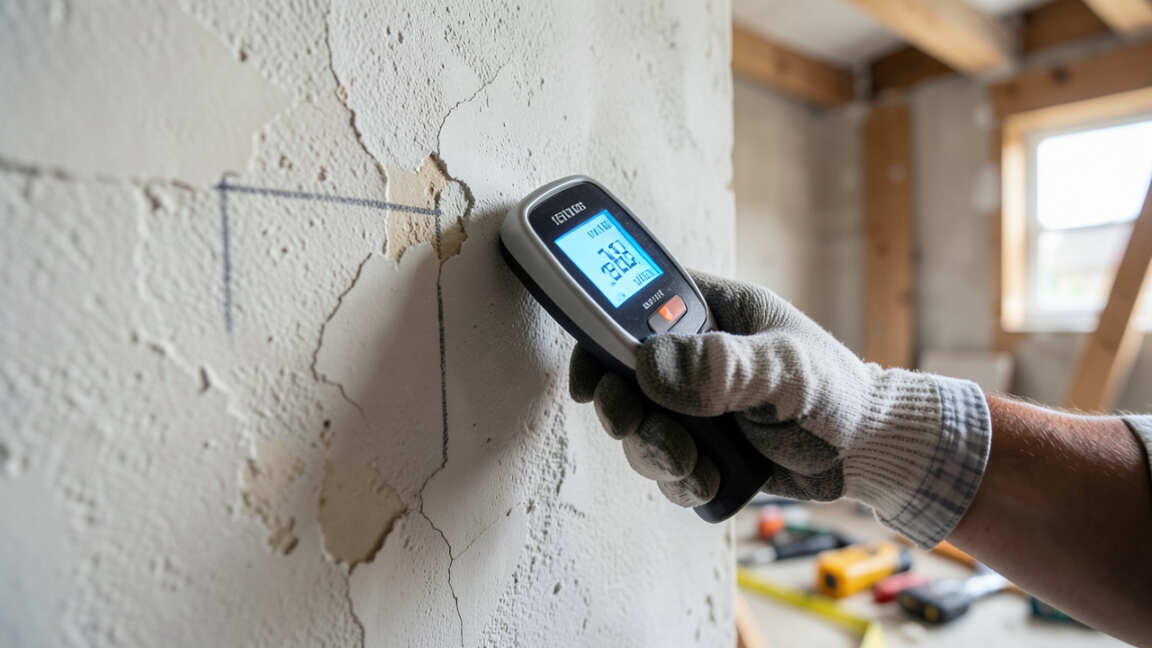
Start by reading the user manual to understand your specific model’s features. For renovation sites, practice on a scrap piece of drywall to get comfortable with the sensitivity settings.
Always scan in a horizontal line at chest height, then repeat at different vertical positions. This reveals stud spacing and any irregularities in the wall framing.
- Hold the device flat and steady against the wall without tilting
- Mark both edges of the stud with a pencil for precise center location
- Test on a known stud (like near an electrical outlet) to verify calibration
- Use a level to ensure your marks are aligned for horizontal installations
- For deep scanning, press the dedicated button and wait for the indicator
- Combine with a tape measure to check standard 16-inch or 24-inch stud spacing
After marking, use a finish nail to double-check the stud location before drilling. This quick step prevents misalignment and saves material costs on renovation sites.
Tip: For long renovation projects, keep your stud finder in a sturdy case with fresh batteries. A dead tool in the middle of a job wastes valuable time.
Frequently Asked Questions
Do I really need a stud finder for a small home renovation?
Yes, even small renovations benefit from a stud finder. It prevents damage to walls and ensures fixtures are securely attached, saving you from costly repairs later.
Can a stud finder detect plastic pipes or wiring?
Most standard stud finders only detect wood or metal. Some advanced models include AC wire detection, but none reliably sense plastic pipes. Use a separate pipe detector for plumbing.
What is the best stud finder for a renovation site with metal studs?
Deep-scan or multi-sensor models designed for metal detection are best. They adjust to metal density and provide accurate readings for commercial renovation sites.
How do I calibrate a stud finder before use?
Place the stud finder flat on the wall away from any studs. Press and hold the calibration button until the device signals ready. Move it slowly across the wall to begin scanning.
Can a stud finder locate studs behind tile or stone?
Yes, but you need a deep-scan model with high sensitivity. Tile and stone attenuate signals, so standard finders may not work. Always test on a small area first.
Final Thoughts
A stud finder is a small investment with big returns on any renovation site. It prevents damage, speeds up work, and gives you confidence in every mounting point. Whether you are a DIYer or professional, this tool pays for itself quickly.
Add a quality stud finder to your renovation kit and avoid the headache of misplaced screws.