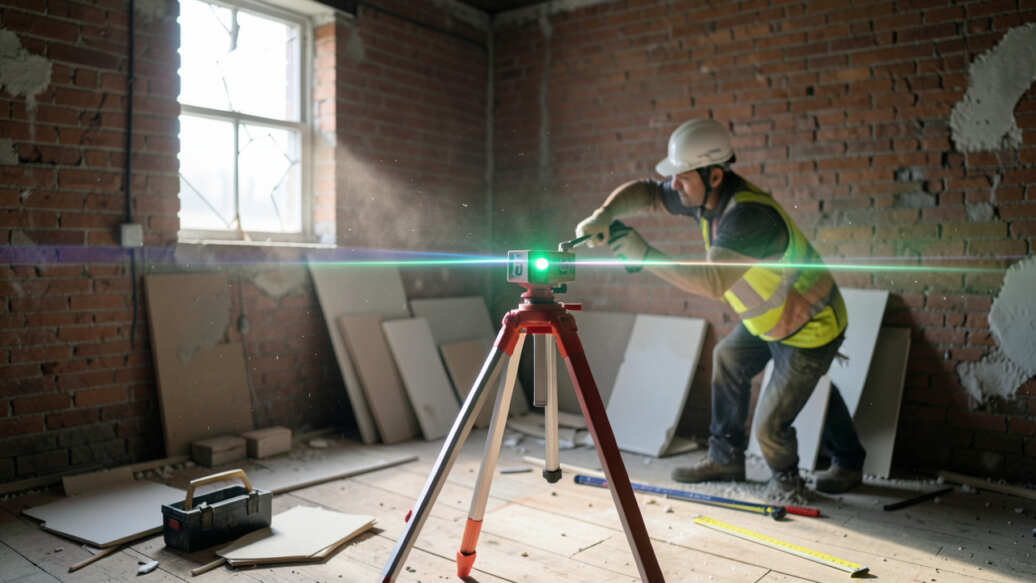

Using a laser level on a renovation site delivers precise horizontal and vertical references for fast, accurate alignment, but dust, debris, and vibration from power tools can reduce beam visibility and temporarily disrupt calibration. A self-leveling model with a green beam and at least IP54 ingress protection rating is required to maintain performance in dusty, bright environments. For renovation sites, selecting the correct laser level and accounting for ambient light and foot traffic directly impacts the accuracy and longevity of the tool.
Using a laser level in a renovation site can dramatically improve your accuracy and speed, but it also comes with specific challenges you need to prepare for. This guide covers what to expect, how laser levels perform under real renovation conditions, and how to get the best results without damaging your equipment.
Simply put, a laser level works well on a renovation site as long as you account for dust, vibration, and ambient light. Self-leveling models with green beams and IP54 or higher ingress protection are your best bet for reliable results in active construction environments.
Key Takeaways
- Laser levels deliver precise horizontal and vertical references on renovation sites, but dust and debris can reduce visibility.
- Choose a self-leveling laser level with a green beam for better visibility in bright or dusty conditions.
- Vibration from power tools and foot traffic can cause the laser to lose calibration temporarily.
- IP54 or higher rated laser levels resist dust and moisture common on renovation sites.
- Regular cleaning and protective storage extend the lifespan of your laser level significantly.
What Happens When You Use a Laser Level in a Renovation Site?
Renovation sites are chaotic environments. Dust, debris, vibration, and fluctuating lighting all affect how a laser level performs. The good news is that modern self-leveling laser levels handle these conditions better than ever.
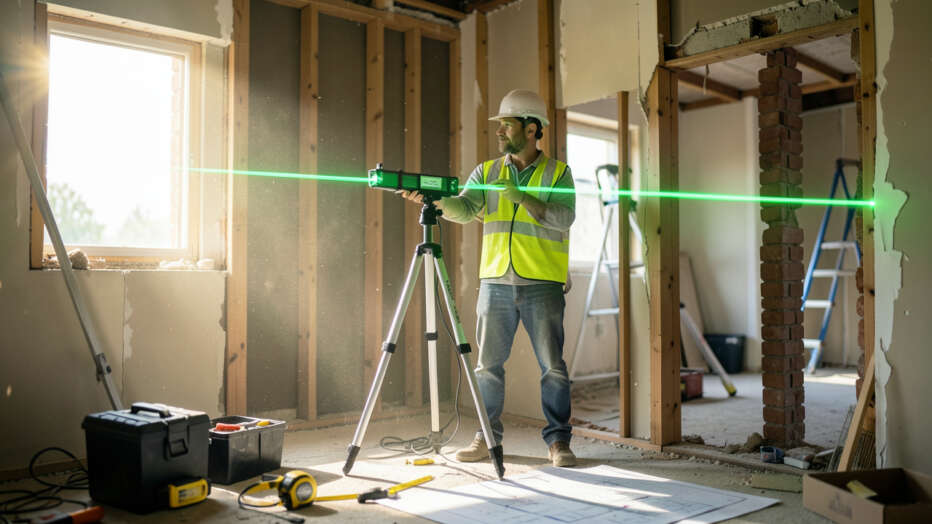
When you power on a laser level in a renovation site, the internal pendulum or electronic leveling mechanism activates. It finds true horizontal or vertical within seconds. If the floor is uneven or the tripod shifts, the unit either re-levels automatically or shuts off the beam to prevent false readings.
Visibility and Beam Performance
- Dust particles scatter the laser beam, making it appear brighter but also diffused.
- Bright ambient light from windows or job site lighting can wash out a red beam.
- Green beams are up to 4 times brighter than red beams, offering better visibility in dusty conditions.
- Beam distance drops significantly in bright outdoor renovation sites compared to indoor use.
Important: Always check the manufacturer’s operating range for your specific laser level. Most units rated for 100 feet indoors deliver only 30-50 feet of visible beam in direct sunlight or heavy dust.
| Condition | Red Beam Performance | Green Beam Performance |
|---|---|---|
| Indoor, low dust | Excellent up to 100 ft | Excellent up to 150 ft |
| Dusty renovation site | Moderate up to 50 ft | Good up to 80 ft |
| Bright sunlight | Poor under 20 ft | Fair under 40 ft |
| Heavy construction dust | Poor under 30 ft | Moderate under 60 ft |
Visibility drops are the most common issue on renovation sites. A green beam with a pulse mode helps when you use a laser detector.
How Does a Laser Level Handle Dust and Debris on a Renovation Site?
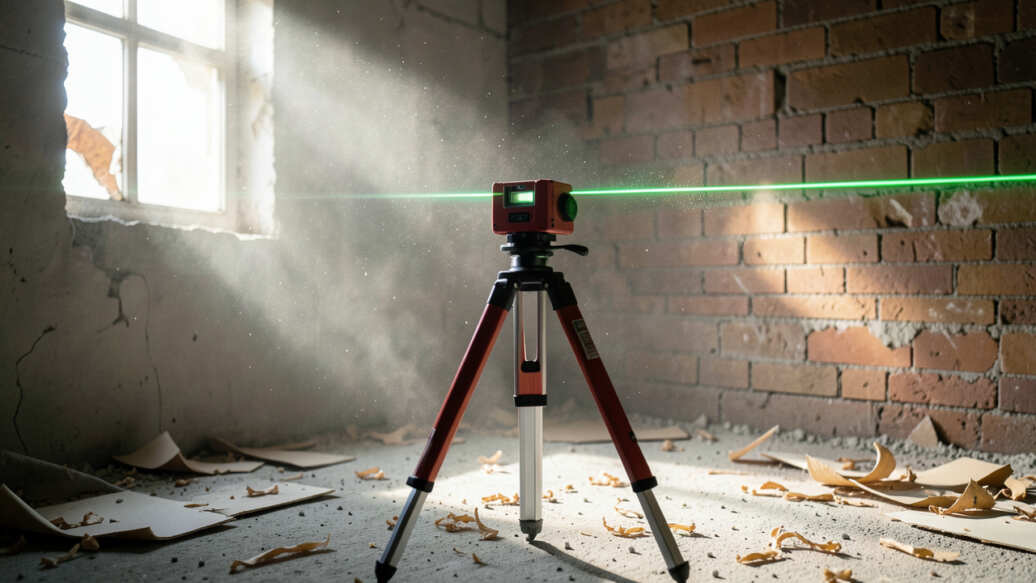
Dust is everywhere during a renovation. Drywall sanding, concrete cutting, and demolition all produce fine particles that settle on every surface, including your laser level. If dust gets inside the unit, it can interfere with the leveling mechanism or damage the laser diode.
Most entry-level laser levels lack proper sealing. Professional-grade units carry an IP (Ingress Protection) rating that tells you how well they resist dust and moisture. For renovation work, IP54 is the minimum you should consider.
Warning: Using a non-sealed laser level in a dusty renovation site can void the warranty. Dust inside the housing often requires professional servicing or replacement of the unit.
Dust Protection Ratings Explained
- IP54: Limited dust ingress protection. Suitable for light renovation dust but not heavy construction.
- IP55: Dust protected plus water jet resistance. Good for most renovation environments.
- IP65: Dust tight. No dust can enter. Ideal for heavy demolition and concrete work.
- IP66: Dust tight and protected against powerful water jets. Best for outdoor renovation sites.
Beyond the IP rating, you should also wipe down your laser level daily with a dry microfiber cloth. Pay special attention to the laser window and the charging ports if your unit is rechargeable.
What Types of Laser Levels Work Best for Renovation Work?
Not all laser levels are built the same. For renovation sites, you need a unit that balances accuracy, durability, and visibility. The three main types you will encounter are cross-line lasers, rotary lasers, and point lasers.
Cross-line lasers project a horizontal and vertical line simultaneously. They are the most popular choice for general renovation tasks like installing cabinets, laying tile, or framing walls. Rotary lasers project a 360-degree horizontal line and are better for larger spaces and outdoor work.
| Laser Type | Best For | Accuracy Range | Average Cost |
|---|---|---|---|
| Cross-line laser | Indoor renovation, tiling, shelving | ±1/8 inch at 30 ft | $50 – $300 |
| Rotary laser | Large rooms, outdoor renovation, grading | ±1/16 inch at 100 ft | $200 – $800 |
| Point laser | Transfer points, plumbing, layout | ±1/8 inch at 50 ft | $30 – $150 |
| 3D laser (multi-plane) | Complex framing, full-room layout | ±1/8 inch at 30 ft | $150 – $500 |
For most renovation projects, a self-leveling cross-line laser with a green beam and IP54 rating offers the best balance of cost and performance. Rotary lasers only become necessary for large-scale commercial renovations or outdoor grading work.
How Does Vibration Affect a Laser Level on a Renovation Site?
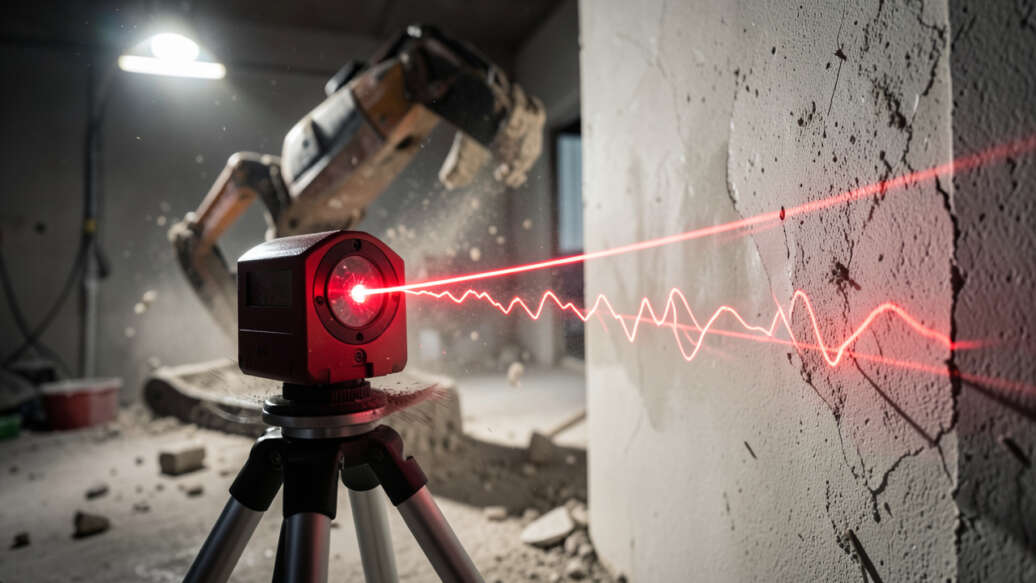
Renovation sites are full of vibration sources. Hammer drills, nail guns, saws, and even heavy footsteps can shake the floor and tripod. A laser level’s self-leveling mechanism compensates for minor vibrations, but sustained shaking causes problems.
When the laser level detects vibration beyond its compensation range, it does one of two things. Some units lock the pendulum and flash the beam to alert you. Others continuously try to re-level, which produces a jumping or wandering beam that is useless for marking.
- Pulse mode helps maintain a steady beam even with moderate vibration. The laser pulses rapidly rather than producing a continuous line.
- Electronic damping in higher-end models filters out vibration frequency and stabilizes the beam.
- Heavy tripods with spread legs absorb more vibration than lightweight camera tripods.
- Rubber isolation feet on the tripod reduce transmitted vibration from the floor.
- Wall mounting with a bracket isolates the laser from floor vibrations entirely.
Tip: Place your laser level on a separate tripod away from heavy foot traffic zones. If you are working near a jackhammer or rotary hammer, mount the laser on a wall bracket instead of the floor.
According to Bosch, vibration is the leading cause of calibration drift in laser levels used on construction sites. They recommend re-calibrating your unit every 6 months if you use it regularly in high-vibration environments.
What Are Common Mistakes When Using a Laser Level on a Renovation Site?
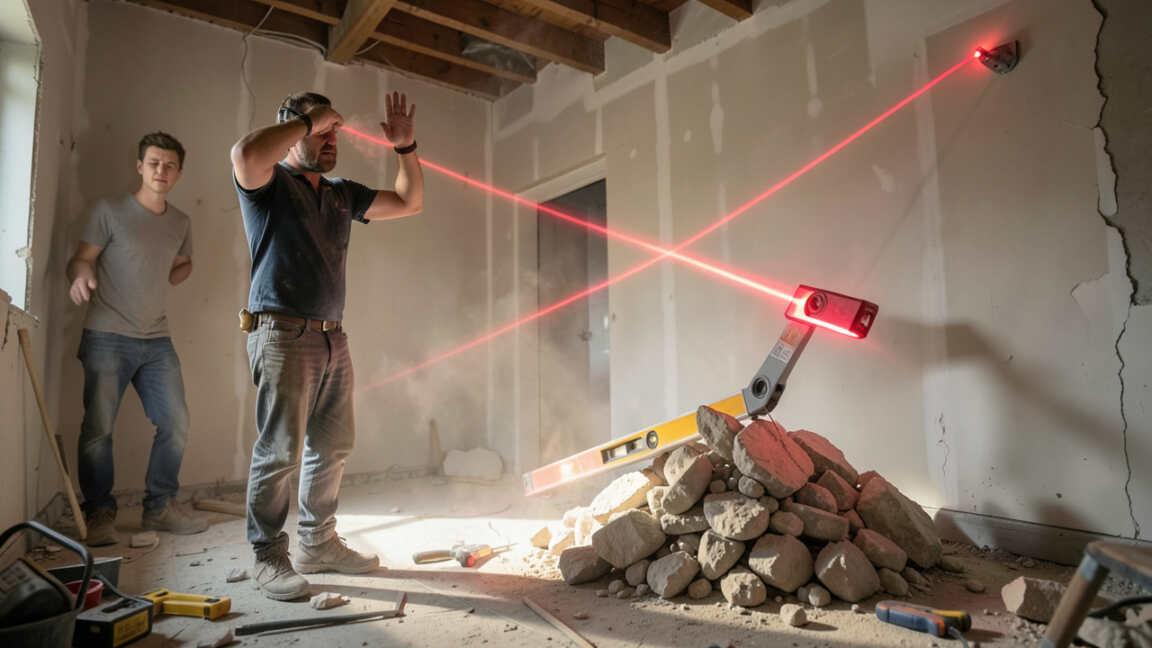
Even experienced contractors make errors when setting up a laser level in the middle of a renovation. These mistakes cost time and materials, and they often go unnoticed until the end of the project.
The most common mistake is assuming the laser level is perfectly level without checking. Self-leveling mechanisms are reliable, but they have limits. If the tripod is on a slope beyond the unit’s compensation range, the laser will either not level or give a false reading.
Top 5 Mistakes to Avoid
- Not checking calibration before starting the job. Always verify against a known reference point.
- Placing the laser on an unstable surface. Stacked lumber or toolboxes are not tripods.
- Ignoring dust buildup on the lens. A dirty lens reduces beam visibility by up to 50%.
- Using the wrong beam color for the environment. Red beams fail in bright renovation sites with open windows.
- Leaving the laser level unattended in a high-traffic area. It can be knocked over or covered in debris.
Warning: A laser level that has been dropped on a concrete floor may lose calibration permanently. Always perform a simple 2-point accuracy check after any impact.
How to Set Up a Laser Level Correctly on a Renovation Site
Proper setup is the difference between accurate work and frustrating re-dos. Follow this step-by-step process every time you bring a laser level onto a renovation site.
- Survey the site first. Identify the best location that gives a clear line of sight to all work areas. Avoid spots near open windows, direct sunlight, or heavy dust sources.
- Set up a sturdy tripod. Spread the legs wide and press each foot into the floor. For concrete floors, use rubber feet or spike tips for grip.
- Mount the laser level securely. Tighten the mounting screw firmly. A loose mount defeats the self-leveling mechanism.
- Power on and let it self-level. Wait for the beam to stop moving. This usually takes 3-10 seconds depending on the model.
- Check the beam against a reference. Use a tape measure at the starting mark to confirm the beam height matches your plan.
- Mark multiple points. Place reference marks at both ends of the room to detect any drift during the job.
- Re-check periodically. Every hour or after any significant vibration event, verify your reference marks.
Following these steps reduces errors and ensures your laser level delivers accurate results throughout the renovation. Professionals who skip step 5 often end up re-doing work later.
How Does Temperature and Humidity Affect Laser Levels on Renovation Sites?
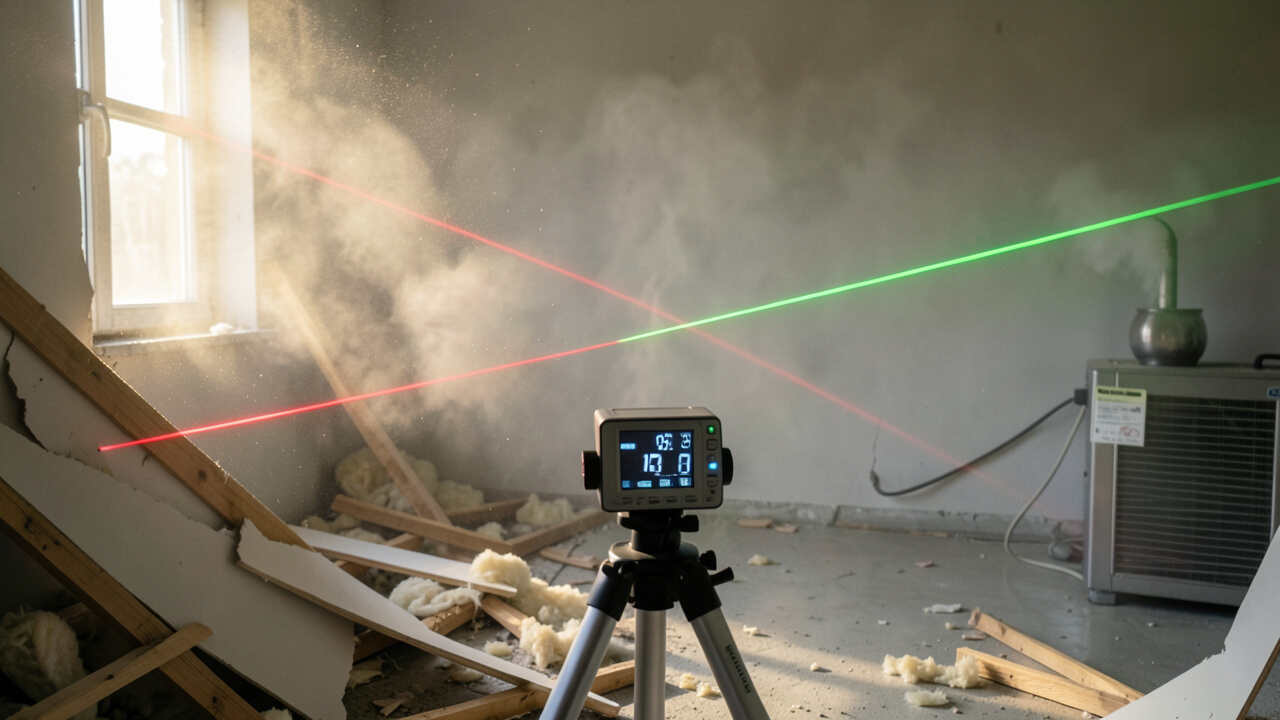
Renovation sites are rarely climate-controlled. You may be working in a drafty space with open windows or in a humid basement with moisture from concrete curing. Temperature swings and humidity affect laser performance in specific ways.
Cold temperatures reduce battery efficiency. Most laser levels use lithium-ion or NiMH batteries, which lose capacity in cold conditions. At 32°F, battery runtime can drop by 30-50% compared to room temperature.
The laser diode itself also dims slightly in cold environments.
| Environmental Factor | Effect on Laser Level | How to Mitigate |
|---|---|---|
| Cold (below 40°F) | Reduced battery life, dimmer beam | Keep spare batteries warm in a pocket |
| Heat (above 100°F) | Internal components can overheat, auto-shutdown | Provide shade, avoid direct sun |
| High humidity | Condensation on lens, internal fogging | Use IP-rated units, dry before storage |
| Rapid temperature change | Internal condensation, calibration drift | Allow unit to acclimate for 15 minutes |
Temperature acclimation is important. If you bring a cold laser level into a warm renovation site, condensation forms on the lens and internal optics. Wait 15-20 minutes before powering on for accurate results.
How to Clean and Maintain Your Laser Level After Renovation Work
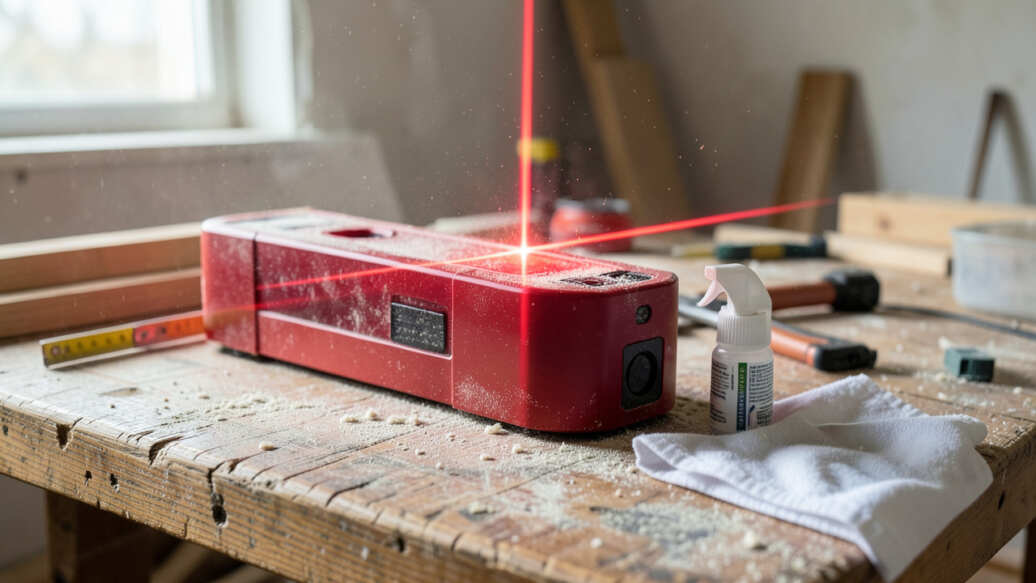
Renovation sites leave your laser level coated in dust, drywall compound, and sometimes paint splatter. Proper cleaning after each use prevents damage and extends the life of the unit.
Start by powering off the laser and removing the batteries. Use a soft brush or compressed air to remove loose dust from the housing, vents, and laser window. Then, lightly dampen a microfiber cloth with isopropyl alcohol and wipe down the exterior.
Never spray liquid directly onto the laser.
Maintenance Checklist
- Clean the laser window with a lens cleaning pen or alcohol wipe after every heavy-use day.
- Check the tripod mount for debris that could prevent the laser from sitting flush.
- Inspect the rubber seals on IP-rated units for damage or wear.
- Remove batteries if storing the unit for more than a few weeks to prevent corrosion.
- Store in a hard case or padded bag away from moisture and direct sunlight.
- Calibrate annually or after any known impact or drop.
Tip: Keep a small cleaning kit in your laser case. A microfiber cloth, lens cleaning pen, and compressed air duster take up minimal space and make post-job cleaning fast and easy.
According to Spectra Precision, regular cleaning and calibration can extend a laser level’s usable life from 3 years to over 7 years in professional use. That makes maintenance a worthwhile investment of a few minutes per job.
Frequently Asked Questions
Can dust damage the internal components of a laser level?
Yes, fine dust from drywall sanding or concrete cutting can enter non-sealed units and settle on the internal pendulum or electronic sensors. Over time, this causes calibration errors and eventual failure. Always use an IP-rated laser level on renovation sites and clean it after each use.
Do I need a laser detector for renovation work?
A laser detector becomes necessary when working in bright conditions or over long distances. If you are working in direct sunlight or the beam is hard to see, a detector picks up the pulsed laser signal and gives you an audible or visual reading. Most rotary lasers include a detector in the kit.
How accurate is a self-leveling laser level on an uneven floor?
Self-leveling laser levels compensate for slopes up to a certain range, typically 4 to 5 degrees. If the floor slope exceeds that limit, the laser flashes an error signal or locks the pendulum. You then need to adjust the tripod or use a manual leveling unit instead.
Can I use a laser level outdoors during a renovation?
Yes, but outdoor use requires a bright green beam and often a laser detector. Direct sunlight washes out most laser beams within 20-40 feet. A rotary laser with a detector extends your working range to 200 feet or more in outdoor conditions.
How often should I calibrate my laser level?
Manufacturers recommend calibration every 6 to 12 months for professional use. If you drop the unit or notice inconsistent readings, calibrate immediately. Many hardware stores and tool repair shops offer laser calibration services for $30-$60.
Final Thoughts
Using a laser level on a renovation site saves time and improves accuracy, but only if you choose the right tool and use it correctly. Prioritize a self-leveling unit with a green beam and an IP54 or higher dust rating. Set up on a stable tripod away from vibration, and clean your laser after every shift to keep it performing reliably.
With the right preparation, a laser level becomes one of the most valuable tools in your renovation kit.