
Replace your basic tool kit for good when tools exhibit rust, loose handles, dull cutting edges, or broken components like a cracked screwdriver handle, as these hazards compromise safety and repair quality. Most basic kits last three to five years under regular use, but any sign of wear or missing parts that cause frequent store trips signals it is time for a full replacement. Investing in a sturdier, more complete set reduces future replacement frequency and ensures your toolkit matches your repair needs without unnecessary cost.
Knowing when to replace your basic tool kit can save you time, money, and frustration during home repairs. This post covers the clear signs of wear, safety risks, and how to choose a quality replacement that lasts.
Simply put, replace your basic tool kit when tools show visible rust, loose handles, or dull cutting edges, or when you’ve outgrown the set’s size and quality. A worn kit compromises safety and job quality.
Key Takeaways
- Basic tool kit replacement is needed when rust, loose handles, or damaged heads appear—these signal safety hazards.
- Most budget-friendly tool kits last 3–5 years with regular use; premium sets can last a decade or more.
- Replace your tool kit if you frequently need tools the set doesn’t include, causing wasted time and trips to the store.
- Missing or broken parts, like a cracked screwdriver handle or a hammer head that wobbles, demand immediate replacement.
- Investing in a better-quality kit upfront reduces future replacement frequency and improves repair outcomes.
What Does a Basic Tool Kit Typically Include?
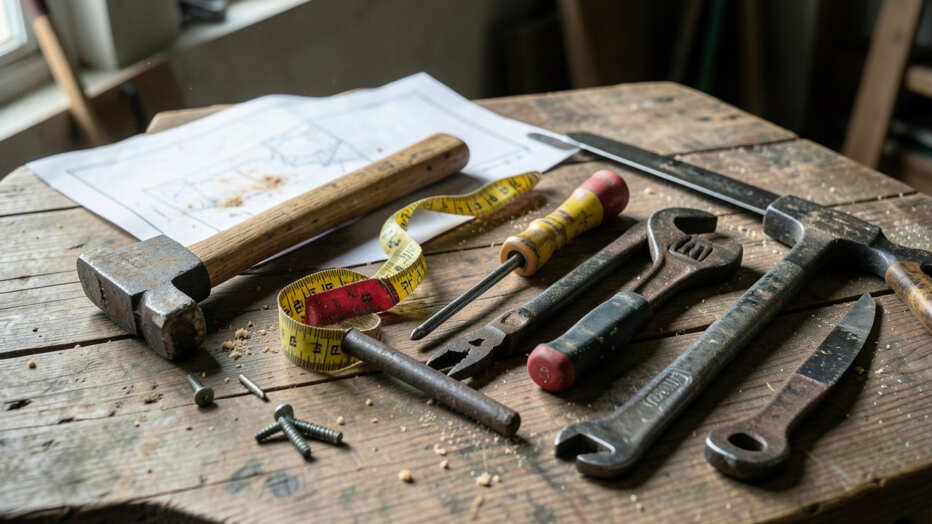
A standard basic tool kit usually covers the essentials for home maintenance: a hammer, screwdrivers (flathead and Phillips), a pair of pliers, an adjustable wrench, a tape measure, and a utility knife. Some sets add a small level, a set of hex keys, and a few screwdriver bits. These kits are designed for simple tasks like hanging pictures, tightening furniture, and minor plumbing fixes.
According to the Home Improvement Research Institute, 68% of U.S. households own at least one basic tool kit, and the average homeowner uses their kit for at least 10 different tasks per month. The tools are often made of chrome vanadium steel or carbon steel, with handles of rubber, plastic, or wood.
However, not all kits are created equal—budget sets may use lower-grade materials that wear faster.
- Hammer (usually 16 oz. claw hammer)
- Flathead and Phillips screwdrivers (multiple sizes)
- Slip-joint pliers or combination pliers
- Adjustable wrench (6 or 8 inch)
- 25-foot tape measure
- Utility knife with retractable blade
- Mini level (6–9 inch)
- Set of hex keys (metric and SAE)
- Electrical tape and sometimes a small flashlight
How Long Do Basic Tool Kits Usually Last?
The lifespan of a basic tool kit depends heavily on material quality, frequency of use, and storage conditions. Budget kits ($15–$30) often start showing wear within 1–2 years—handles crack, pliers loosen, and screwdriver tips mushroom. Mid-range kits ($40–$80) typically last 3–5 years with regular household use.
Premium sets ($100+) can serve you for 10–15 years or longer.
| Kit Price Range | Typical Lifespan | Common Failure Points |
|---|---|---|
| Budget ($15–$30) | 1–2 years | Cracked handles, dull blades, loose joints |
| Mid-range ($40–$80) | 3–5 years | Surface rust, worn screwdriver tips, tape measure retraction failure |
| Premium ($100+) | 10–15+ years | Minimal—occasional handle wear, possible spring failure in pliers |
Note that storage plays a key role. A kit kept in a dry, indoor closet will last much longer than one stored in a humid garage or damp basement. The American Society of Home Inspectors reports that 40% of tool failures are due to improper storage, not manufacturing defects.
Clear Signs It’s Time to Replace Your Basic Tool Kit
If you notice any of the following issues, your basic tool kit is likely past its prime. Ignoring these signs can lead to poor repairs, damaged materials, and even injuries.
Warning: A hammer head that flies off or a screwdriver that slips out of a screw slot can cause serious hand injuries. Replace such tools immediately.
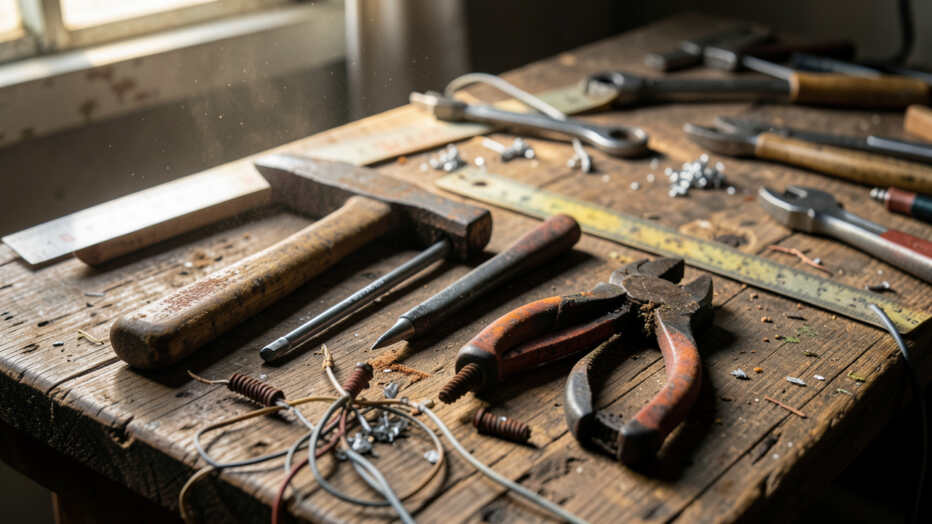
- Visible rust and corrosion on metal surfaces reduce strength and can flake off, contaminating workpieces.
- Loose or cracked handles on hammers, screwdrivers, or pliers make the tool unsafe to grip under force.
- Dull or mushroomed cutting edges on utility knives, scissors, or pliers require extra force and increase slip risk.
- Worn screwdriver tips that cam out of screw heads cause stripped screws and damaged materials.
- Pliers that won’t grip tightly due to worn jaw teeth or loose pivot pins make it impossible to turn stubborn nuts.
- Tape measure that won’t lock or retract wastes time and leads to inaccurate measurements.
- Missing tools from the set—if you’ve lost the only Phillips screwdriver, the kit’s utility is severely compromised.
According to the Consumer Product Safety Commission, about 12,000 emergency room visits each year involve damaged hand tools. Replacing a worn basic tool kit is a cheap investment against medical bills and ruined projects.
Factors That Shorten Your Tool Kit’s Lifespan
Understanding what causes early failure helps you decide whether to replace sooner. The main culprits are cheap materials, poor storage, and misuse.
- Low-quality steel: Budget kits often use hardened carbon steel that rusts quickly, versus stainless or chrome vanadium alloys that resist corrosion.
- Plastic handles with rubber inserts: These crack under UV light or extreme temperatures, especially in garages or sheds.
- Overuse beyond design strength: Using a small adjustable wrench as a hammer, or prying with a screwdriver, bends and breaks tools.
- Exposure to moisture: Humidity causes rust even on high-quality steel if tools sit wet in a case.
- Lack of maintenance: Never oiling pivot points or cleaning grease accelerates wear.
- Frequent drops: Dropping tools onto concrete can crack handles and misalign blades.
Tip: Extend your kit’s life by storing it indoors, wiping tools after use, and applying a light coat of machine oil to metal parts every few months.
How to Choose a Replacement Basic Tool Kit
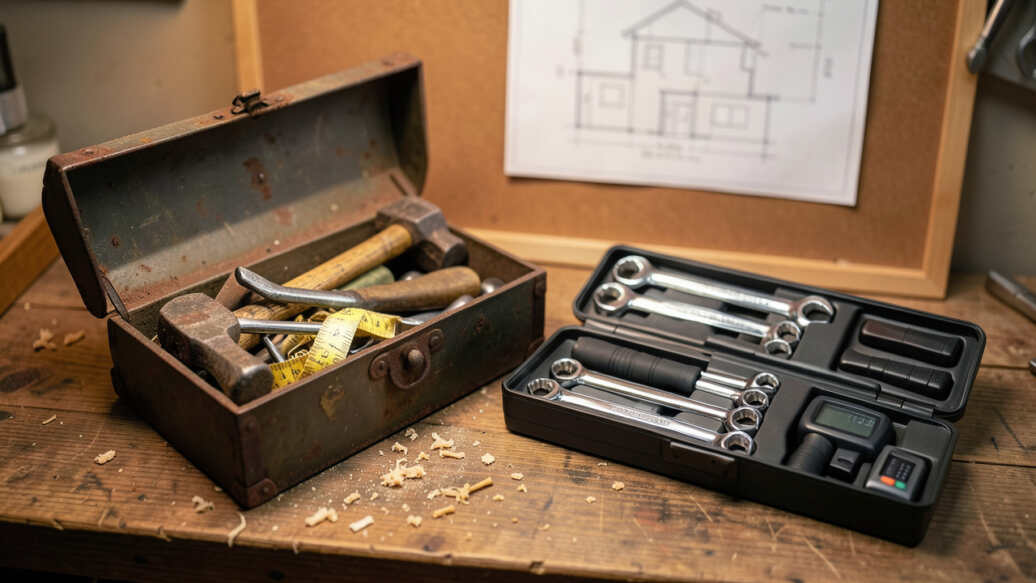
When it’s finally time to replace your basic tool kit, focus on features that offer durability, comfort, and completeness. A good replacement will serve you for years and handle 90% of household tasks.
| Feature | Why It Matters | What to Look For |
|---|---|---|
| Material | Determines rust resistance and strength | Chrome vanadium steel, drop-forged carbon steel |
| Handle grip | Prevents slipping and reduces hand fatigue | Overmolded rubber, textured plastic, ergonomic shapes |
| Number of tools | You need enough for daily tasks | 10–15 pieces minimum; include a good claw hammer, 6-in-1 screwdriver, and slip-joint pliers |
| Warranty | Shows manufacturer confidence | Lifetime warranty on many premium kits from Craftsman, Stanley, or DeWalt |
| Storage case | Keeps tools organized and protected | Hard plastic case with molded inserts, or a zippered soft bag |
According to a survey by This Old House, 75% of DIYers said the main reason they kept using an old kit was sentimental attachment rather than functionality. Don’t fall for that trap. A replacement tool kit that includes a ratcheting screwdriver, needle-nose pliers, and a locking tape measure will make simple tasks feel effortless.
Important: Avoid kits that use “satin” or “matte” finish chrome—they show rust faster. A polished chrome or nickel coating is more durable.
What to Do With Your Old Kit After Replacement
Once you’ve bought a new basic tool kit, don’t just throw the old one in the trash. Several better options exist for the worn tools.
- Recycle metal tools at a scrap metal facility. Many municipal recycling centers accept steel and iron tools.
- Donate usable parts to a community workshop or school. A slightly loose pair of pliers might still be fine for teaching beginners.
- Repurpose the case for storing screws, drill bits, or craft supplies.
- Use old tools for rough work like scraping paint, opening paint cans, or outdoor projects where you don’t mind damage.
According to EPA data, about 1.2 million tons of household metal waste end up in landfills each year. Recycling your worn-out tool kit keeps those materials in circulation and reduces mining demand.
Tools You Should Never Replace as a Set: Buy Individually
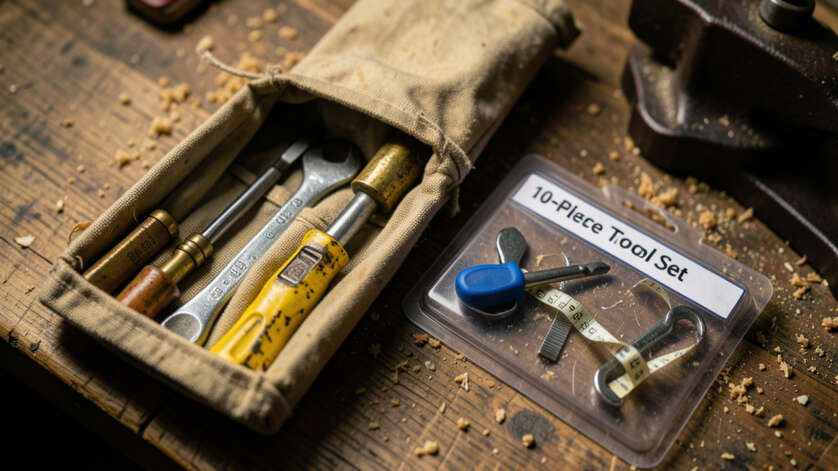
While a complete replacement is often easiest, some tools in your kit may outlast the others. In those cases, buying a single high-quality replacement tool is smarter than buying a whole new set.
- Hammer: A good framing hammer can last a lifetime. If your kit’s hammer is still solid, keep it.
- Tape measure: These are cheap and wear quickly. Replace individually for under $10.
- Utility knife: Blades are replaceable; the handle rarely fails. Just buy new blades.
- Level: Magnetic levels are inexpensive. If yours is accurate but faded, it still works fine.
However, screwdrivers and pliers often fail as a set because they share similar handle designs and materials. If three out of five screwdriver handles are cracked, replace the entire basic tool kit for consistency.
When to Upgrade to a Professional-Grade Kit
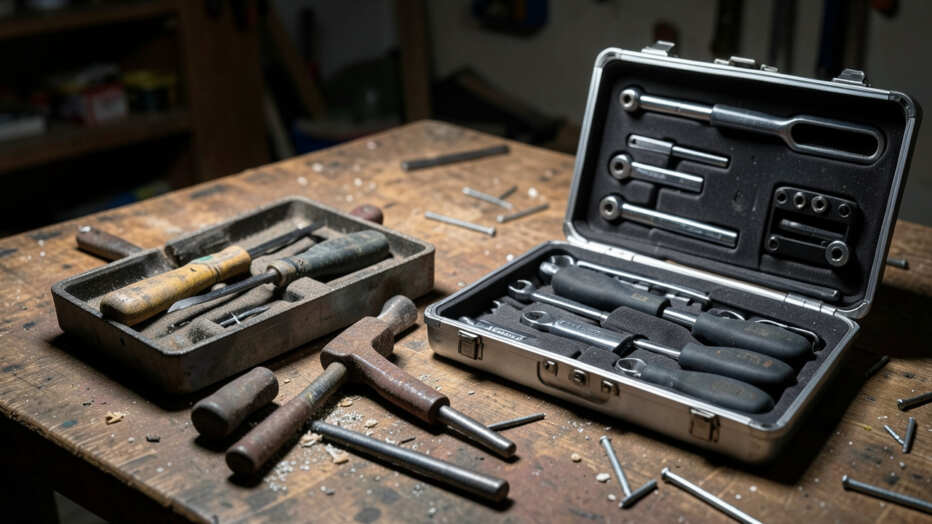
Your current basic tool kit might be fine for occasional home use, but if your household repairs are becoming more frequent or complex, an upgrade to a professional-grade set makes sense.
| When to Upgrade | Sign of Need | Professional Kit Benefits |
|---|---|---|
| Frequent heavy use | You’re repairing furniture, plumbing, or drywall regularly | Forged steel, hardened tips, longer warranties |
| High torque tasks | You need to tighten bolts on outdoor equipment | Ergonomic handles, ratcheting mechanisms |
| Precision work | Electronics or jewelry repairs | Precision-ground tips, insulated handles |
A study by the National Association of Home Builders found that homeowners who used professional-grade tools reported 30% fewer project failures and 20% less time spent per task. If you find yourself making multiple trips to buy better tools, it’s time for a full upgrade.
Frequently Asked Questions
How often should I replace my basic tool kit?
Replace a basic tool kit every 3–5 years if you use it regularly, or immediately when you notice rust, loose handles, or missing tools. Budget kits may need replacement every 1–2 years.
Can I just replace individual tools instead of the whole kit?
Yes, if only one or two tools are worn. But if the set is low quality or you’re missing several tools, replacing the entire kit is more economical and ensures consistent quality.
What is the best material for a long-lasting basic tool kit?
Chrome vanadium steel offers the best balance of strength and rust resistance. Avoid cheap carbon steel or titanium-coated tools, as the coating wears off quickly.
Should I buy a tool kit with a case or a bag?
A hard plastic case with molded inserts protects tools from bumps and moisture better than a soft bag. However, a bag is easier to carry. Choose based on storage conditions and portability needs.
Is it worth spending more than $100 on a basic tool kit for home use?
Yes, if you plan to use the tools for more than a few years. A $120 kit from a reputable brand often includes a lifetime warranty and much better ergonomics than a $30 kit.
Final Thoughts
Knowing when to replace your basic tool kit comes down to safety, performance, and convenience. Look for rust, worn handles, dull edges, or missing tools as clear signals. Investing in a mid-range or premium kit with chrome vanadium steel and an ergonomic design will save you money and frustration in the long run.
Don’t wait until a tool breaks mid-project—make the switch today.