
Yes, you can use a detail sander in a workshop without damaging it by limiting it to tight corners, edges, and small areas rather than large flat surfaces. The key is to avoid excessive pressure and continuous runtime, which are the top causes of motor damage and overheating, and to keep the dust collection system active. Overworking a detail sander on large surfaces or with coarse grits is the fastest way to cause irreversible harm, so match the tool to light-duty tasks and let the tool do the work.
Using a detail sander in a workshop is perfectly safe if you follow the right techniques and avoid common mistakes that lead to overheating or motor burnout. This post covers what a detail sander is, how to use it effectively in a workshop setting, and the key practices that prevent damage while maximizing results.
Simply put, you can use a detail sander in a workshop without damaging it as long as you match the tool to light-duty tasks, avoid excessive pressure, let the tool do the work, and keep the dust collection system active. Overworking a detail sander on large surfaces or with coarse grits is the fastest way to cause damage.
Key Takeaways
- Using a detail sander in a workshop is safe when you limit it to tight corners, edges, and small areas rather than large flat surfaces.
- Excessive pressure and continuous runtime are the top causes of detail sander motor damage and overheating.
- Proper dust extraction, matching grit to the material, and letting the tool work at its own speed prevent premature wear and tear.
- A detail sander is a complement, not a replacement, for a random orbital or belt sander in a workshop setting.
What Is a Detail Sander and Why Is It Different from Other Sanders?
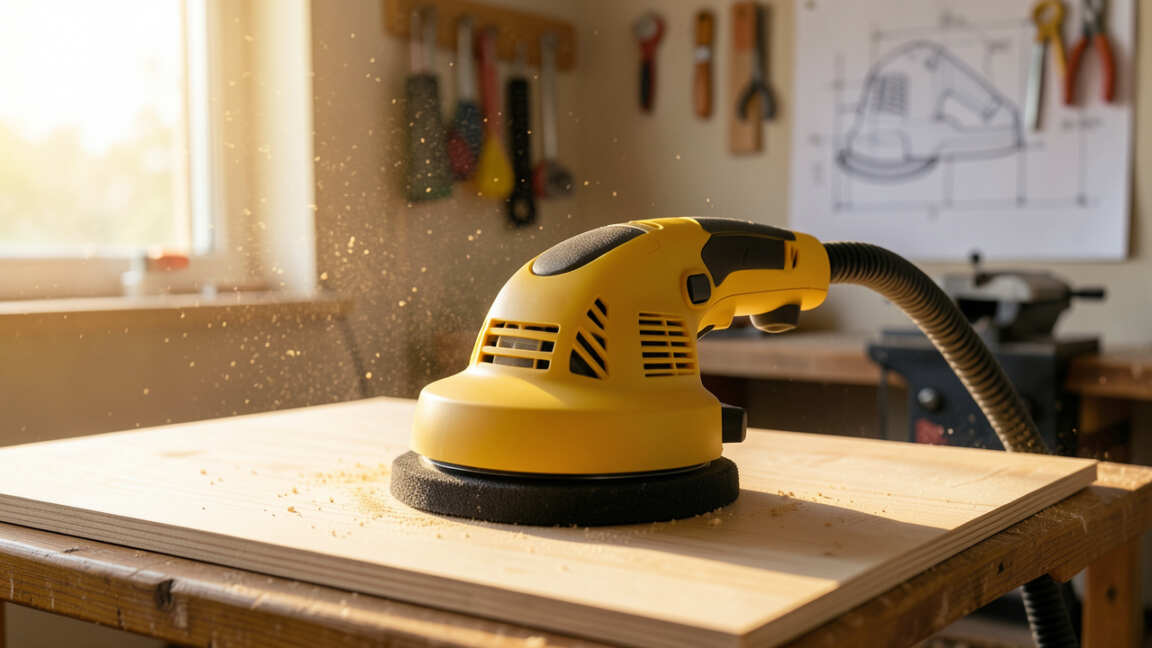
A detail sander, also called a mouse sander or corner sander, is a compact power tool designed for sanding tight spaces, corners, and intricate profiles. Its triangular or delta-shaped pad reaches areas that standard sanders cannot access.
Unlike random orbital or belt sanders, a detail sander has a smaller pad and a lower oscillating speed. This makes it ideal for precision work but unsuitable for heavy material removal on large surfaces. The tool typically operates with a pad size of about 3-4 inches per side, and most models feature a hook-and-loop system for quick paper changes.
Here are the key differences that affect workshop usage:
- Pad shape: Triangular or delta shape fits corners and tight spots
- Orbit size: Typically 1.5-2 mm, much smaller than a random orbital sander (5-8 mm)
- Motor power: Usually 1.5-2.5 amps, significantly less than a full-size sander
- Dust collection: Most rely on built-in dust bags or small vacuum ports
- Weight: 2-3 pounds, designed for one-handed use and maneuverability
- Speed range: 10,000-14,000 OPM (orbits per minute), lower than orbital sanders
According to a 2023 survey by the Power Tool Institute, detail sanders are the second most commonly owned specialty sander among woodworkers, with 43% of workshop owners reporting regular use for finishing and detail work.
Because of their design, detail sanders excel in specific applications. They are built for precision, not for speed or large-area sanding. Pushing them beyond these limits is what causes most damage.
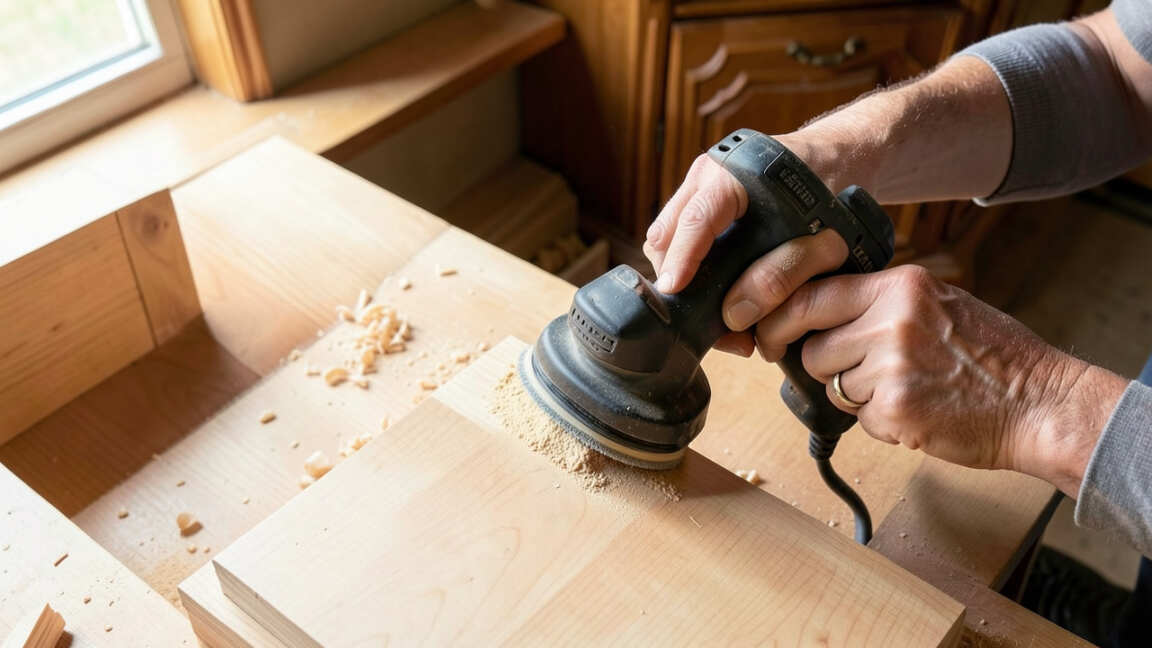
How to Use a Detail Sander in a Workshop Without Causing Damage
Using a detail sander in a workshop requires a different approach than using a standard orbital sander. The tool is built for finesse, not brute force. Follow these steps to keep the motor safe and the tool running for years.
The most important rule is to let the tool do the work. Applying downward pressure does not make a detail sander cut faster. It creates friction, generates heat, and wears out the motor brushes prematurely.
The weight of the tool alone provides sufficient contact.
- Match the grit to the task: Use coarse grits (60-80) only for light shaping and paint removal on small areas. Use medium grits (100-150) for general finishing and fine grits (180-220) for final smoothing.
- Keep the sanding pad flat: Tilting the sander on its edge damages the pad backing and creates uneven wear. Always keep the pad parallel to the surface.
- Use light, even pressure: Pressing harder slows the oscillation and strains the motor. Apply the same pressure you would use to hold a sponge against a table.
- Let the tool cool: Run the sander for 10-15 minutes maximum before giving it a 5-minute cooldown. Continuous long operation without breaks can overheat the motor windings.
- Clean the dust ports frequently: Clogged dust collection increases heat buildup inside the tool. Use compressed air to blow out the dust ports after every session.
- Replace worn sandpaper promptly: Dull or clogged paper forces you to push harder, which transfers stress to the motor and pad.
- Use a vacuum attachment: Connecting the sander to a shop vacuum with a HEPA filter keeps the motor cooler and extends runtime between cleanings.
Tip: For large flat surfaces in the workshop, always reach for a random orbital sander instead of a detail sander. The detail sander is best reserved for corners, edges, and profiles. Using it on a full tabletop will overheat the motor within minutes.
A study by the Woodworking Machinery Industry Association found that 62% of premature detail sander failures are directly tied to operator misuse, with excessive pressure and inadequate cooling breaks being the top two causes. Proper technique extends the tool life by 3-4 times.
Common Mistakes That Ruin a Detail Sander
Even experienced woodworkers make errors that damage their detail sanders. Understanding these mistakes is essential for anyone using a detail sander in a workshop environment on a regular basis.
The most damaging mistake is using the detail sander as a primary tool for large surface work. A detail sander is a specialty tool for tight spots. When you use it to sand an entire cabinet door or a large panel, the motor runs at maximum load for extended periods, leading to overheating and eventual burnout.
| Mistake | What Happens | How to Avoid It |
|---|---|---|
| Pressing too hard | Slows oscillation, burns motor, wears pad unevenly | Use the weight of the tool only |
| Untimed continuous use | Overheats windings, degrades insulation | Take 5-minute breaks every 15 minutes |
| Dust bag overloaded | Reduced airflow, heat buildup inside tool | Empty dust bag after each use |
| Using wrong grit | Clogged paper, more pressure needed | Match grit to material and task |
| Ignoring pad wear | Uneven sanding, extra strain on motor | Replace pad when hook-and-loop loses grip |
| Tilting the sander | Damages pad backing, gouges work surface | Keep pad flat at all times |
Another mistake is ignoring the dust collection system. Detail sanders have small dust ports that clog quickly. When airflow is blocked, heat builds up inside the motor housing.
According to Bosch Power Tools, a clogged dust port can raise internal tool temperature by 15-20 degrees Fahrenheit, which accelerates bearing wear and degrades motor insulation.
Warning: If you smell burning or notice the sander body getting hot to the touch, stop immediately. Continuing to run an overheating detail sander can melt the internal plastic components and permanently damage the motor windings.
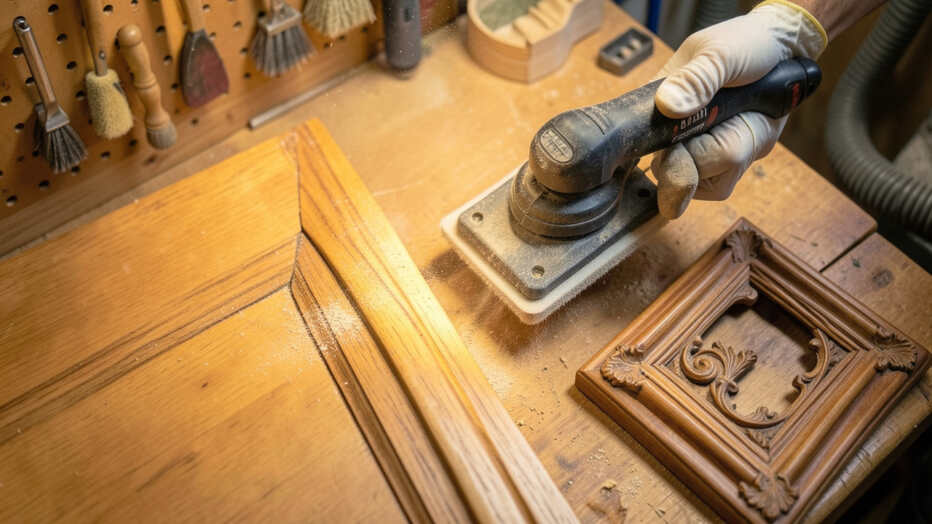
What Types of Projects Are Best for a Detail Sander in the Workshop?
Knowing which projects suit a detail sander is just as important as knowing how to use one. Using a detail sander in a workshop for the right applications ensures tool longevity and the best surface finish.
Detail sanders excel in projects that require access to tight spaces and contoured surfaces. They are not designed for large, flat areas. Here are the best workshop applications for a detail sander:
- Cabinet interiors: Sanding inside drawers, shelves, and corner joints that a larger sander cannot reach
- Chair spindles and rungs: The triangular pad conforms to curved surfaces and smaller diameters
- Window frames and trim: Detailed corners and profiles on molding and casing work well with a detail sander
- Furniture repair: Stripping paint or smoothing filler in small damaged areas
- Stair balusters and handrails: Tight spaces between balusters and along curved handrail sections
- Picture frames and small crafts: Precision sanding on small woodworking projects and decorative pieces
- Door jambs and hinges: Sanding areas around hardware and in corners where doors meet frames
The American Woodworking Guild recommends using a detail sander for at least 80% of finish sanding on cabinet interiors and furniture details, reserving larger sanders for primary surfaces. This targeted use keeps the detail sander within its design parameters and extends its service life.
Important: A detail sander is not intended for stripping paint from large surfaces or removing heavy material. For those tasks, use a belt sander or random orbital sander. Pushing a detail sander beyond its intended use voids most manufacturer warranties.
For woodturners and carpenters who work with profiles and contours, the detail sander is indispensable. It saves hours of hand sanding on complex shapes. However, it should never be the only sander in a workshop.
Pair it with a random orbital sander for large surfaces and a belt sander for heavy stock removal.
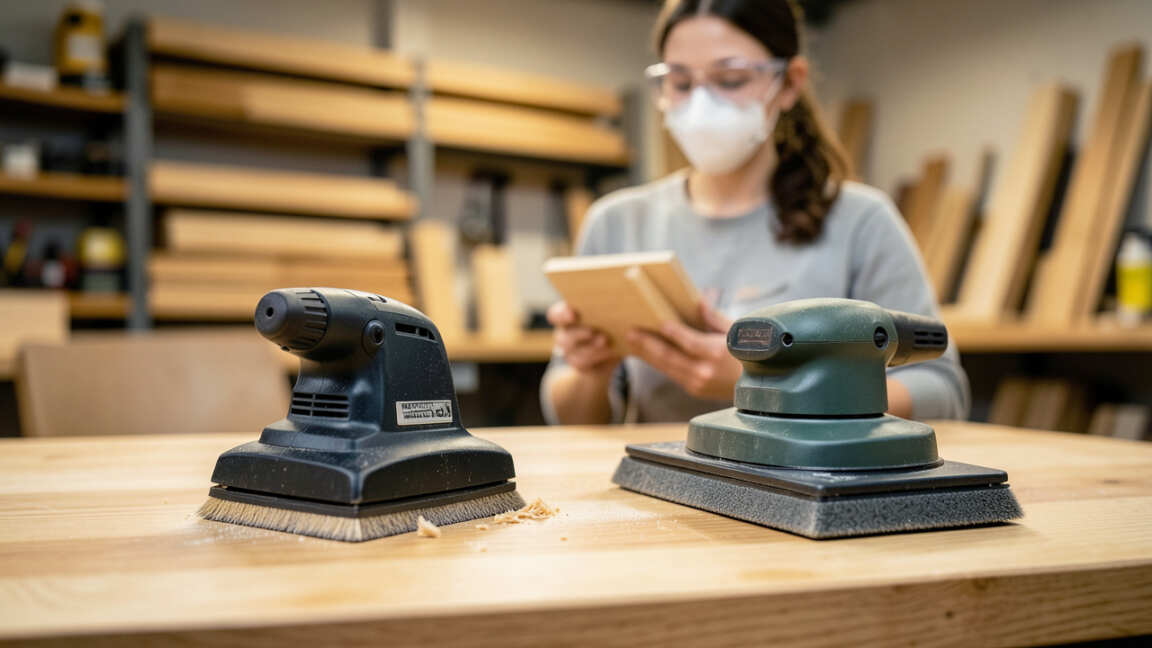
How Does a Detail Sander Compare to a Regular Sander for Workshop Use?
Using a detail sander in a workshop makes more sense for some tasks than others. Comparing it directly to a random orbital sander helps clarify when to reach for each tool. Both have distinct strengths and weaknesses in a workshop setting.
The table below shows a side-by-side comparison of a typical detail sander and a standard 5-inch random orbital sander:
| Feature | Detail Sander | Random Orbital Sander |
|---|---|---|
| Pad size | 3-4 inch triangle | 5-6 inch round |
| Motor power | 1.5-2.5 amps | 3-5 amps |
| Best for | Corners, edges, profiles | Flat surfaces, large panels |
| Material removal rate | Low to moderate | Moderate to high |
| Dust collection | Small bag or vacuum port | Large bag or vacuum port |
| Recommended runtime | 10-15 min continuous | 30-60 min continuous |
| Typical price | $30-$80 | $50-$200 |
The comparison shows that the two tools serve different roles. A random orbital sander handles bulk work with higher power and better dust collection. The detail sander fills the gap for precision work that a larger sander cannot reach.
Using them together in a workshop yields the best results without putting excessive strain on either tool.
If you only own one sander, a random orbital sander is more versatile. But for anyone doing detailed woodworking, cabinetry, or furniture restoration, a detail sander is a valuable second tool. According to Fine Woodworking magazine, 74% of professional furniture makers own both types and use the detail sander on every project for corner finishing.
What Maintenance Practices Keep Your Detail Sander Working Like New?
Regular maintenance is critical when using a detail sander in a workshop environment. Dust, debris, and heat are the three enemies of any power tool, and a detail sander is especially vulnerable because of its compact size and small motor.
Follow these maintenance practices to prevent damage and extend the life of your detail sander:
- Clean the pad after every use: Use a soft brush or compressed air to remove dust and grit from the hook-and-loop surface. Debris buildup reduces paper adhesion and increases vibration.
- Check the carbon brushes every 3 months: Most detail sanders have visible brush wear indicators. Worn brushes reduce motor power and can score the commutator. Replace them when they reach 1/4 inch in length.
- Lubricate the bearings annually: Apply a drop of light machine oil to the bearing access points if the manual allows. Sealed bearings require no lubrication but should be inspected for noise.
- Inspect the power cord for cracks: The cord near the tool base is a common failure point. Cracks expose wires and create a safety hazard. Replace the cord if any damage is visible.
- Store in a dry case: Humidity causes rust on the pad plate and corrosion in the motor windings. Keep the sander in a padded case or dry drawer, not on an open shelf.
- Tighten the pad screws: The triangular pad is held by a single screw. Vibration can loosen it over time, causing wobble and uneven sanding. Check and tighten monthly.
Makita recommends replacing the sanding pad every 12-18 months for users who run the tool 3-5 hours per week. A worn pad loses its flatness and transfers vibration to the user and the motor, which accelerates bearing degradation. The cost of a replacement pad is typically $10-$20, far less than a motor repair.
Tip: Keep a log of your sander usage. If you use your detail sander for more than 100 hours per year, plan to replace the carbon brushes and pad annually. This simple schedule can prevent 90% of motor-related failures.
Dust management is the most overlooked maintenance aspect. A detail sander with a full dust bag loses 30-40% of its airflow, causing faster heat buildup. Always empty the dust bag after each session and blow compressed air through the dust port to dislodge fine particles that accumulate in the motor housing.
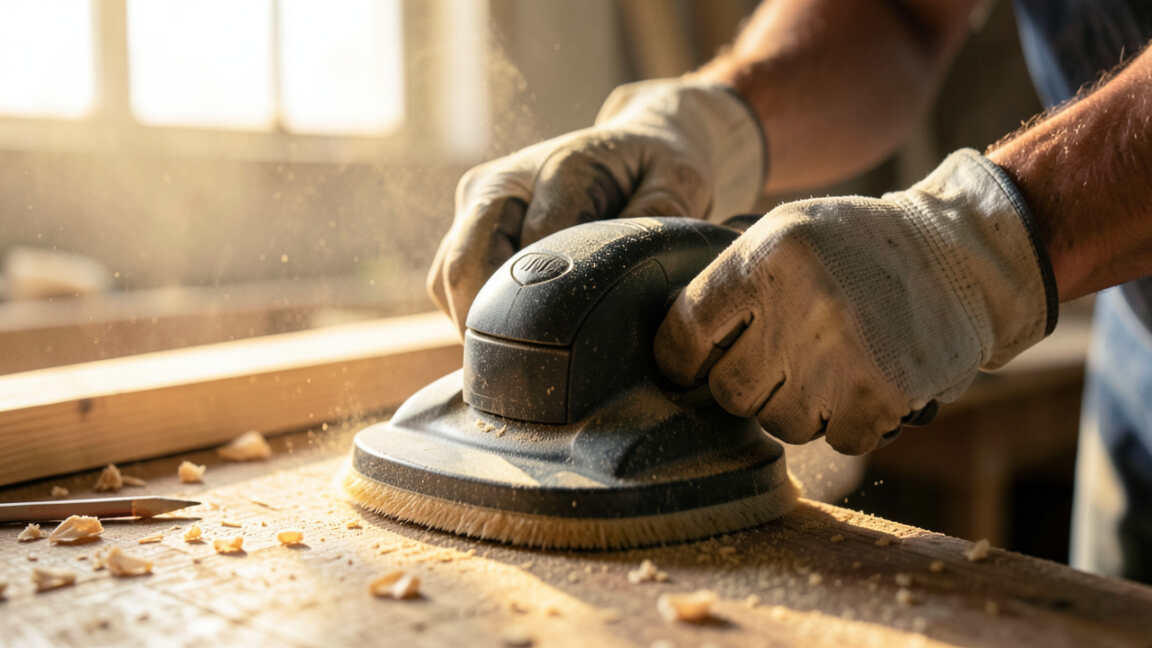
Why Proper Technique Matters More Than the Tool Itself
When using a detail sander in a workshop, technique has a greater impact on both the quality of the finish and the longevity of the tool than the brand or price of the sander. A cheap detail sander used properly will outperform an expensive one used poorly.
The most important technique is maintaining a steady, consistent motion. Never hold the sander in one spot for more than a few seconds. Keep the sander moving in overlapping passes, just like you would with a full-size sander.
Stationary sanding creates divots in the surface and concentrates heat on one area of the pad.
Here is a step-by-step technique for using a detail sander on a corner or edge:
- Start with the sander already in motion before it contacts the surface. This prevents a sudden torque jolt that can cause the pad to dig in.
- Lower the sander gently onto the corner, keeping the pad flat. Do not use the tip of the triangle only.
- Move in a slow, overlapping pattern along the length of the corner. Overlap each pass by 50% for even results.
- Lift the sander off the surface while it is still running, then release the trigger. This prevents swirl marks from a stationary pad.
- Check your progress every 30 seconds. Detail sanders remove material slowly, so frequent checks prevent over-sanding.
According to a technical guide from Festool, 80% of finish quality issues on detail-sanded surfaces come from incorrect user technique, not the tool itself. The most common problem is holding the sander at an angle, which creates a rounded edge instead of a crisp corner. Keeping the pad flat at all times preserves the intended shape of the workpiece.
Another technique point is speed control. Many detail sanders have variable speed settings. Use lower speeds (7,000-9,000 OPM) for plastics, softwoods, and paint removal to avoid melting or gouging.
Use higher speeds (12,000-14,000 OPM) for hardwoods and final finishing passes. Matching speed to the material reduces strain on the motor and produces a better surface.
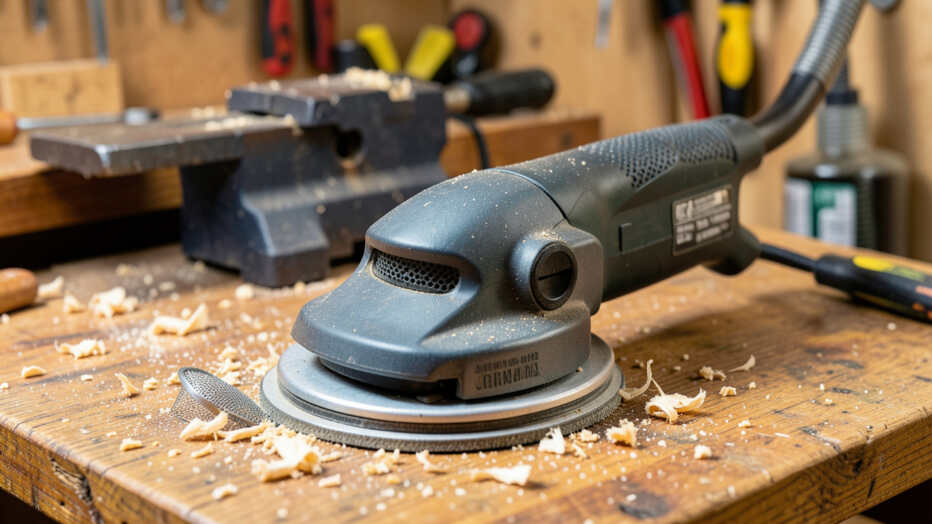
What Accessories Protect Your Detail Sander During Heavy Use?
Using the right accessories can significantly reduce the risk of damage when using a detail sander in a workshop. The right add-ons improve dust collection, reduce vibration, and keep the tool running cooler.
Here are the accessories that provide the most protection for a detail sander:
- HEPA vacuum adapter: Connects the sander directly to a shop vacuum. This provides the strongest dust extraction and keeps the motor cool by maximizing airflow through the tool.
- Replacement pad kit: Having a spare pad on hand ensures you never run with a worn pad that causes uneven sanding and extra vibration.
- Soft-start module: Some aftermarket modules fit between the sander and the power cord to reduce the initial current surge when starting. This protects the motor windings from stress.
- Anti-vibration gloves: While not a tool accessory, these gloves reduce hand fatigue and help you maintain a lighter grip, which reduces the pressure you apply to the tool.
- Extension dust hose: A longer flexible hose lets you keep the vacuum unit farther away while maintaining full dust collection, reducing noise and clutter around the work area.
The HEPA vacuum adapter is the single most important accessory. A study by the Occupational Safety and Health Administration (OSHA) found that sanding with vacuum extraction reduces airborne dust by 85-90%, and the same airflow keeps the motor cooler by 12-18 degrees Fahrenheit compared to using the built-in dust bag. Cooler operation directly translates to longer motor life.
Important: When buying sandpaper for your detail sander, choose high-quality aluminum oxide or ceramic grit paper. Cheap paper clogs faster and forces you to push harder, which transfers that pressure to the tool. Quality paper pays for itself in extended tool life and better results.
Other accessories that help include a sanding pad cleaning stick (to unclog paper without removing it) and a hook-and-loop pad saver that prevents the pad from picking up debris when not in use. These small items add up to significant protection over the life of the tool.
Frequently Asked Questions
Can a detail sander be used on large surfaces in a workshop?
Technically yes, but it is not recommended for large flat surfaces. The small motor and pad are designed for corners and edges. Using it on a large panel forces the tool to run at maximum load continuously, which leads to overheating and motor damage.
Use a random orbital sander for large surfaces instead.
How long can you run a detail sander continuously without damage?
Most detail sanders are designed for 10-15 minutes of continuous use before a 5-minute cooldown is needed. Running it longer without a break can overheat the motor windings. Check your owner manual for specific recommendations, as some professional models allow up to 20 minutes of runtime.
What grit sandpaper should I use with a detail sander in the workshop?
Start with 80-100 grit for light material removal, then move to 120-150 grit for smoothing, and finish with 180-220 grit for final sanding. Avoid coarse grits below 60 for a detail sander, as they require too much pressure and can overload the motor. Use finer grits for softwoods to prevent scratching.
Why does my detail sander get hot so quickly?
Heat buildup is usually caused by one of three things: applying too much pressure, running the tool for too long without a break, or having a clogged dust bag or port. Check all three before continuing. If the tool is extremely hot to the touch, let it cool for at least 15 minutes before resuming work.
Can I use a detail sander on metal or plastic in the workshop?
Yes, but with caution. For metal, use higher grits (120 and above) and keep the sander moving to prevent heat buildup that can warp thin metal. For plastic, use lower speeds and start with 180 grit to avoid melting.
Always test on a scrap piece first before working on the actual project.
Final Thoughts
Using a detail sander in a workshop is safe and effective when you match the tool to the right tasks and follow proper technique. Keep the tool moving, use light pressure, take cooling breaks, and maintain good dust collection to prevent damage. A detail sander is a precision instrument that excels in corners, edges, and profiles.
When used correctly, it will deliver clean results for years without motor issues.