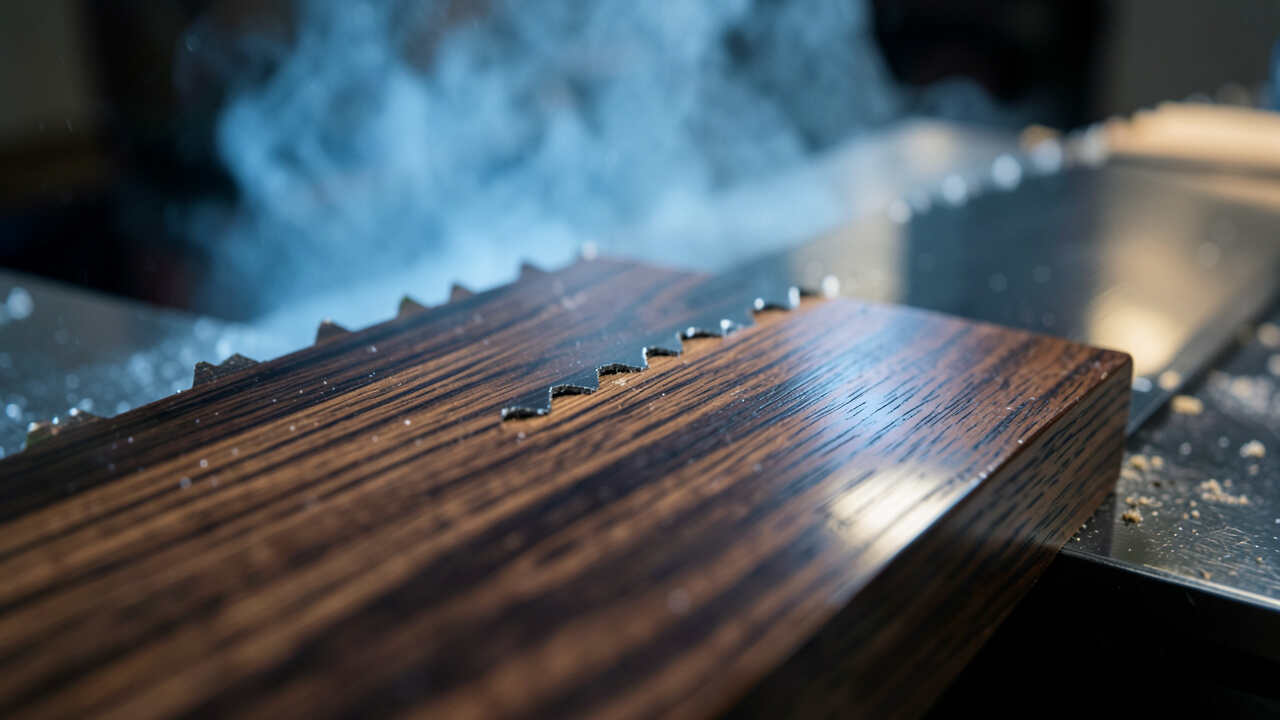

Table saw burns on wood are prevented by using a sharp blade aligned parallel to the miter slot with an appropriate feed rate for the material. A dull or dirty blade increases friction, causing scorch marks, so regular cleaning and timely replacement are essential. Ensuring the blade has the right tooth count and geometry for the wood density eliminates burning when cutting.
Stopping a table saw from burning wood is a common frustration that can ruin your projects and waste material. In this guide, you’ll learn the exact causes of burn marks and step-by-step fixes to prevent them permanently.
Simply put, table saw burns happen when friction exceeds the wood’s ability to clear sawdust. The solution involves proper blade selection, correct alignment, consistent feed rate, and a sharp, clean blade. Follow these steps and you’ll cut burn-free every time.
Key Takeaways
- Table saw burns are caused by friction from dull blades, poor alignment, or slow feed speed.
- Stop table saw from burning wood by using a sharp, clean blade with the right tooth configuration for your wood type.
- Proper feed rate and technique are just as important as the blade itself.
- Regular maintenance of blade alignment and arbor cleanliness prevents burn marks.
- Burn marks can be removed with sanding, but prevention saves time and material.
Why Table Saws Burn Wood
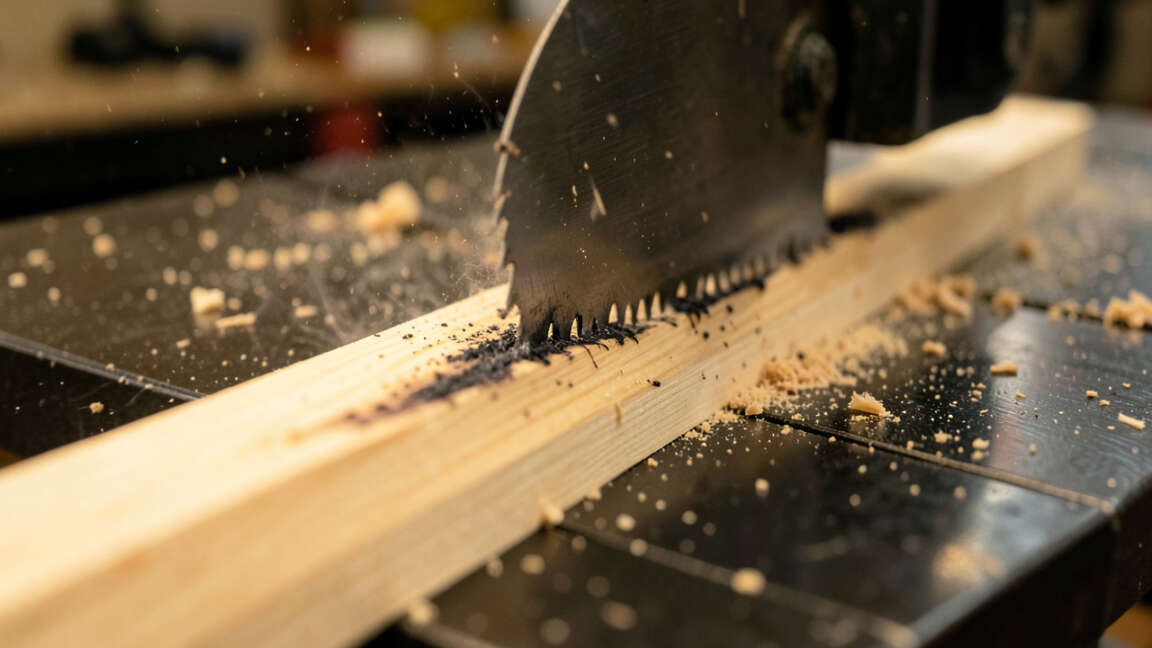
Understanding the root causes of burn marks helps you diagnose and fix the issue quickly. Burn marks are essentially scorched wood fibers caused by excessive heat from friction.
The main friction sources are a dull blade, improper feed speed, blade misalignment, or resin buildup on the teeth. When the blade cuts too slowly or rubs against the wood, heat concentrates and chars the surface.
- Dull blade: Requires more force, generating more heat.
- Too slow feed rate: The blade spins but the wood moves too slowly, creating friction.
- Blade misalignment: The blade is not parallel to the miter slot, causing the wood to squeeze against the teeth.
- Resin buildup: Pitch and sap create a sticky layer that insulates the teeth and increases friction.
- Wrong blade type: A ripping blade used for crosscuts, or vice versa, causes tearing and burning.
- Dull or damaged teeth: Chipped or worn teeth cut inefficiently and generate heat.
Warning: Never use a blade that is visibly chipped or warped. It not only causes burns but also poses a serious safety risk due to possible blade failure.
What You Need to Prevent Burns
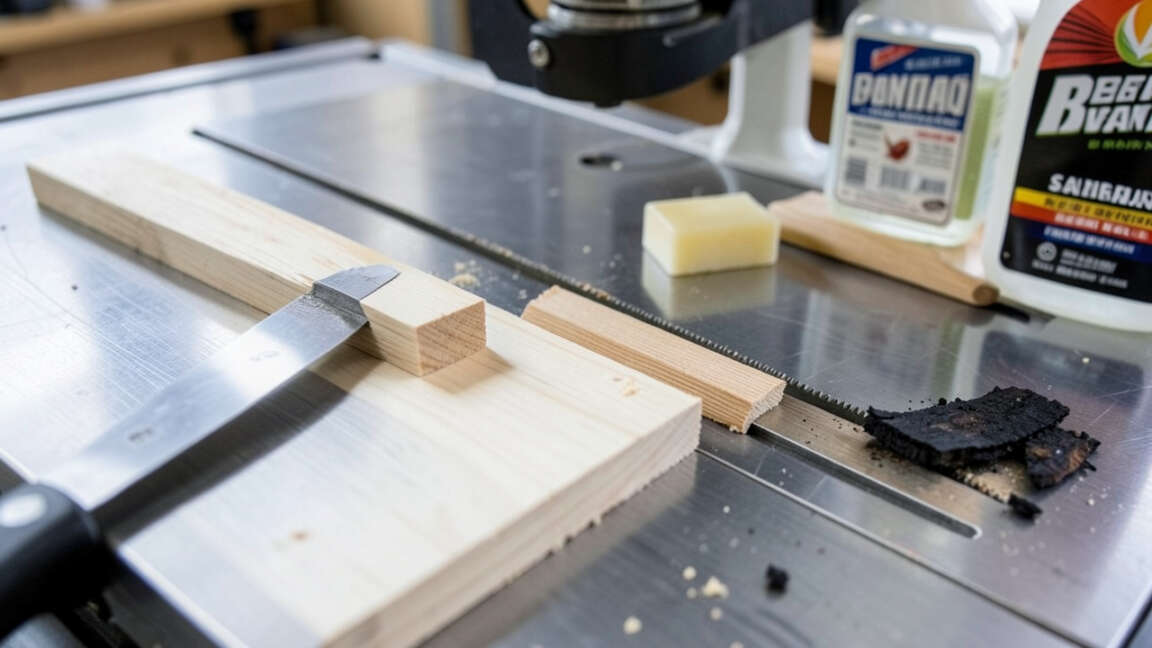
Having the right tools and accessories makes stopping burns straightforward. You don’t need expensive upgrades—just a few essentials.
| Item | Purpose |
|---|---|
| Sharp combination or rip blade | Cuts cleanly without excessive friction |
| Blade cleaner or Pitch remover | Removes resin and sap buildup |
| Dial indicator or combo square | Checks blade alignment to miter slot |
| Featherboards or push sticks | Maintain consistent feed pressure |
| Dust collection system | Removes sawdust to reduce heat buildup |
These items are widely available at hardware stores or online. Investing in a good blade cleaner alone can eliminate 80% of burn issues.
Tip: Keep a dedicated blade cleaning brush and solvent near your saw. Clean the blade after every four hours of use to prevent resin buildup that causes burns.
Step 1: Check and Adjust Your Blade Alignment
Blade misalignment is one of the most common yet overlooked causes of table saw burns. When the blade is not parallel to the miter slot, the wood pinches against the side of the teeth, creating friction and heat.
To check alignment, unplug the saw and raise the blade to full height. Use a dial indicator or a combination square to measure the distance from the blade’s front teeth to the miter slot, then do the same at the back teeth. The difference should be less than 0.003 inches.
- Unplug the saw and remove the blade guard for access.
- Place a dial indicator against the miter slot and touch the tip to a tooth near the front of the blade.
- Record the reading, then rotate the blade by hand to bring the same tooth to the rear position.
- Measure again. If the difference exceeds 0.003 inches, adjust the trunnion bolts according to your saw’s manual.
- Recheck until the front and rear measurements are within tolerance.
Important: Many saws have eccentric adjustment bolts for the trunnion. A quarter turn can make a big difference. Always tighten all bolts after adjustment.
After alignment, test with a piece of scrap wood. If you still see burn marks, move to the next step.
Step 2: Optimize Feed Rate and Technique
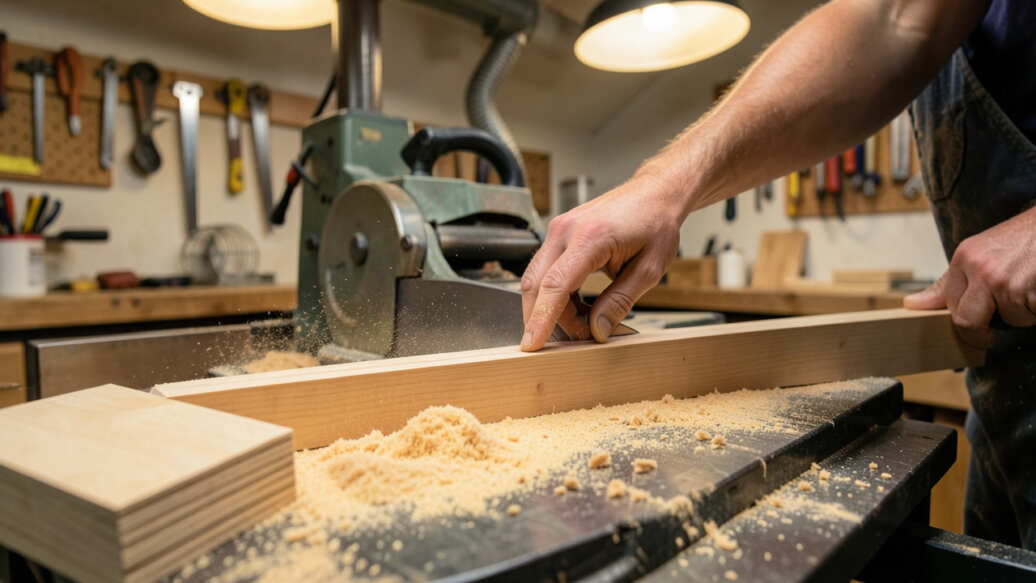
Your feed speed directly controls the amount of heat generated. Pushing the wood too slowly lets the blade dwell on one spot, scorching the wood. Pushing too fast may overload the motor and cause kickback.
The ideal feed rate depends on the wood species, blade sharpness, and depth of cut. As a general rule, you should hear a steady, smooth cutting sound—not a high-pitched whine or a chattering noise.
- Listen to the saw: A consistent pitch indicates the right speed.
- Use featherboards to maintain even pressure and prevent the wood from tilting.
- For thick or dense wood, slow down slightly but never stop moving the wood.
- For thin or soft woods, feed faster to avoid heat buildup.
- Always push through the cut at a constant speed—no pausing mid-cut.
- Use a push stick to maintain control without slowing down.
Tip: If you see smoke, you are either feeding too slowly or the blade is dull. Stop immediately, let the blade cool, and correct the issue before continuing.
Step 3: Use the Right Blade for Your Wood Type
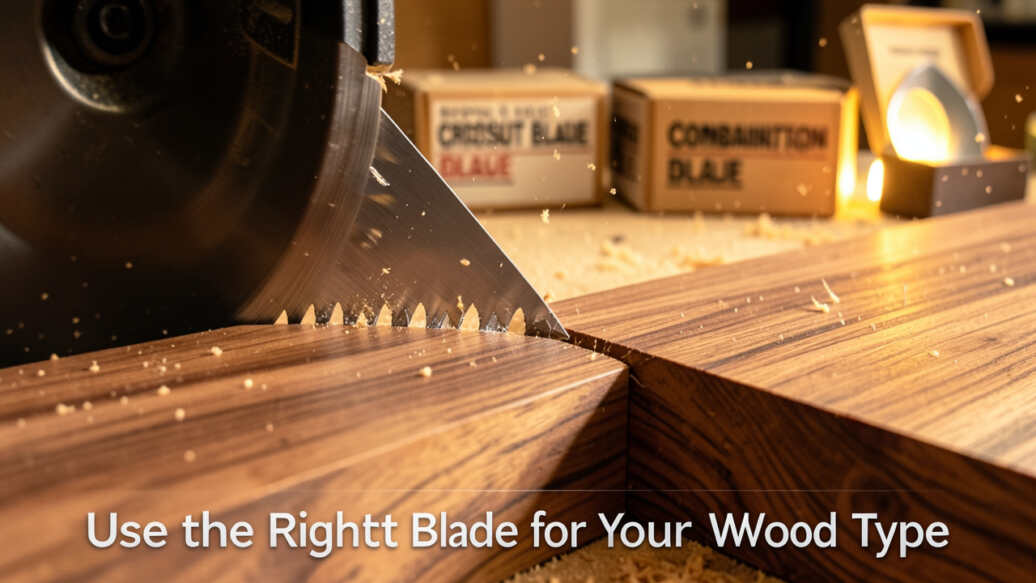
Not all blades are created equal. A blade designed for ripping has fewer teeth with deep gullets, while a crosscut blade has many teeth for a finer finish. Using a ripping blade for crosscuts often leads to tear-out and burning.
Combination blades offer a middle ground but may not be optimal for every cut. For burn-prone woods like oak or cherry, a high-at (alternate top bevel) grind blade with a thin kerf reduces friction.
| Blade Type | Tooth Count | Best For |
|---|---|---|
| Ripping | 24-30 | Cutting along the grain (rip cuts) |
| Crosscut | 60-80 | Cutting across the grain |
| Combination | 40-50 | General purpose, moderate burns risk |
| Thin kerf | Varies | Reduces friction on underpowered saws |
For woods like maple or walnut that are prone to burning, a high-quality carbide-tipped blade with a negative hook angle (5° to 10°) reduces the tendency of the blade to grab and burn.
Warning: Never use a blade with a positive hook angle above 15° for hardwoods—it increases the risk of both burning and kickback.
Step 4: Keep Your Blade Clean and Sharp
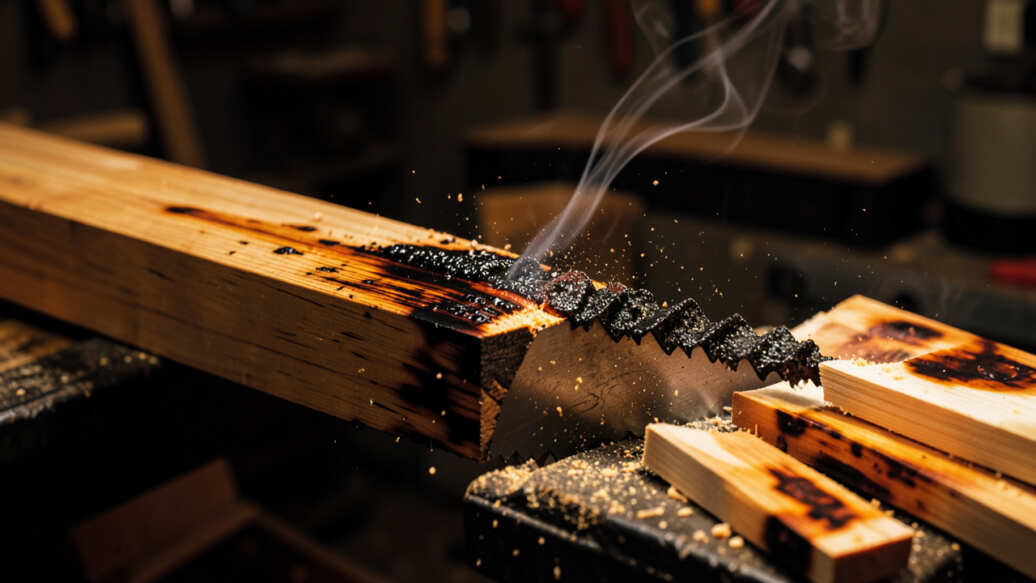
Even the best blade will burn wood if it is dirty or dull. Resin, pitch, and sawdust accumulate on the teeth and plate, acting as an insulator that traps heat.
Clean your blade regularly with a dedicated blade cleaner or a simple solution of warm water and dish soap. For heavy buildup, use a commercial pitch remover and a stiff brass brush.
- After every project, inspect the blade for resin or sap.
- Soak the blade in cleaner for 5–10 minutes, then scrub with a brush.
- Rinse and dry thoroughly before reinstalling to avoid rust.
- Sharpen or replace the blade when you notice burned edges even after cleaning.
- Store blades in a dry place with a blade cover to protect the teeth.
Tip: A dull blade is the #1 cause of burn marks according to Fine Woodworking magazine. Replace or sharpen your blade every 6–12 months depending on usage.
Common Mistakes That Cause Burning
Even experienced woodworkers make errors that lead to burns. Recognizing these pitfalls helps you avoid them.
- Using a dull blade to save money—it actually costs more in wasted wood and time.
- Feeding wood too slowly because of fear or lack of confidence.
- Ignoring blade alignment after moving the saw or changing the belt.
- Skipping blade cleaning for weeks of heavy use.
- Using the wrong blade for the cut direction, especially crosscutting with a rip blade.
- Pushing from the side instead of straight through, causing the wood to bind.
- Not using a zero-clearance insert that supports the wood near the blade, reducing tear-out and friction.
These mistakes are easy to fix once you know what to look for. The next time you cut, mentally run through this list before starting the saw.
Additional Pro Tips for Burn-Free Cuts
Beyond the core steps, a few advanced techniques can further reduce burn marks, especially on tricky species like plywood or exotic hardwoods.
- Use a scoring cut for plywood: make a shallow pass first to clean the surface, then cut full depth.
- Apply paraffin wax or beeswax to the table surface and fence to reduce friction.
- Reduce the blade height to only 1/4 inch above the workpiece—less blade exposure means less friction.
- Try a negative hook angle blade for burn-prone hardwoods like cherry or walnut.
- Use a jointing jig to edge joint boards—this removes any charred edges from previous cuts.
- Dust collection not only clears sawdust but also helps cool the blade.
Important: Always wear hearing and eye protection when sawing. A high-pitched sound may indicate a problem, but constant exposure can damage your ears regardless.
Frequently Asked Questions
What causes table saw burns besides a dull blade?
Blade misalignment, slow feed rate, resin buildup, and using the wrong blade type are the most common culprits. Even a new blade can burn wood if the saw is not properly set up.
How often should I clean my table saw blade?
Clean your blade after every 4–6 hours of use, or immediately if you notice pitch buildup. For heavy use with resinous woods like pine, clean after every 2 hours.
Can I remove burn marks from wood after cutting?
Yes. Light sanding with 120-grit sandpaper followed by finer grits can remove surface burns. Deep burns may require planing or jointing the edge.
Is a thin kerf blade better for preventing burns?
Thin kerf blades remove less material, which reduces friction and heat. They are especially helpful on underpowered saws, but may cut less smoothly on thick stock.
Do I need a special blade for plywood to avoid burns?
A high-quality fine-tooth blade (80+ teeth) or a dedicated plywood blade with a zero-clearance insert greatly reduces burns and tear-out on plywood.
Final Thoughts
Stopping table saw burns comes down to sharp blades, correct alignment, steady feed rate, and regular cleaning. By following these steps, you’ll save wood, time, and frustration. Make these fixes part of your routine, and you’ll enjoy cleaner cuts and a safer workshop.