
Wind measurement accuracy is compromised by seven common errors, primarily sensor placement problems, calibration drift, and environmental interference such as ice buildup. Each error introduces specific biases into readings, making proper siting and regular maintenance essential for reliable data. Understanding these pitfalls allows operators to identify and correct inaccuracies in their wind speed and direction data.
Measuring wind sounds simple, right? But sometimes, the numbers you get don’t quite match what you expect. This can be puzzling, especially when you’re just starting out.
Don’t worry, though! We’ll walk through the 7 Common Wind Measurement Errors one by one. By the end, you’ll know exactly what to look for and how to fix it.
Let’s get started on making your wind readings accurate.
Key Takeaways
- You’ll learn about common mistakes people make when measuring wind.
- We’ll show you how to avoid putting your wind sensor in the wrong spot.
- Discover why not cleaning your equipment can lead to wrong readings.
- Understand how different weather conditions can trick your measurements.
- You’ll find out how the wind itself can cause errors.
- Learn how to check your tools to make sure they are working right.

Understanding Wind Measurement Challenges
Getting good wind speed and direction readings is important for many things. Whether you’re a weather enthusiast, a farmer checking crops, or someone installing a wind turbine, accuracy matters. But several things can go wrong, giving you numbers that aren’t quite right.
Before measuring, identify potential error sources in your setup to ensure data reliability from the start.
These are the 7 Common Wind Measurement Errors that many beginners face. Let’s break them down so you can get the best data possible.
1. Sensor Placement Problems
Too Close to Obstacles
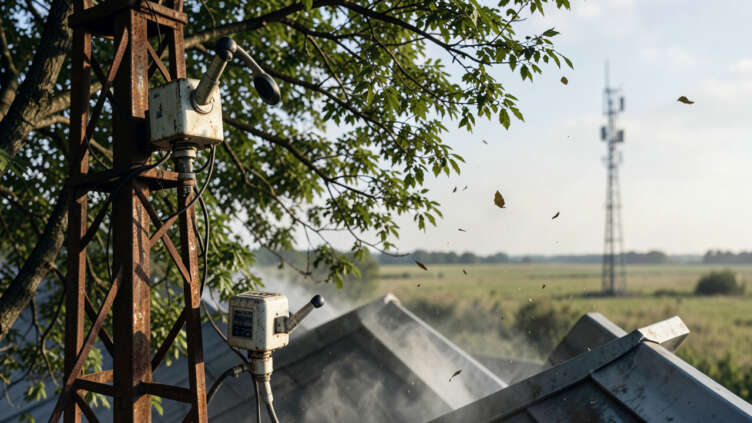
One of the biggest errors happens before you even turn your equipment on: where you put it. Wind meters, also called anemometers, need clear air to measure wind correctly. If your sensor is too close to a building, a large tree, or even a fence, the wind will be blocked or pushed around.
This creates uneven wind flow, called turbulence. The readings you get will be lower or more erratic than the actual wind out in the open.
Think of it like trying to hear someone talking in a noisy room. The person might be speaking clearly, but the noise makes it hard to catch their words. Similarly, turbulence caused by nearby objects messes with the wind’s natural flow, making your sensor record a distorted picture of the wind.
Place anemometers at least 10 times the height of nearby obstacles to minimize turbulence and get accurate readings.
Too Low to the Ground
Wind speed usually increases with height. The wind closer to the ground is slowed down by friction with the earth’s surface. So, if your anemometer is mounted too low, you’ll get lower wind speed readings.
This is especially true in areas with tall grass, bushes, or uneven terrain.
For accurate, general wind data, sensors are often placed at a standard height, like 10 meters (about 33 feet) above the ground. If your application needs specific wind speeds at ground level, that’s fine, but be aware you’re measuring a different wind layer.
2. Inaccurate Sensor Calibration
What is Calibration?
Calibration means making sure your wind sensor is accurate. It’s like making sure your watch is telling the right time. Over time, wind sensors can become less accurate due to wear and tear, or even just age.
If a sensor isn’t calibrated, its readings might be consistently too high or too low.
An uncalibrated wind sensor is like a stretched ruler: every reading will be consistently off.
Why it Matters
Imagine using a ruler that’s slightly stretched. Every measurement you take with it will be a little bit off. The same happens with an uncalibrated wind sensor.
For example, a sensor that reads 10% high will always report higher wind speeds than what’s actually there.
Checking and recalibrating your sensor regularly is key. Many sensors can be checked against a known, accurate source or sent to a professional for recalibration. This ensures you’re getting real data.

3. Environmental Factors Affecting Readings
Ice and Snow Buildup
When it’s cold, ice and snow can form on your wind sensor. This is a big problem because it adds weight and changes the shape of the sensor’s moving parts, like the cups on an anemometer. Ice can make the cups spin slower, leading to underestimation of wind speed.
In severe cases, ice can stop the sensor from moving at all.
In freezing conditions, consider using a heated anemometer to prevent ice buildup and maintain accuracy.
Clearing ice and snow promptly is important if you’re measuring wind in freezing conditions. Sometimes, sensors are designed to be more resistant to ice, but it’s still a common cause of error.
Extreme Heat and Cold
Very high or very low temperatures can affect the electronics inside your wind sensor. Some materials can expand or contract with temperature changes, which might slightly alter how the sensor works. While most modern sensors are built to handle a range of temperatures, extreme conditions can still push their limits.
Always check the operating temperature range for your specific wind sensor. If you’re using it outside this range, your readings might not be reliable.
4. Obstructions and Wind Flow Distortions
Local Airflow Patterns
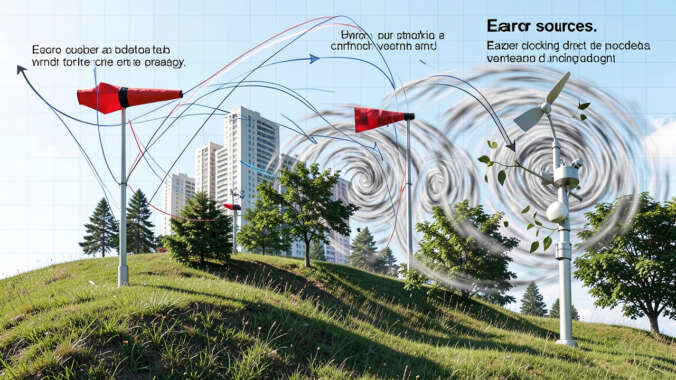
Besides large obstacles, smaller things can also change how wind flows. For example, a steep hill or a bend in a river can create unusual wind patterns. Air can speed up as it goes over a hill (called acceleration) or become choppy as it flows around corners.
If your sensor is placed in one of these spots, you’re measuring a wind speed that’s influenced by the local geography, not the general wind pattern. This can be useful if you need to know the wind right there, but it’s not a true representation of the wider area.
Beware of local terrain effects; a sensor on a hilltop may overestimate wind speed for the surrounding area.
Building Effects
Buildings create a lot of turbulence. Wind hitting a building can be pushed upwards, downwards, or sideways. This can create ‘wind shadows’ behind the building where wind speeds are much lower.
It can also create gusty, unpredictable winds around corners and edges.
When installing sensors near buildings, always try to place them well away from the sides and any roof overhangs. The rule of thumb is usually to be at least 10 times the height of the obstacle away from it. For a 30-foot building, that’s 300 feet away.
5. Equipment Malfunction or Wear
Mechanical Issues
Wind sensors have moving parts. On a cup anemometer, the cups spin on bearings. If these bearings become dirty, rusty, or worn out, they can create friction.
This extra friction makes the cups harder to spin, leading to lower wind speed readings.
Regularly inspect and lubricate anemometer bearings to prevent friction that can cause low wind speed readings.
Regular cleaning and maintenance of these moving parts are vital. For sensors with wind vanes, the vane needs to turn freely to point into the wind. If it gets stuck, your wind direction readings will be wrong.
Electronic Failures
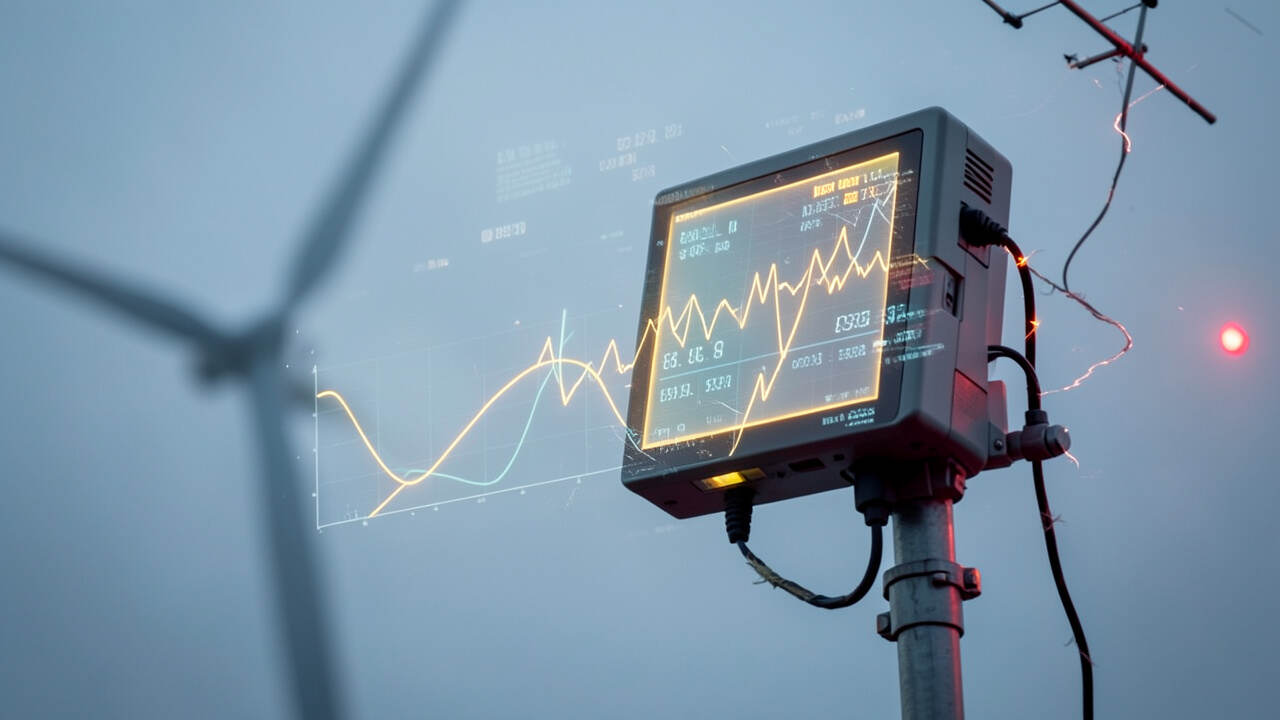
The internal electronics of a wind sensor can also fail. This might be due to power surges, water damage, or simply the end of its lifespan. If the electronics aren’t working correctly, the sensor might send faulty data or no data at all.
Sometimes, you might notice this if the sensor’s output seems completely random or if it stops sending data for no apparent reason. Checking the sensor’s power supply and connections is a good first step.
6. Data Logging and Transmission Errors
Incorrect Settings
Many wind sensors are connected to data loggers or weather stations that record the information. If the settings on these devices are wrong, they can cause errors. For example, if the logger is set to record data every hour but you need readings every minute, you’ll miss a lot of detail.
Also, the units of measurement need to be set correctly. If your sensor measures in meters per second but your logger is set to miles per hour, all your data will be wrong until you convert it.
Periodically verify raw sensor data before any processing to catch logging or unit conversion errors early.
Transmission Issues
If your wind data is sent wirelessly or over long cables, there’s a chance of errors during transmission. Electrical interference can corrupt the data, or a loose connection can cause data loss. If the data is being sent to a central server, that server might also have issues.
It’s a good idea to periodically check the raw data coming directly from the sensor before it goes through multiple steps, if possible. This helps you pinpoint where a problem might be happening.
7. Observer Error and Interpretation
Misreading Instructions
Sometimes, the simplest errors are human ones. This can happen if the instructions for setting up or using the wind sensor aren’t read carefully. For example, confusing wind speed with wind gust, or misinterpreting wind direction from a compass rose.
Assuming Data is Perfect
Another common mistake is assuming that any number you get is automatically correct. It’s always wise to use common sense. If your sensor says it’s a calm day but the trees are swaying wildly, something is likely wrong.
Double-check setup instructions and units of measurement to avoid simple human errors that compromise data quality.
Learning to spot these inconsistencies is part of getting better at measuring wind.
Always cross-reference your readings with what you observe visually, if possible. This helps catch errors quickly.
Frequently Asked Questions
Question: How often should I clean my wind sensor?
Answer: You should clean your wind sensor regularly, especially if it’s exposed to dust, salt spray, or pollen. A good rule of thumb is to check and clean it every few months, or more often if you notice any buildup or if it’s in a harsh environment.
Question: What’s the best place to put a wind sensor?
Answer: The best place is in an open area, away from buildings, trees, and other obstructions. It should be at a height where the wind is representative of the area you’re interested in, typically at least 10 meters (33 feet) above the ground.
Question: Can I use a regular weather app to check my sensor’s readings?
Answer: While weather apps can give you a general idea, they are usually based on readings from official weather stations, which may be far away. It’s best to compare your sensor’s readings to nearby official stations if possible, or to your own observations of the wind.
Question: My anemometer isn’t spinning, what could be wrong?
Answer: If your anemometer isn’t spinning, it could be due to ice buildup, dirt or debris in the bearings, or a mechanical failure. Check for obvious obstructions and see if the cups can spin freely by hand (when safe to do so).
Question: What does it mean if my wind direction reading is always the same?
Answer: If your wind direction reading is stuck, it likely means the wind vane is not rotating freely. This could be caused by friction, damage, or an electronic issue preventing it from sensing the wind direction correctly.
Final Thoughts
We’ve looked at the 7 Common Wind Measurement Errors. From putting your sensor in the wrong spot to problems with the equipment itself, many things can affect your readings. By understanding these common issues, you can take steps to avoid them.
Always check where you place your sensor and make sure it’s clean and working well. With a little care, you’ll get much more accurate wind data. Keep practicing and observing, and your wind measurements will become much more reliable.